
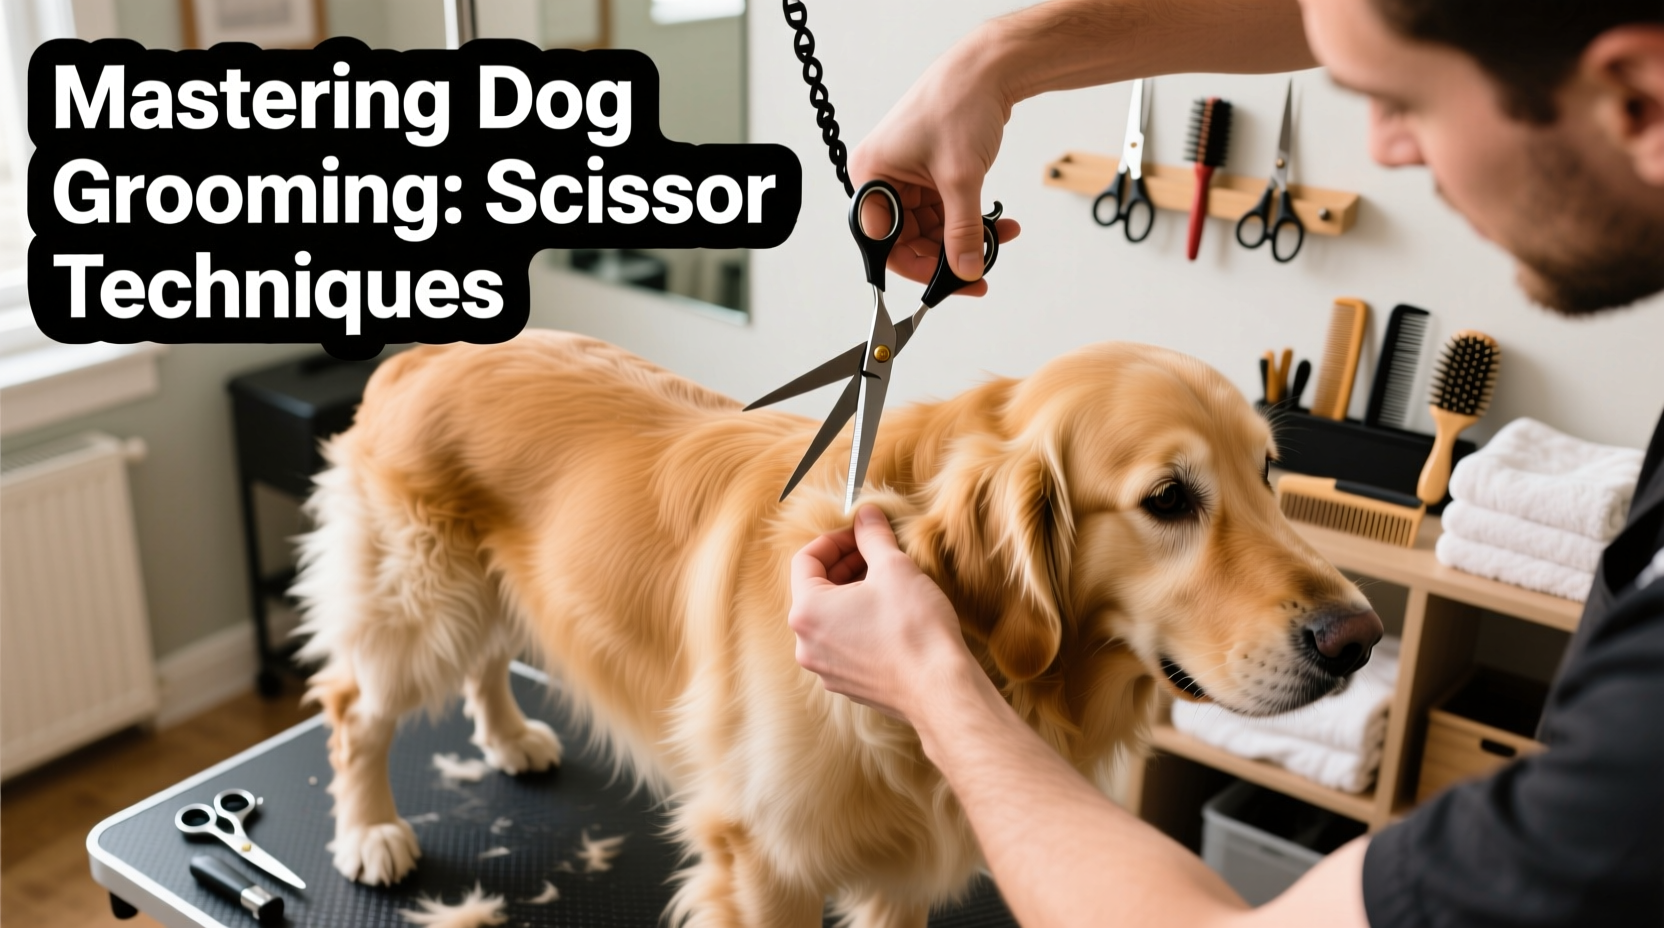
Dog grooming isn’t just about hygiene—it’s an art that enhances your pet’s appearance, comfort, and health. While clippers handle bulk coat removal, scissors are essential for shaping, detailing, and achieving a polished finish. With the right tools and technique, you can achieve salon-quality results from your own home. This guide breaks down the fundamentals of scissor grooming, offering practical steps, safety insights, and expert-backed methods to help you confidently shape your dog’s coat with precision.
The Right Tools for Scissor Grooming
Not all scissors are created equal when it comes to dog grooming. Using kitchen shears or craft scissors can lead to uneven cuts, split ends, and even injury. Professional grooming shears are designed with specific blade shapes, tension systems, and ergonomic handles to ensure control and durability.
- Thinning shears: Remove bulk without creating harsh lines; ideal for blending and softening transitions.
- Curved shears: Follow body contours, especially useful around hips and shoulders.
- Straight shears: Best for precise trimming on legs, paws, and facial areas.
- Chunking shears: Used for removing large sections of thick undercoat efficiently.
Step-by-Step Guide to Scissor Grooming
Grooming with scissors is not simply about cutting hair—it’s about structure, flow, and symmetry. Follow this timeline to execute a professional-grade trim safely and effectively.
- Bathe and dry thoroughly: Clean, tangle-free hair is essential. Use a high-velocity dryer to fluff the coat and reveal its natural growth pattern.
- Brush and detangle: Work through the coat with a slicker brush and comb. Any mats must be removed before cutting.
- Trim with clippers first: Use clippers to remove bulk, especially on the body, leaving longer hair in decorative areas like ears and tail.
- Begin shaping with straight shears: Start with the rear legs. Hold the fur taut between fingers and cut at a slight angle to avoid blunt edges.
- Blend with thinning shears: After initial shaping, use thinning shears to soften lines and create natural gradients, particularly where leg meets body.
- Detail facial areas: Trim around eyes, ears, and muzzle carefully. Use small 5–6 inch shears for better control.
- Refine paws: Hold each paw firmly, extend the toes slightly, and level the hair so it doesn’t drag on the floor.
- Final inspection: Step back and assess balance. Check both sides for symmetry and make micro-adjustments as needed.
“Scissors aren’t just tools—they’re extensions of your hands. The best groomers develop a rhythm, letting the coat guide the cut.” — Linda Ruiz, Master Pet Stylist & NDGAA Judge
Do’s and Don’ts of Scissor Grooming
| Do’s | Don’ts |
|---|---|
| Use sharp, high-carbon steel shears | Use dull or household scissors |
| Keep fingers between blade and dog’s skin | Cut blindly into thick fur |
| Work in small sections | Rush or attempt full-body cuts in one go |
| Store shears in a protective case | Leave them exposed to moisture or drops |
| Regularly oil pivot points | Ignore tension screws or blade alignment |
A Real Example: Transforming a Shaggy Bichon Frise
Maria, a dog owner in Portland, adopted a six-year-old Bichon Frise named Milo who hadn’t been professionally groomed in over a year. His coat was matted, and previous attempts at home trimming had left him lopsided and stressed. Determined to learn proper technique, Maria followed a structured scissor approach over three sessions.
First, she fully bathed and dried Milo, then used a dematting tool to gently remove tangles. In the second session, she shaped his body with clippers and began defining the classic “puppy cut” outline with 7-inch straight shears. Finally, during the third session, she refined the face, feet, and tail using thinning shears for softness. By working slowly and focusing on one area per day, Milo stayed calm, and the result was a balanced, fluffy silhouette that mimicked a salon finish.
This example shows that patience and progression matter more than speed. Mastery comes not from a single perfect cut, but from consistent, mindful practice.
Essential Safety Practices
Safety is non-negotiable. A startled dog can move unpredictably, increasing the risk of nicks or cuts. Always prioritize control and comfort.
- Never force your dog to stay still. Use positive reinforcement—treats, praise, and short breaks keep cooperation high.
- Always place a finger between the scissor blade and your dog’s skin when trimming close areas like ears or groin.
- Use a grooming arm or loop if your dog tends to jump or shift suddenly.
- Stop immediately if your dog shows signs of stress—panting, whining, or trying to escape.
Developing a Grooming Checklist
Consistency leads to quality. Use this checklist before every scissor session to ensure nothing is overlooked.
- ✅ Bathe and completely dry the dog
- ✅ Brush and detangle entire coat
- ✅ Clean and inspect scissors for sharpness and tension
- ✅ Prepare workspace with non-slip mat and tools within reach
- ✅ Trim nails and clean ears (before final detailing)
- ✅ Perform bulk clipping (if applicable)
- ✅ Shape legs, body, and tail with straight shears
- ✅ Blend seams with thinning shears
- ✅ Detail face, paws, and sanitary areas
- ✅ Final symmetry check and light touch-ups
Frequently Asked Questions
How often should I sharpen my grooming shears?
Professional groomers recommend sharpening every 3–6 months with regular use. If you notice pulling instead of clean cuts, it’s time for a professional sharpening. Avoid DIY files—they can damage precision-ground blades.
Can I use human hair scissors on my dog?
No. Human scissors are not designed for the thickness and texture of dog fur. They lack the proper edge geometry and will dull quickly, increasing the risk of snagging and discomfort for your pet.
My dog hates being trimmed—what can I do?
Start with desensitization. Let your dog sniff the scissors, reward calm behavior, and simulate motions without cutting. Gradually increase exposure over days or weeks. Short, positive sessions build trust far more effectively than forcing compliance.
Conclusion: Elevate Your Grooming Game
Mastering scissor grooming transforms a routine task into a bonding experience that enhances your dog’s well-being and appearance. It requires patience, the right tools, and attention to detail—but the results speak for themselves. A well-groomed coat reflects care, discipline, and love. Whether you’re maintaining a show-standard Poodle or giving your terrier a tidy summer cut, these techniques empower you to work with confidence and precision.


 浙公网安备
33010002000092号
浙公网安备
33010002000092号 浙B2-20120091-4
Comments
No comments yet. Why don't you start the discussion?