
Eggs are a kitchen staple—versatile, nutritious, and essential in countless dishes. Yet, something as basic as cracking an egg can go wrong more often than it should. Shells in the bowl, uneven splits, or fingers covered in yolk: these small frustrations add up. The truth is, mastering egg cracking isn’t about luck—it’s about technique. With the right method, tools, and mindset, you can achieve clean, consistent breaks every time, whether you're making scrambled eggs, baking a cake, or separating yolks from whites.
The Science Behind a Clean Break
An eggshell is made of calcium carbonate and contains thousands of tiny pores. While strong enough to protect its contents during transport, it's also brittle and prone to shattering if struck incorrectly. The key to a clean crack lies in applying force evenly across a single point, creating a controlled fracture rather than a random explosion of shell fragments.
The middle of the egg—the equator—is structurally the strongest part due to its curvature. However, this same strength makes it ideal for cracking because a sharp tap here allows energy to concentrate and split the shell cleanly along the seam. Avoid tapping the pointed ends; they’re weaker and more likely to collapse inward, pushing shell into the egg.
“Precision matters more than pressure. A firm but focused strike at the egg’s midline gives you control over the break.” — Chef Luis Mendez, Culinary Instructor at Pacific Kitchen Academy
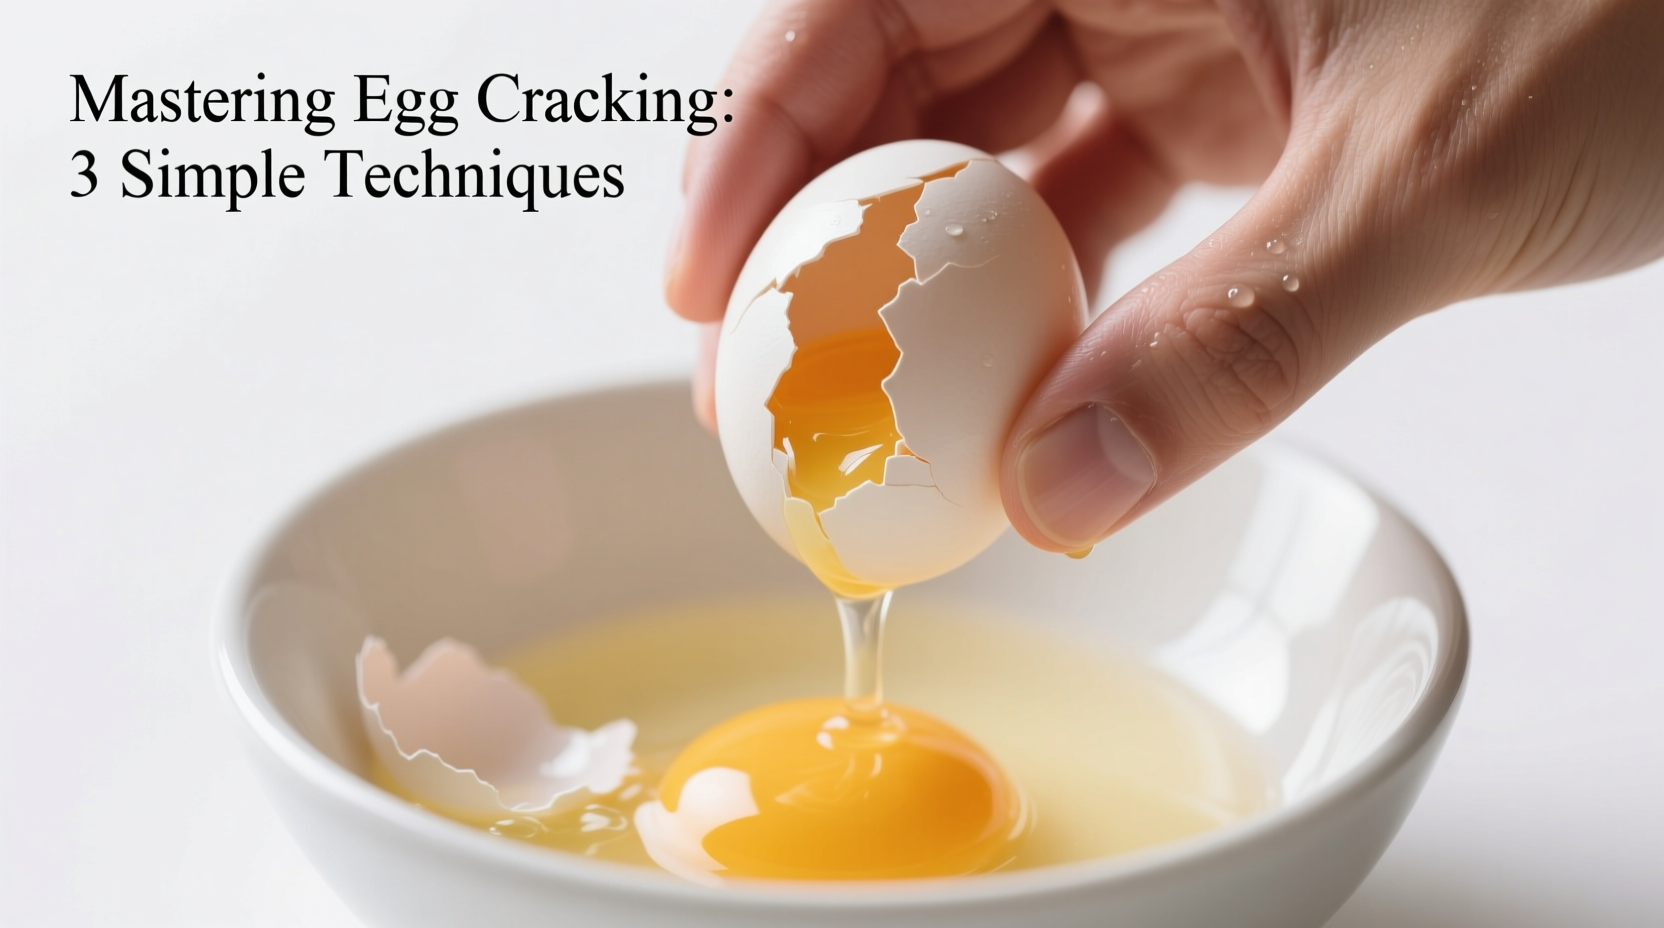
Step-by-Step Guide to Flawless Egg Cracking
Follow this proven sequence to minimize mess and maximize efficiency:
- Select a flat, hard surface: Use your countertop, cutting board, or bowl rim. Avoid curved edges that may cause glancing blows.
- Hold the egg correctly: Grip it firmly with one hand, fingers wrapped around the sides. Keep your thumb away from the impact zone.
- Aim for the equator: Position the egg so its widest part will hit the surface. This ensures even distribution of force.
- Tap with confidence: Bring the egg down in a swift, controlled motion. You should hear a crisp “crack,” not a dull thud.
- Separate using thumbs: Place both thumbs on the crack line and gently pull apart. Let the contents drop directly into your bowl.
- Inspect for shells: Run a spoon or fingertip along the inside edge to catch any loose fragments before proceeding.
Choosing the Right Tool: Surface vs. Edge vs. Knife Tap
Different methods suit different cooking styles. Here's how common approaches compare:
| Method | Best For | Pros | Cons |
|---|---|---|---|
| Countertop (flat surface) | General use, high volume | Clean, predictable crack; minimal shell fragmentation | Requires space; not ideal over sink |
| Bowl rim | Small batches, limited counter space | Convenient; contained workspace | Rounded edges increase misfires; higher chance of shell chips |
| Butter knife tap | Precise control, delicate recipes | Minimal force needed; excellent accuracy | Extra tool required; risk of blade slip |
| Two-handed pinch | One-handed cracking pros only | Fast, theatrical, efficient | High learning curve; inconsistent results for beginners |
Common Mistakes and How to Avoid Them
- Using too much force: Smashing the egg introduces unnecessary shock, scattering shell pieces. A moderate tap is sufficient.
- Cracking on sharp or jagged edges: These create irregular fractures. Stick to smooth, rounded surfaces like ceramic bowls or stainless steel countertops.
- Reusing cracked shells to fish out fragments: This spreads bacteria and risks adding more debris. Use a spoon instead.
- Cracking cold eggs straight from the fridge: Cold shells are more brittle. Let eggs sit at room temperature for 10–15 minutes for smoother breaks.
- Trying to crack multiple eggs at once: Rushing leads to mistakes. One at a time ensures quality control and hygiene.
Real Example: From Novice to Confident Cook
Sarah, a home cook in Portland, used to dread making Sunday morning omelets. She’d crack six eggs and end up picking shell out of half of them. After watching a short demo video on controlled countertop cracking, she switched her method. Instead of tapping eggs on the side of her mixing bowl, she began using a marble countertop with a deliberate midline strike. Within a week, her success rate jumped from 60% to nearly 100%. “I didn’t realize how much my old habit was sabotaging me,” she said. “Now I actually enjoy cracking eggs—it feels precise, almost satisfying.”
Expert-Recommended Checklist for Perfect Egg Prep
Before you start cooking, run through this quick checklist to ensure optimal conditions:
- ✅ Eggs stored at room temperature (if possible)
- ✅ Clean, dry hands and work surface
- ✅ Small bowl or ramekin nearby for individual cracking
- ✅ Spoon or fork ready for shell removal
- ✅ Trash or compost bin within reach
- ✅ Bowl positioned directly under cracking zone to catch drips
Frequently Asked Questions
Why do my eggs always break into pieces when I crack them?
This usually happens when you apply uneven pressure or strike the egg on a corner or curved edge. Try switching to a flat surface and aim for the center. Also, very cold eggs are more prone to shattering—let them warm slightly before use.
Is it safe to crack an egg with my hands?
Yes, as long as your hands are clean. However, avoid touching the inside of the shell to the yolk or white to reduce contamination risk. Always wash your hands immediately after handling raw eggs.
Can I crack an egg with one hand like chefs do on TV?
You can, but it takes practice. Start by holding the egg firmly and striking it against a flat surface with speed and precision. Use both thumbs to pry it open. Most professional chefs still use two hands for consistency—don’t feel pressured to perform theatrics.
Advanced Tips for Special Applications
For bakers and pastry chefs, precision goes beyond just cracking. Consider these niche techniques:
- Egg separation: Crack the egg gently on a flat surface, then transfer the yolk back and forth between shell halves while letting the white fall into a bowl below.
- Soft-boiled egg opening: Use a spoon or egg cutter to remove the top cleanly without crushing the structure.
- Whisk integration: When adding eggs to batter, crack them into a separate container first to check for blood spots or spoilage.
“In professional kitchens, we never assume an egg is good until we see it. Cracking into a separate dish is non-negotiable for food safety.” — Chef Naomi Tran, Executive Pastry Chef at Brioche & Co.
Conclusion: Turn a Simple Skill Into a Culinary Habit
Mastering egg cracking isn’t about perfection—it’s about consistency, control, and confidence. Once you refine your technique, what was once a minor annoyance becomes a seamless part of your cooking rhythm. Whether you're frying, poaching, scrambling, or baking, a clean break sets the tone for everything that follows. These small improvements compound over time, elevating your efficiency and reducing waste in the kitchen.


 浙公网安备
33010002000092号
浙公网安备
33010002000092号 浙B2-20120091-4
Comments
No comments yet. Why don't you start the discussion?