
Animated GIFs have become a universal language of digital expression—used in social media, marketing, and everyday messaging. While many tools exist for creating GIFs, Adobe Photoshop remains one of the most powerful platforms for crafting high-quality, precisely edited animations directly from video footage. With frame-level control, color optimization, and export flexibility, Photoshop gives creators full command over their output. This guide walks through the entire process of transforming a video clip into a polished, web-ready GIF using Photoshop’s built-in features.
Why Use Photoshop for GIF Creation?
While online converters offer speed, they often sacrifice quality and customization. Photoshop provides advanced tools that allow for selective cropping, frame rate adjustment, color palette optimization, and layer-based editing. These capabilities are essential when you need a GIF that maintains brand consistency, loads quickly, and looks professional across devices.
Designers, marketers, and content creators benefit from Photoshop’s ability to fine-tune every aspect of an animation. Whether extracting a 3-second highlight from a tutorial or creating a looping product showcase, Photoshop delivers precision unmatched by most free tools.
“Photoshop’s timeline and export settings give me total control over file size and visual fidelity—critical when delivering assets for clients.” — Jordan Lee, Digital Media Specialist
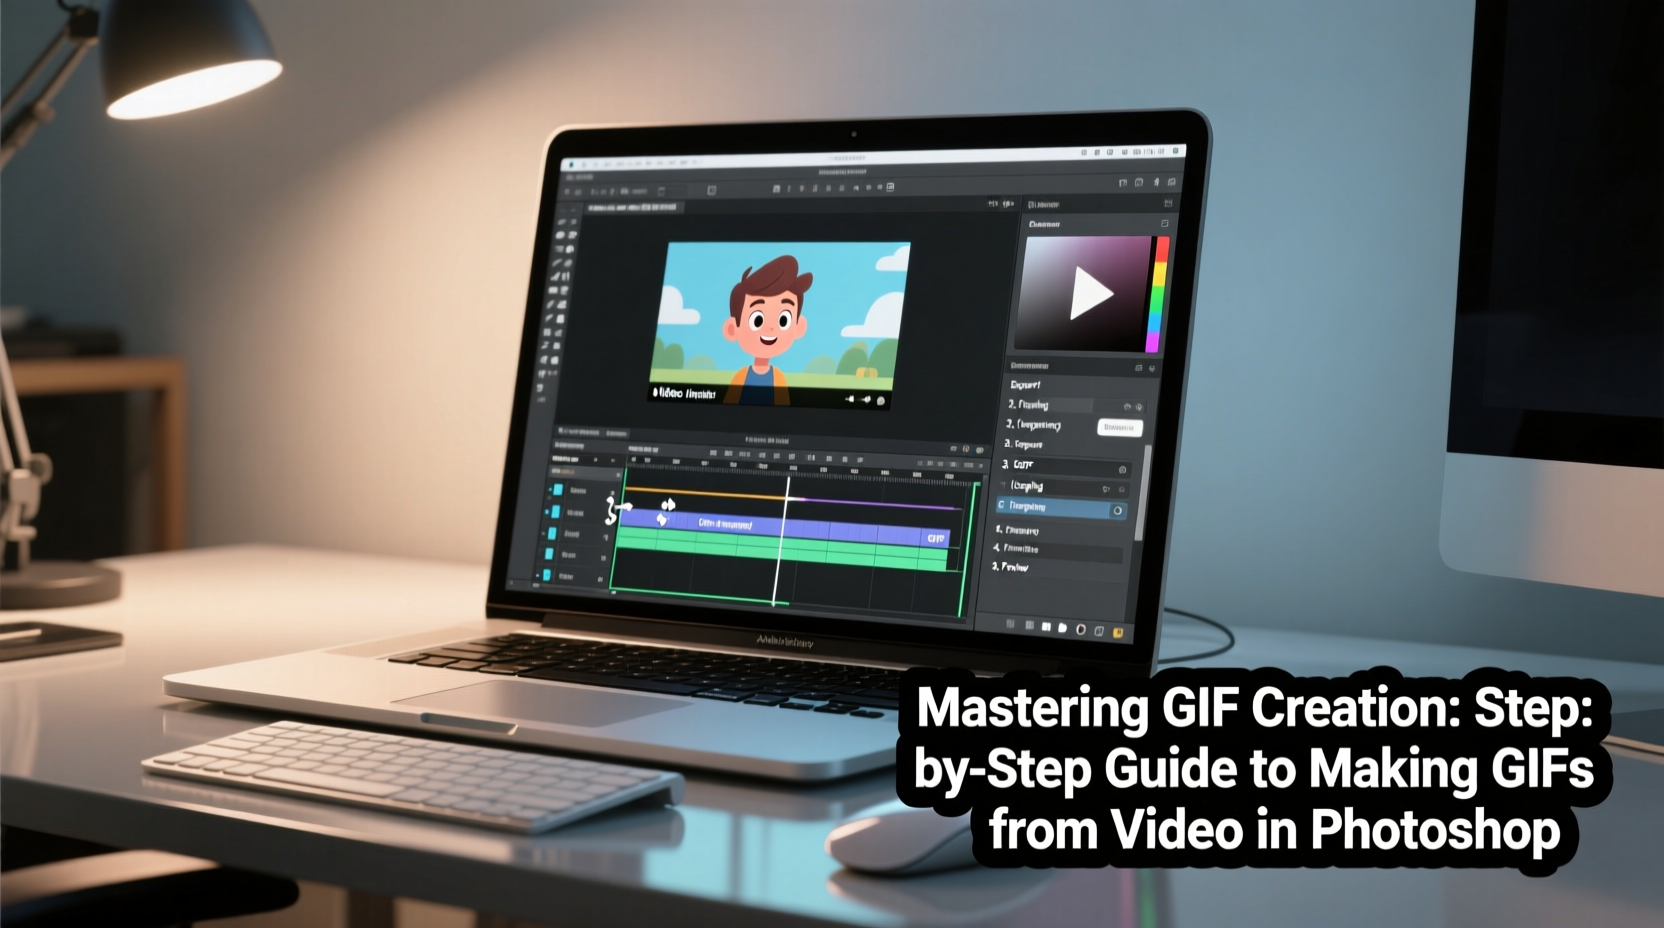
Step-by-Step Guide to Creating a GIF from Video in Photoshop
Follow this detailed workflow to convert any video into a high-performing animated GIF using Photoshop CC or later versions.
- Import Your Video Clip
Open Photoshop and go to File > Import > Video Frames to Layers. Select your video file (MP4, MOV, AVI supported). Choose whether to import the entire video or a specific range by checking “Limit to sequence length” and setting start/end times. - Select Frame Range
In the dialog box, decide if you want every frame imported or to skip frames for smaller file sizes. For smooth motion, keep it at 1 (import all frames). To reduce file size, enter a higher number (e.g., 2 = every other frame). - Preview the Animation
Once imported, your frames appear as layers in the Timeline panel. If not visible, go to Window > Timeline and choose “Create Frame Animation.” You can now play the sequence using the playback controls. - Edit Individual Frames (Optional)
Use layer visibility, masks, or adjustments to modify specific frames. For example, blur out sensitive information, crop to focus on action, or apply brightness/contrast corrections uniformly via Adjustment Layers. - Adjust Timing and Looping
Click the dropdown under each frame thumbnail in the timeline to set display duration. Standard web animations use 0.06–0.1 seconds per frame. Set loop behavior by clicking the bottom-left menu in the timeline and selecting “Forever” or a fixed number of loops. - Optimize Canvas and Resolution
Resize the canvas via Image > Image Size. For social media, 480px width is often sufficient. Smaller dimensions significantly reduce file size without sacrificing clarity on mobile screens. - Reduce Colors and Dithering
Go to Image > Mode > Indexed Color. Choose “GIF” from the Palette dropdown. Reduce colors (128 or 256) to balance quality and size. Enable diffusion dithering at 10–30% to prevent banding while keeping gradients smooth. - Export the Final GIF
Navigate to File > Export > Save for Web (Legacy). Choose GIF format, ensure transparency is off unless needed, and preview file size. Click Save and select your destination folder.
Best Practices for High-Quality, Lightweight GIFs
A great GIF balances visual appeal with performance. Oversized files lead to slow loading, failed uploads, or platform rejection. Apply these strategies to optimize your output.
| Do | Don't |
|---|---|
| Keep duration under 6 seconds for social sharing | Create GIFs longer than 15 seconds without compression |
| Use 480–720px width for optimal clarity | Export at full HD resolution unnecessarily |
| Leverage dithering to soften color transitions | Use more than 256 colors unless absolutely necessary |
| Crop tightly around the subject to minimize pixels | Include large static backgrounds that increase file size |
| Test playback speed—too fast loses detail, too slow increases size | Ignore preview modes like “Loop Forever” before export |
Real-World Example: Marketing Team Creates Product Demo GIF
A mid-sized e-commerce brand wanted to showcase a new kitchen gadget on Instagram Stories. Their video demo was 45 seconds long, but they needed a short, eye-catching animation. Using Photoshop, the marketing designer imported the key 4-second segment where the device sliced vegetables. She cropped tightly around the action, reduced the color palette to 128 colors with 20% dithering, and adjusted frame delay to 0.08 seconds for fluid motion. After exporting, the final GIF was only 1.4MB—well under Instagram’s limit—and looped seamlessly, increasing engagement by 38% compared to static images.
Essential Checklist Before Exporting
- ✅ Trim video to shortest effective duration
- ✅ Crop canvas to focus on subject
- ✅ Confirm frame rate matches intended rhythm (typically 10–15 fps)
- ✅ Preview animation in timeline with loop enabled
- ✅ Limit color palette to 256 or fewer
- ✅ Test file size in Save for Web preview
- ✅ Verify no unintended flickering or artifacts between frames
- ✅ Name file clearly and save source PSD for future edits
Frequently Asked Questions
Can I create a GIF from multiple video clips in one animation?
Yes. Import each video as separate frame sequences, then copy and arrange the desired frames into a single timeline. Align them sequentially or overlap based on your creative goal. Ensure consistent canvas size across all clips to avoid alignment issues.
Why does my GIF look pixelated after export?
Pixelation usually results from upscaling a low-resolution video or using excessive frame skipping. Always work with the highest quality source possible and avoid enlarging beyond the original dimensions. Also, check that \"Nearest Neighbor\" resampling isn’t selected during resize—use Bicubic Sharper instead for cleaner scaling.
How do I make part of my GIF transparent?
To add transparency, first isolate your subject using selection tools or masks. Delete the background on all relevant frames, then ensure Transparency is enabled in the Save for Web settings. Note: Complex transparency (like semi-opaque edges) may not render perfectly in GIF format due to its limited alpha channel support—consider APNG or video formats for such cases.
Final Thoughts and Next Steps
Creating compelling GIFs in Photoshop goes beyond simple conversion—it's about intentional design, technical precision, and understanding how motion enhances communication. By mastering the timeline, optimizing color depth, and respecting file constraints, you turn raw video into engaging micro-content tailored for today’s fast-paced digital landscape.
The skills learned here extend beyond social posts. Use them to build interactive tutorials, email campaign visuals, UI prototypes, or even animated logos. The key is practice: experiment with timing, explore blending modes, and refine your export settings until you achieve both aesthetic excellence and technical efficiency.


 浙公网安备
33010002000092号
浙公网安备
33010002000092号 浙B2-20120091-4
Comments
No comments yet. Why don't you start the discussion?