
Photographs are everywhere—on social media, websites, messaging apps, and emails. But what happens when you come across an image with no source, unclear origin, or suspect authenticity? That’s where Google Reverse Image Search becomes indispensable. This powerful tool allows users to upload or paste an image URL and uncover its history, variations, usage contexts, and even higher-quality versions. When used effectively, it transforms vague visual clues into actionable insights.
Whether you're verifying a photo for research, tracking down the original creator, identifying a product, or investigating potential misinformation, mastering reverse image search is a skill that pays dividends across personal, professional, and academic domains.
How Google Reverse Image Search Works
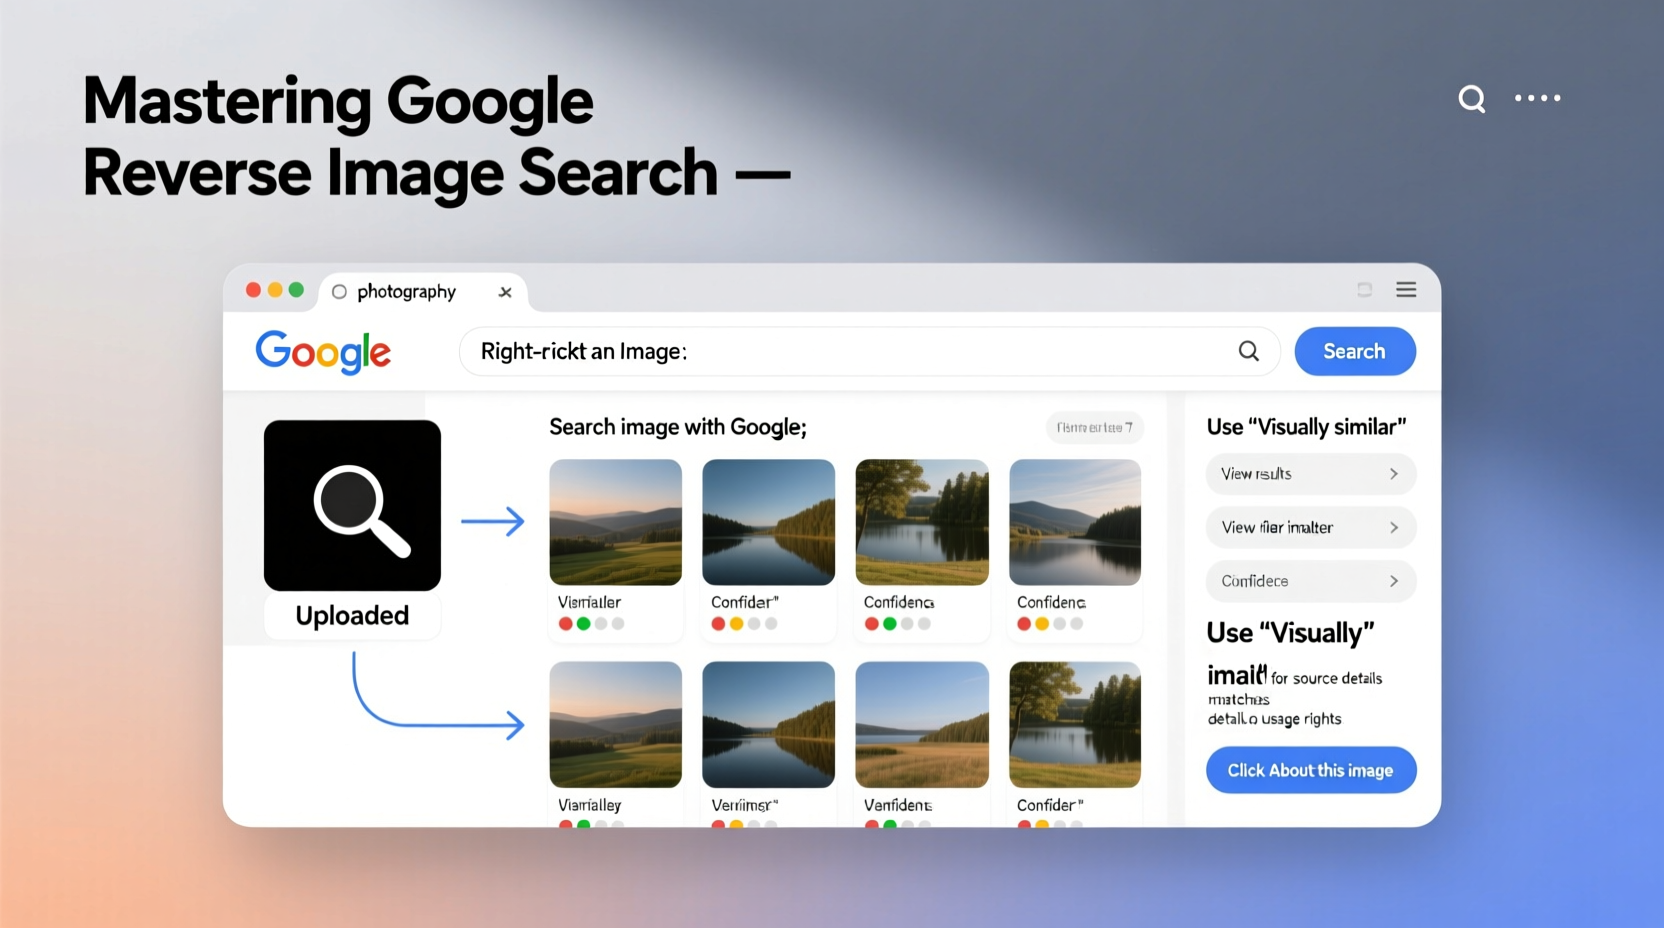
Unlike traditional text-based searches, Google Reverse Image Search analyzes the visual content of an image using computer vision algorithms. It creates a digital \"fingerprint\" based on shapes, colors, textures, and composition, then matches it against billions of indexed images online. The results show visually similar pictures, exact matches, and web pages where the image appears.
The technology doesn’t rely on file names or metadata, which can be misleading or stripped away. Instead, it focuses on the actual pixels, making it effective even when images have been resized, cropped, or slightly edited.
“Reverse image search is one of the most underused yet powerful tools in digital literacy. It empowers users to trace information back to its source.” — Dr. Lisa Tran, Digital Forensics Researcher at Stanford University
Step-by-Step Guide to Performing a Reverse Image Search
Using Google’s reverse image search is straightforward, but knowing the right method for your situation improves accuracy and speed. Follow these steps depending on your device and the image source.
- Open Google Images: Go to images.google.com on your desktop browser.
- Click the camera icon in the search bar. This opens the reverse image search interface.
- Upload an image from your device or paste an image URL if the photo is already online.
- Review the results, which include:
- Pages where the image appears
- Sizes and resolutions available
- Visually similar images
On mobile devices, use the Google app or Chrome browser:
- Navigate to the webpage containing the image.
- Tap and hold the image until a menu appears.
- Select “Search image with Google Lens” (Android) or “Look up image” (iOS).
- Wait for results showing related sites, shopping links, and context.
Practical Applications and Real-World Use Cases
Reverse image search isn’t just for curiosity—it has real utility across multiple scenarios.
Finding Original Sources and Creators
Photographers, designers, and content creators often discover their work being used without credit. By uploading their own image, they can identify unauthorized usage and request proper attribution or takedown.
Verifying Authenticity of Social Media Content
A viral photo claiming to show a natural disaster might actually be years old or from a different country. Journalists and fact-checkers routinely use reverse image search to debunk false narratives.
“During the 2023 Canadian wildfires, we found over 30% of shared ‘fire footage’ was mislabeled or outdated. Reverse image search was critical in separating truth from misinformation.” — Jordan Lee, Senior Editor at FactCheckNow.org
Shopping and Product Identification
See a piece of furniture, clothing, or gadget in a photo but don’t know the brand? Upload the image to find retail listings, prices, and customer reviews.
Researching Art and Historical Images
Art students and historians use reverse search to identify paintings, sculptures, or archival photographs. Results often lead to museum databases, academic articles, or auction records.
Expert Tips for Better Results
Not all reverse searches yield useful results. Here’s how to improve accuracy and depth:
- Use high-resolution images whenever possible—low-quality thumbnails reduce matching accuracy.
- Try multiple formats: If the initial upload fails, convert the image to JPG or PNG and retry.
- Check “Visually Similar Images” at the bottom of results—this section often reveals earlier versions or originals.
- Combine with keyword filters: After running the search, add descriptive keywords (e.g., “vintage car,” “Paris skyline”) to refine results.
Do’s and Don’ts of Reverse Image Searching
| Do’s | Don’ts |
|---|---|
| ✅ Use clear, focused images | ❌ Expect 100% accuracy every time |
| ✅ Verify results across multiple sources | ❌ Assume the first result is correct |
| ✅ Respect copyright—don’t republish without permission | ❌ Use it to stalk or invade privacy |
| ✅ Save time by dragging images directly into Google Images | ❌ Rely solely on it for legal evidence without corroboration |
Mini Case Study: Tracing a Misattributed Wildlife Photo
In early 2024, a wildlife conservation group received a stunning photo of a snow leopard in the Himalayas. A donor claimed it was taken during a recent expedition. Suspicious of the image quality, the team ran a reverse image search.
The results revealed the photo had first appeared on a National Geographic feature in 2017, credited to photographer Rajiv Mehta. Further investigation confirmed the donor had downloaded it from a public gallery. Thanks to reverse search, the organization avoided misrepresenting the image in their campaign and instead reached out to license it properly.
This case underscores how reverse image search protects both credibility and intellectual property.
Common Challenges and How to Overcome Them
Some images return no results or irrelevant matches. This typically happens when:
- The image is very new and not yet indexed.
- It's heavily edited or contains unique compositions with few online parallels.
- It's from a private or password-protected site.
To increase success rates:
- Try searching cropped sections of the image individually.
- Convert the image to black and white if color variations are interfering.
- Use alternative reverse search engines like Yandex or TinEye as supplements.
FAQ
Can I reverse search images from Instagram or WhatsApp?
Yes, but only if you can save the image to your device. Due to platform restrictions, direct linking may not work. Save the photo first, then upload it to Google Images.
Is reverse image search free to use?
Yes, Google’s reverse image search is completely free. No account or login is required. Some third-party tools offer advanced features for a fee, but Google’s built-in functionality covers most needs.
Does reverse image search work on screenshots?
Yes, especially if the screenshot contains a clear, central image. However, surrounding UI elements (like app menus or status bars) may reduce accuracy. Crop tightly around the subject before uploading.
Final Checklist: Master Your Reverse Image Searches
- ☑ Save or copy the image to your device
- ☑ Crop to the essential subject
- ☑ Use Google Images on desktop or Google Lens on mobile
- ☑ Upload the file or paste the URL
- ☑ Analyze “Pages that include the image” and “Visually similar” results
- ☑ Cross-reference findings for verification
- ☑ Respect copyright and privacy boundaries
Conclusion
Google Reverse Image Search is more than a tech trick—it’s a gateway to transparency in a world saturated with digital visuals. From protecting intellectual property to stopping misinformation, the ability to trace an image’s journey adds clarity and confidence to everyday decisions.
With practice, anyone can turn a simple photo into a rich source of information. Start experimenting today: upload an image, explore its origins, and see how much you can uncover. The next time you’re unsure about a picture online, you’ll know exactly what to do.


 浙公网安备
33010002000092号
浙公网安备
33010002000092号 浙B2-20120091-4
Comments
No comments yet. Why don't you start the discussion?