
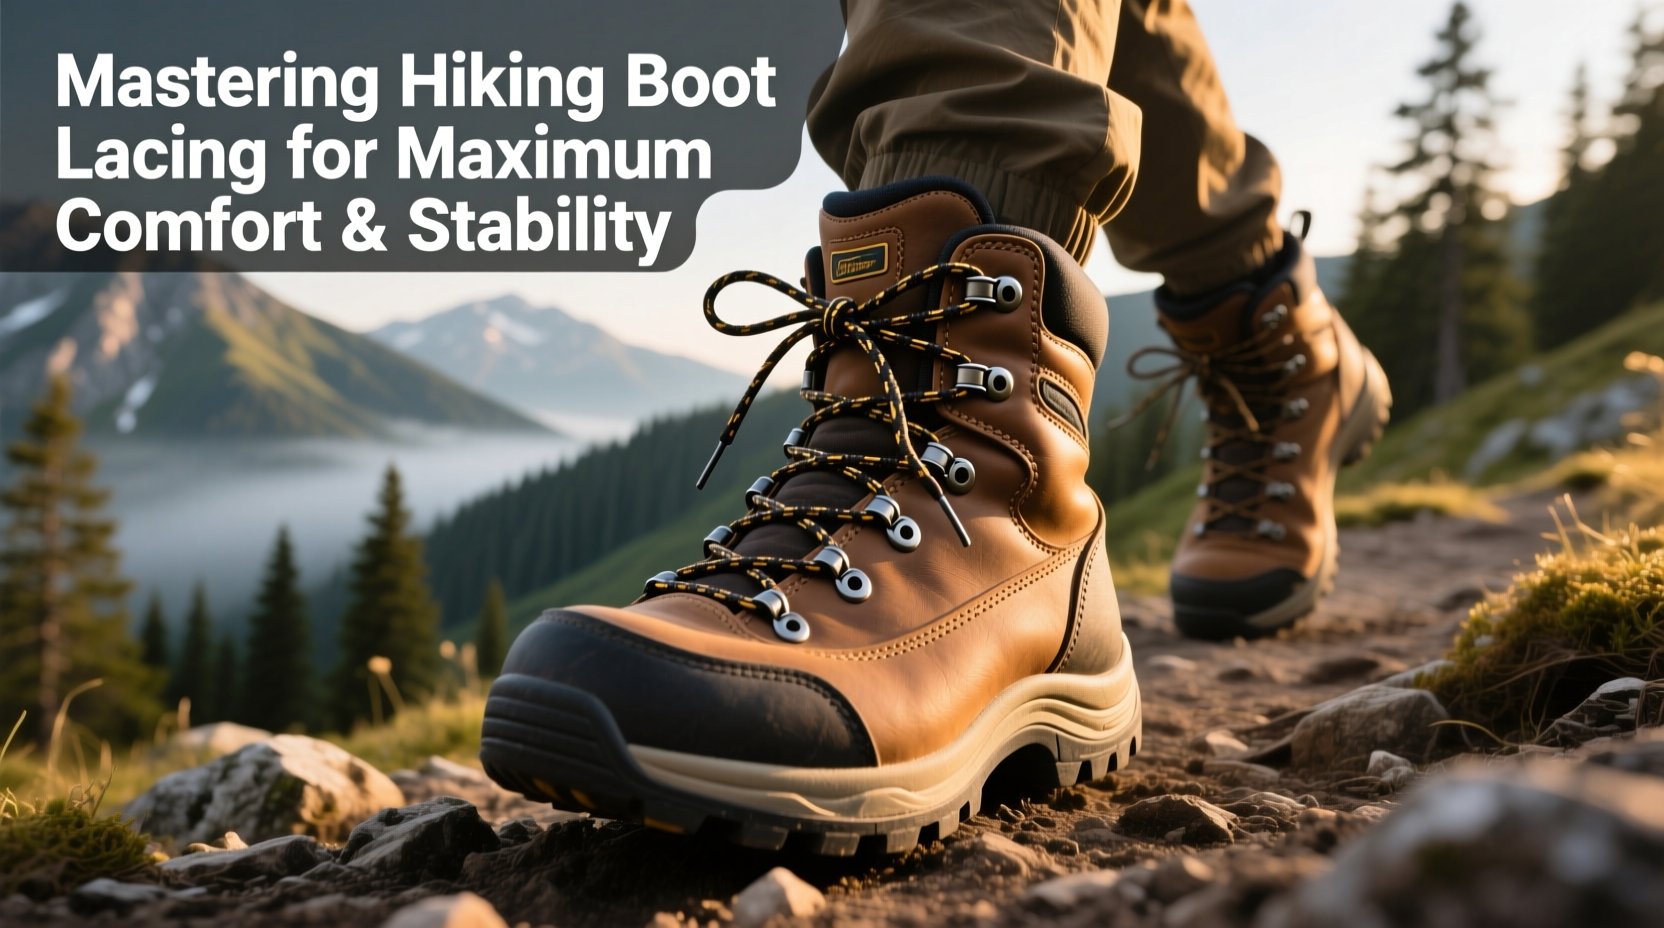
Many hikers overlook the role of proper lacing in overall foot health and performance. Yet, how you lace your hiking boots can dramatically influence comfort, support, and even injury prevention. Whether you're tackling steep alpine ridges or walking forest trails, a few simple adjustments to your lacing method can eliminate pressure points, reduce heel slippage, and provide targeted support where it’s needed most. This guide dives into proven lacing techniques that professional hikers, outdoor educators, and podiatrists recommend for optimal foot management in rugged terrain.
Why Lacing Technique Matters More Than You Think
Most people treat boot lacing as an afterthought—tighten up and go. But poorly distributed tension can lead to numb toes, hot spots, ankle roll, and premature fatigue. The human foot changes shape under load: arches flatten, heels lift during descent, and forefeet swell over time. Standard crisscross lacing rarely accommodates these shifts, which is why specialized methods exist.
A 2023 study by the American College of Sports Medicine found that 68% of hikers reported foot discomfort directly linked to improper lacing patterns. Adjusting lacing technique reduced pain incidence by over 50% in long-distance trekkers. The takeaway? Lacing isn’t just about securing your foot—it’s about dynamic support across changing conditions.
“Lacing is biomechanical fine-tuning. It’s not just holding the foot in place; it’s managing movement, pressure, and circulation.” — Dr. Lena Torres, Sports Podiatrist and Outdoor Medicine Consultant
Step-by-Step Guide to Advanced Lacing Techniques
Below are five essential lacing methods designed to solve common hiking problems. Each requires only your existing laces and a few extra minutes before hitting the trail.
1. Skip-Lacing for Pressure Relief
Ideal for those with high arches or top-of-foot pain. This method reduces pressure across the instep by bypassing problematic eyelets.
- Start normally from the toe end.
- After crossing the first two pairs, skip one set of eyelets diagonally.
- Continue lacing upward, skipping the same pair each time.
- Finish with a standard lock or loop knot.
2. Heel-Lock (Runner’s Loop) for Stability
Prevents heel lift during downhill sections, reducing blister risk.
- Lace normally up to the second-to-last eyelet.
- Instead of crossing, thread each lace straight up through the last eyelet on the same side.
- Create a small loop (like a “bunny ear”) on each side.
- Pull the opposite lace through each loop and tighten.
- Secure with a regular bow.
This creates a locking mechanism that cinches the ankle collar snugly without over-compressing the forefoot.
3. Window Lacing for Hot Spots or Bunion Relief
Creates a “floating” section over painful areas like bunions or surgical scars.
- Lace up to the area of discomfort.
- Skip two eyelets horizontally, forming a rectangular gap (“window”).
- Continue lacing above the window, then pull lower segments tight.
- The un-laced section relieves direct pressure while maintaining overall fit.
4. Surgeon’s Knot for Secure Tie-Down
Prevents laces from loosening mid-hike due to vibration or flexing.
- Cross laces and form a standard starting knot.
- Before making the final bow, wrap the loops twice instead of once.
- Pull tightly—the double wrap resists slippage.
Especially useful on rocky descents or uneven ground.
5. Parallel Lacing for Even Tension Distribution
Best for wide feet or boots with stiff uppers.
- Thread laces straight across from bottom to top, keeping both sides parallel.
- No diagonal crossings—this evens out pressure across the entire footbed.
- Can be combined with heel-lock at the top.
Offers consistent hold without localized tightening.
Do’s and Don’ts of Hiking Boot Lacing
| Do’s | Don’ts |
|---|---|
| Adjust lacing after the first 10–15 minutes of hiking, once your foot has settled. | Over-tighten the forefoot, which can restrict circulation and cause numbness. |
| Use different techniques on each boot if you have asymmetrical foot issues. | Ignore early signs of rubbing—adjust before blisters form. |
| Re-lace mid-hike if swelling or terrain changes occur. | Use knotted loops that dig into tendons or nerves. |
| Experiment during short walks before relying on new methods in remote areas. | Assume one method works for all boots—fit varies by model and brand. |
Real Example: A Long-Distance Hiker’s Fix
Jamie Rivera completed the 2,650-mile Pacific Crest Trail in 2022 but struggled with persistent heel blisters in the first 500 miles. After consulting a wilderness first responder, Jamie adopted the heel-lock lacing technique and paired it with padded ankle socks. The change eliminated blister recurrence for the remainder of the journey. “I wasted weeks of agony trying different socks and insoles,” Jamie recalls. “It wasn’t until I changed how I tied my boots that my feet finally stayed intact.”
Checklist: Optimizing Your Lacing Routine
- Inspect boots for worn eyelets or frayed laces before each trip.
- Break in new boots with your preferred lacing method during short hikes.
- Carry replacement laces of the same length and material.
- Test multiple lacing styles on varied terrain (ascent, descent, flat).
- Adjust tension zones based on foot swelling throughout the day.
- Use a secure knot that won’t come undone but is easy to untie when fatigued.
- Retie after removing boots for stream crossings or rest breaks.
Frequently Asked Questions
How tight should hiking boots be laced?
Your heel should stay firmly in place without lifting more than 1/4 inch. The forefoot should have room to expand slightly, especially on descents. If your toes hit the front during downhill walking, loosen the upper third of the laces and tighten the lower section instead.
Can lacing techniques really prevent blisters?
Yes. Blisters often result from micro-movements and friction caused by heel slippage or lateral shifting. Proper lacing minimizes these movements. The heel-lock method, in particular, reduces rearfoot motion by up to 40%, according to field tests by REI Co-op Labs.
Should I use different laces for better performance?
Absolutely. Flat polyester or nylon laces resist slipping better than round or elastic ones. For wet environments, consider water-resistant paracord-style laces. Avoid waxed laces unless you want permanent knots—they’re difficult to re-adjust on the move.
Conclusion: Lace Smart, Hike Farther
Mastery of lacing techniques transforms an ordinary hike into a comfortable, sustainable experience. These methods require no special gear, only attention and practice. By tailoring your lacing to your foot’s needs and the demands of the trail, you gain control over fit, reduce injury risk, and extend your time outdoors. Comfort isn’t accidental—it’s engineered through details like how you tie your boots.


 浙公网安备
33010002000092号
浙公网安备
33010002000092号 浙B2-20120091-4
Comments
No comments yet. Why don't you start the discussion?