
Drawing a bird cage might seem like a simple exercise, but it offers a rich opportunity to practice foundational art skills such as linear perspective, symmetry, texture rendering, and spatial depth. Whether you're aiming for a photorealistic sketch or a whimsical, stylized version, understanding the structure and components of a bird cage allows you to build confidence in observational drawing and imaginative design. This guide breaks down the process into manageable steps while offering advanced techniques to elevate your results.
Understanding the Structure of a Bird Cage
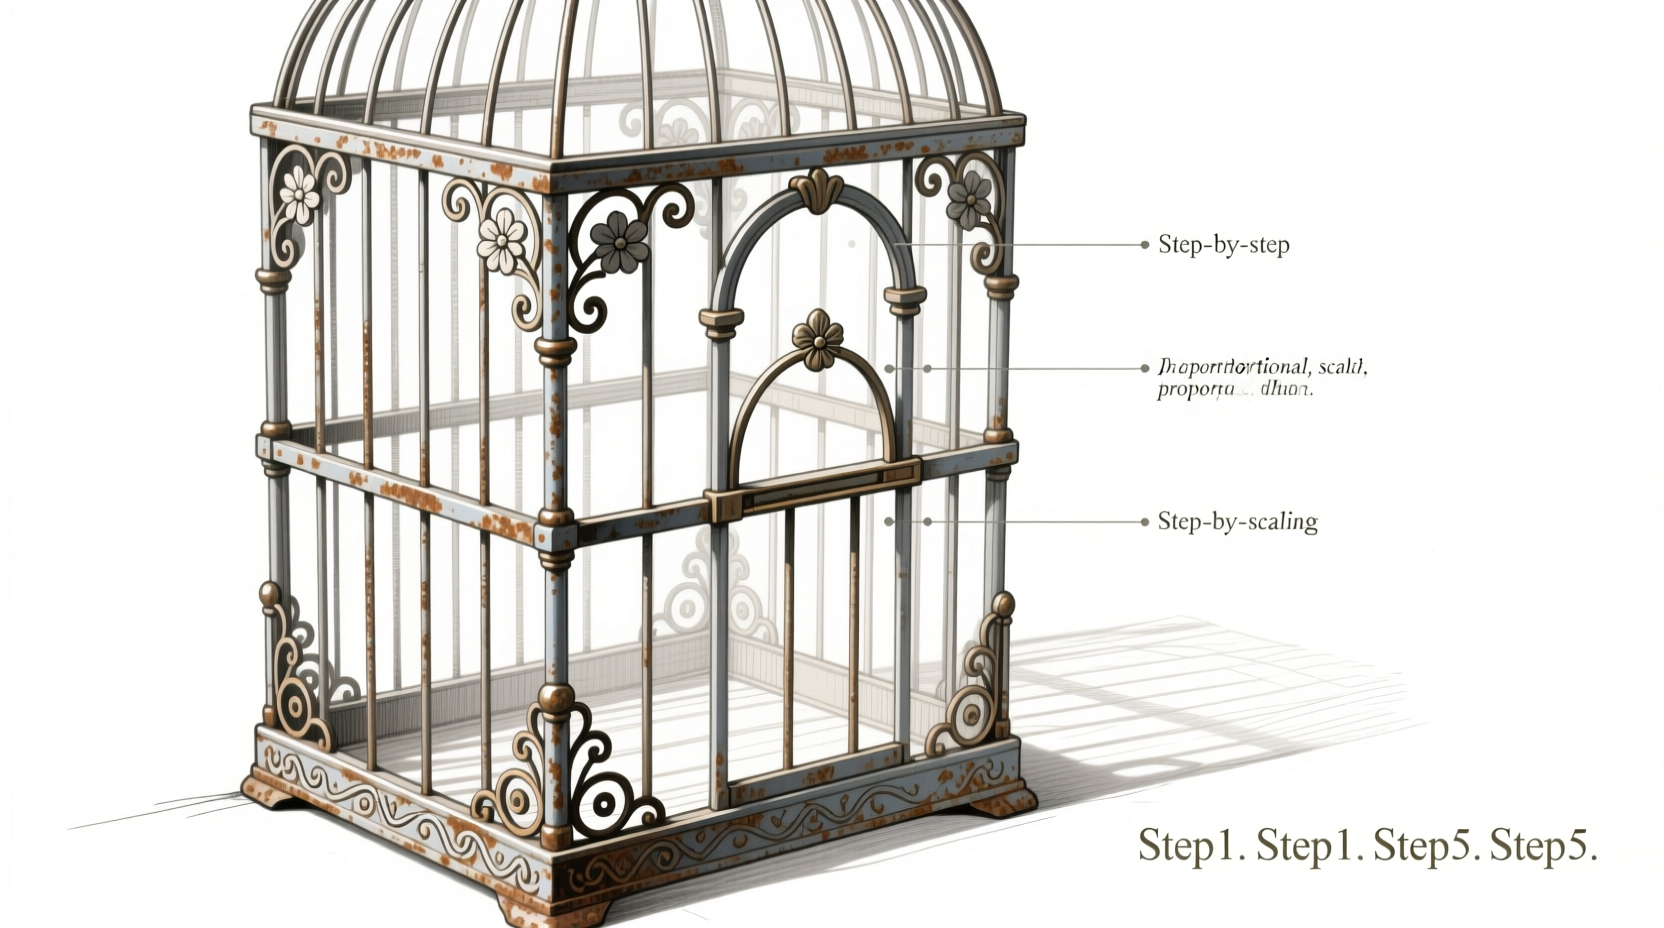
A bird cage is more than just wires and bars—it’s a three-dimensional object composed of geometric forms, repeating patterns, and functional details. Before putting pencil to paper, study reference images from multiple angles. Notice the dome-shaped top, vertical bars, door latch, perches, and base tray. Most cages follow a cylindrical or rectangular prism form with a rounded roof, making them ideal subjects for practicing ellipses and vanishing points.
The key structural elements include:
- Frame: The outer shell, typically metal or wrought iron, defining the cage’s shape.
- Bars: Evenly spaced vertical or radial rods that provide containment and visual rhythm.
- Door: A small hinged opening, often centered on one side, with a latch mechanism.
- Roof: Often arched or domed, sometimes featuring a handle or decorative finial.
- Base: A flat or slightly recessed tray, sometimes with feet or wheels.
- Interior details: Perches, food cups, toys—these add realism and narrative.
“Drawing mechanical objects like cages trains your eye for proportion and repetition—skills that transfer directly to figure drawing and architecture.” — Daniel Reyes, Art Instructor at Portland School of Fine Arts
Step-by-Step Guide to Drawing a Realistic Bird Cage
Follow this structured approach to create a convincing, dimensionally accurate bird cage. Use light pencil strokes (HB or 2H) for initial construction lines, then darken final contours with a softer pencil (2B–6B).
- Sketch the overall shape: Lightly draw an oval for the base and another for the top rim. Connect them with two vertical centerlines—one front, one back—to establish height and symmetry.
- Define the roof: Above the top oval, draw a curved line forming a dome. Add a small circle or teardrop shape at the peak for the finial.
- Lay out the bars: Divide the bottom oval into equal segments (start with 8–12). Draw vertical lines from each point up to the roof. For a cylindrical cage, these should converge slightly toward the center axis to simulate perspective.
- Add the door: Leave 2–3 bar spaces open on the front. Sketch a rectangular frame around the gap and add a small arc for the hinge on one side and a latch on the other.
- Draw the base tray: Below the lower oval, add a thinner oval to represent the tray. Include subtle thickness with a short vertical line connecting the two ovals.
- Refine interior elements: Place a horizontal perch near the middle. Add tiny cups on either side using U-shapes with shadowed interiors.
- Apply shading and texture: Use cross-hatching for shadowed areas beneath the roof and along the back bars. Shade between bars to enhance depth. Highlight front-facing surfaces with eraser lifts.
Creative Variations and Design Ideas
Once you’ve mastered the basic form, experiment with imaginative interpretations. A bird cage doesn’t have to be traditional. Artists often use cages symbolically—in steampunk scenes, surreal compositions, or vintage illustrations. Consider these creative directions:
- Vintage brass cage: Replace black iron bars with ornate scrollwork. Add floral engravings and patina spots using stippling.
- Floating glass terrarium: Draw transparent walls with faint contour lines. Use soft gradients instead of hard edges.
- Gothic cathedral-style: Incorporate pointed arches, ribbed vaults, and stained-glass patterns in the roof.
- Miniature fairy cage: Scale it down with vine-like branches, mushroom caps, and glowing orbs inside.
To push creativity further, combine the cage with unexpected elements—a clock face on the door, ivy growing through the bars, or a single feather suspended mid-air inside.
Essential Techniques for Realism and Depth
Realism hinges not on detail alone, but on accurate value transitions and spatial logic. Apply these techniques to make your drawing stand out:
| Technique | Application | Tools Needed |
|---|---|---|
| Atmospheric perspective | Back bars appear lighter and less defined than front ones | Hard pencil (H), blending stump |
| Line weight variation | Thicker lines for foreground, thinner for background | Mechanical pencil, 2B–4B |
| Cast shadows | Shadow under base and across floor surface | Soft pencil (6B), tissue paper |
| Reflective highlights | Small white dots on metal bars facing light source | Eraser pen or kneaded eraser |
Use a single light source (e.g., upper left) to maintain consistency. Shadows should fall diagonally downward to the right. Avoid over-darkening—subtlety often reads as more realistic than heavy shading.
Common Mistakes and How to Avoid Them
Even experienced artists can stumble on technical pitfalls when drawing repetitive structures. Recognizing these errors early improves accuracy and efficiency.
- Mistake: Uniform bar spacing in perspective
- Bars should appear closer together as they recede into space. Use a vanishing point to align them correctly.
- Mistake: Flat, lifeless shading
- Avoid wrapping shade uniformly around bars. Each rod has a highlight, midtone, and core shadow based on light angle.
- Mistake: Ignoring the environment
- A cage doesn’t float. Add a simple ground line or suggest flooring texture to anchor it.
Mini Case Study: From Sketch to Gallery Submission
Sophie Tran, a self-taught artist from Austin, entered a local exhibition with her graphite drawing titled *Empty Perch*. She began with a standard bird cage tutorial but transformed it into a poignant piece about absence and memory. By adding subtle cracks in the paint, a lone feather on the tray, and a blurred reflection in the metal, she elevated a technical drawing into storytelling.
“I spent two hours just getting the ellipse of the base right,” she shared. “But once the foundation was solid, the emotional details came naturally. People assumed it was painted, but it’s all pencil.” Her work won second place in the mixed media category, proving that mastery of basics opens doors to deeper expression.
Checklist: Preparing Your Final Drawing
Before declaring your artwork complete, run through this checklist:
- ✅ Construction lines are erased or minimized
- ✅ Bar spacing is consistent and perspective-correct
- ✅ Light source is uniform across all elements
- ✅ Interior details enhance, not clutter, the scene
- ✅ Background or floor adds context without distracting
- ✅ Signature is placed discreetly in a corner
FAQ
Can I draw a bird cage without knowing perspective rules?
You can, but applying basic one-point or two-point perspective dramatically improves realism. Start with simplified guidelines—even rough convergence lines help avoid a \"flat\" look.
What if my bars look wobbly or uneven?
This is common. Use a ruler for initial placement, especially in symmetrical sections. For freehand work, draw every third bar first, then fill in the gaps. Practice straight-line control on scrap paper before transferring to your final piece.
How do I make metal look shiny?
Focus on contrast. Darken areas opposite the light source and leave sharp, narrow highlights where light hits directly. Use a kneaded eraser to lift precise streaks on bars facing the viewer.
Conclusion: Turn Technique Into Expression
Drawing a bird cage is more than a technical drill—it’s a gateway to precision, patience, and personal style. With each stroke, you’re not just replicating wires and curves; you’re training your hand to see relationships, balance, and mood in ordinary objects. Whether your goal is hyperrealism or symbolic illustration, the skills developed here apply across genres and mediums.


 浙公网安备
33010002000092号
浙公网安备
33010002000092号 浙B2-20120091-4
Comments
No comments yet. Why don't you start the discussion?