
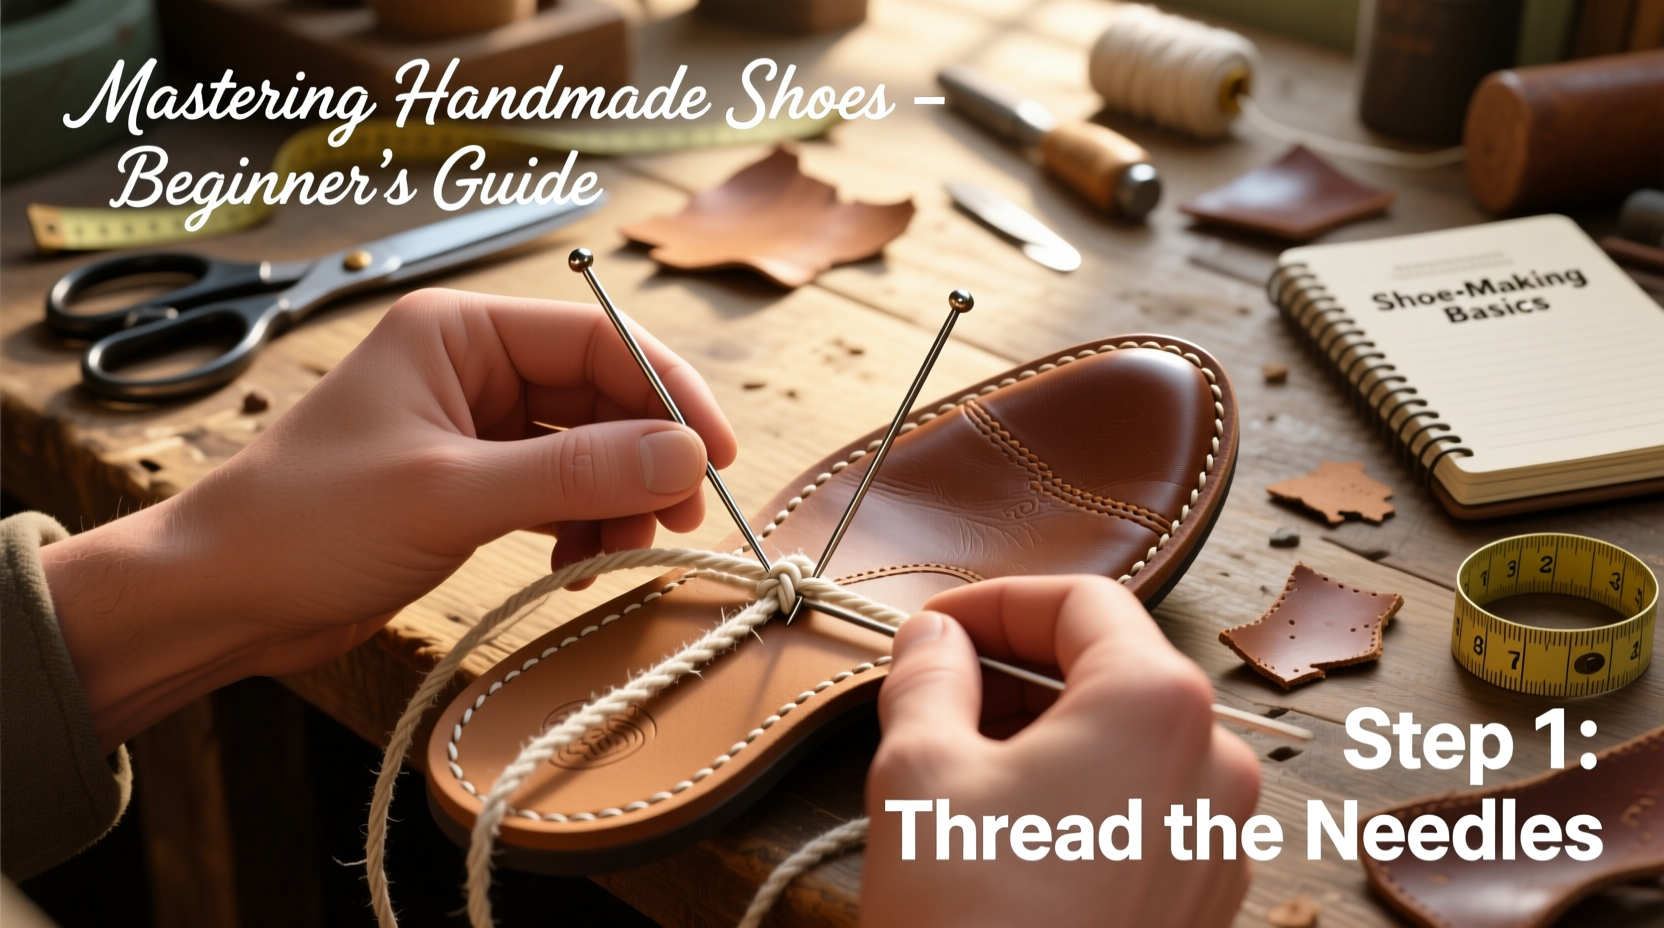
Knitting your own shoes may sound like a craft reserved for experts, but with the right guidance, even beginners can create cozy, handmade footwear using just two straight needles. Unlike complex circular knitting or loom-based methods, working on two needles allows full control over shaping, tension, and design—ideal for those new to wearable knitting projects. This guide walks you through every stage, from selecting yarn to finishing seams, so you can confidently knit your first pair of slippers or soft-soled shoes.
Gathering the Right Materials and Tools
The foundation of any successful knitting project lies in preparation. Before casting on, ensure you have all necessary supplies. The materials you choose directly affect comfort, durability, and fit.
| Item | Recommended Type | Why It Matters |
|---|---|---|
| Yarn | Worsted weight wool or wool blend | Durable, warm, and elastic enough to hold shape |
| Needles | Size US 7–9 (4.5–5.5 mm) straight needles | Balances stitch definition and ease of handling |
| Tapestry Needle | Large-eye blunt needle | For weaving in ends and seaming |
| Scissors | Small, sharp fabric scissors | Precise cutting without snagging fibers |
| Measuring Tape | Flexible sewing tape | To measure foot length and gauge swatches |
Understanding Basic Shoe Structure
A knitted shoe made on two needles typically consists of four flat pieces: the upper, tongue, sole, and heel flap (if applicable). These are later stitched together. Unlike socks knitted in the round, this method uses traditional back-and-forth rows, making it easier to manage for beginners.
The most common design is a slipper-style shoe with a moccasin construction. This involves folding the sole piece under and stitching the upper around it, mimicking traditional leather moccasins. The result is a flexible, comfortable shoe ideal for indoor use or light outdoor wear.
- Upper: Covers the top of the foot; often includes ribbing for stretch.
- Sole: Reinforced base; usually double-thick for durability.
- Tongue: Optional extra layer for warmth and comfort.
- Heel Flap: Adds structure and prevents slipping off.
“Flat knitting gives beginners a clear view of their progress and makes it easier to correct mistakes.” — Clara Nguyen, Handknit Footwear Designer
Step-by-Step Guide to Knitting Your First Pair
Follow this structured process to create a simple pair of knitted slippers suitable for average adult feet (size 7–9 US).
- Measure your foot: Use a measuring tape to record length from heel to toe and width across the ball of the foot.
- Knit a gauge swatch: Cast on 20 stitches, knit in stockinette stitch for 4 inches, then measure how many stitches equal 1 inch. Adjust needle size if needed.
- Cut yarn and prepare: Cut four strands approximately 3 yards long for each major piece to avoid joining mid-piece.
- Knit the sole:
- Cast on number of stitches = foot width in inches × gauge stitches per inch.
- Knit in garter stitch (every row knit) for length equal to foot length minus 1 inch (for seam allowance).
- Bind off loosely.
- Knit the upper:
- Cast on same number as sole.
- Work 1-inch ribbing (k1, p1) for elasticity.
- Switch to stockinette stitch and knit for height equal to instep measurement (typically 3–4 inches).
- Shape toe by decreasing one stitch at each end every other row until 10 stitches remain. Bind off.
- Knit heel flap (optional):
- Cast on half the upper’s stitch count.
- Knit 2 inches in garter stitch.
- Bind off.
- Assemble the shoe:
- Place sole and upper right sides together.
- Using mattress stitch, sew along three edges (both sides and front), leaving the top open.
- Turn right side out.
- Fold sole underneath and ladder-stitch it to the inside of the upper.
- Attach heel flap by folding it over and stitching to the back seam.
Real Example: Sarah’s First Knitted Slippers
Sarah, a beginner knitter from Vermont, wanted to make warm house slippers for her grandmother. She had only completed scarves before but followed a simplified two-needle pattern similar to the one above. Using a soft merino wool blend and size 8 needles, she measured her grandmother’s foot and adjusted the cast-on accordingly. Her first attempt had uneven tension, but after blocking the pieces, the fit improved significantly. She added a contrasting yarn border around the opening for decoration. The final product was not only functional but deeply personal. Her grandmother wore them daily and praised both comfort and craftsmanship.
This example shows that imperfections are part of the learning curve—and that thoughtful adjustments lead to satisfying results.
Common Mistakes and How to Avoid Them
New knitters often encounter predictable challenges when making shoes. Recognizing these early helps maintain motivation and quality.
- Mistake: Sole too small → Solution: Always add ½ inch to sole length for seam allowance and natural foot compression.
- Mistake: Upper too tight → Solution: Incorporate ribbing at the ankle edge for stretch.
- Mistake: Uneven seaming → Solution: Use a contrasting waste yarn basting thread along edges before sewing to align pieces perfectly.
- Mistake: Poor durability → Solution: Double-strand yarn when knitting the sole or reinforce with fusible interfacing.
“Don’t rush assembly. Taking time to pin and baste pieces ensures a professional finish.” — James Reed, Textile Educator
Frequently Asked Questions
Can I make waterproof shoes with this method?
Not inherently. Knitted fabrics are breathable but not water-resistant. However, you can apply a fabric sealant spray or line the inside with a thin moisture-wicking felt layer for limited protection against damp surfaces.
How do I adjust the pattern for larger or smaller feet?
Recalculate based on gauge. For example, if your gauge is 5 stitches per inch and the foot measures 9 inches wide, cast on 45 stitches. Adjust length similarly. Always test fit during assembly and modify before final seaming.
Are these shoes durable enough for walking outside?
Light outdoor use is possible with reinforced soles. Consider adding non-slip pads cut from old yoga mats or purchasing adhesive anti-slip dots. Avoid prolonged exposure to wet conditions.
Final Checklist Before You Begin
- ✅ Measure foot accurately
- Length and width recorded with room for seam allowance.
- ✅ Swatch and check gauge
- Ensures proper sizing and tension.
- ✅ Choose durable yarn
- Wool blends with nylon or acrylic enhance strength.
- ✅ Prepare all tools
- Needles, tapestry needle, scissors, pins, and blocking mats ready.
- ✅ Follow assembly order
- Sew upper first, then attach sole, then heel.
Conclusion
Learning how to make shoes on two needles opens up a world of creative possibility. What begins as a simple knitting exercise evolves into a practical skill that combines comfort, sustainability, and personal expression. Whether you're crafting gifts, reducing waste, or simply enjoying hands-on creation, each pair you knit becomes a testament to patience and care. Start small, embrace mistakes as lessons, and soon you’ll be designing variations of your own—perhaps with cables, colorwork, or different closures.


 浙公网安备
33010002000092号
浙公网安备
33010002000092号 浙B2-20120091-4
Comments
No comments yet. Why don't you start the discussion?