
Laser cutters have transformed how makers, designers, and manufacturers bring ideas to life. From intricate wood inlays to precise acrylic enclosures, the technology offers unmatched accuracy and repeatability. Yet, without proper knowledge, even experienced users risk equipment damage, material waste, or personal injury. Mastering laser cutter techniques requires more than pressing “start”—it demands understanding machine behavior, material response, and safety protocols. This guide delivers actionable insights to help you operate your laser cutter safely, efficiently, and with professional-level results.
Understanding Your Laser Cutter: Types and Components
Laser cutters fall into three primary categories: CO₂, fiber, and diode lasers. Each serves different materials and applications.
- CO₂ lasers are ideal for non-metallic materials like wood, acrylic, fabric, and leather. They use a gas mixture excited by electricity to produce a beam at 10.6 micrometers wavelength—perfectly absorbed by organic compounds.
- Fiber lasers excel at marking and cutting metals. Their shorter wavelength (around 1.06 μm) interacts efficiently with conductive surfaces, making them standard in industrial metal fabrication.
- Diode lasers, often found in desktop units, offer lower power but high portability. They work best on thin materials like paper, cardboard, or engrave anodized aluminum.
Regardless of type, all laser cutters share core components: the laser source, motion system (gantry or galvo mirrors), focusing lens, exhaust system, and control software. The focusing lens concentrates the beam to a tiny point—typically 0.1 to 0.3 mm in diameter—enabling fine detail. Misalignment or contamination of this lens drastically reduces cut quality.
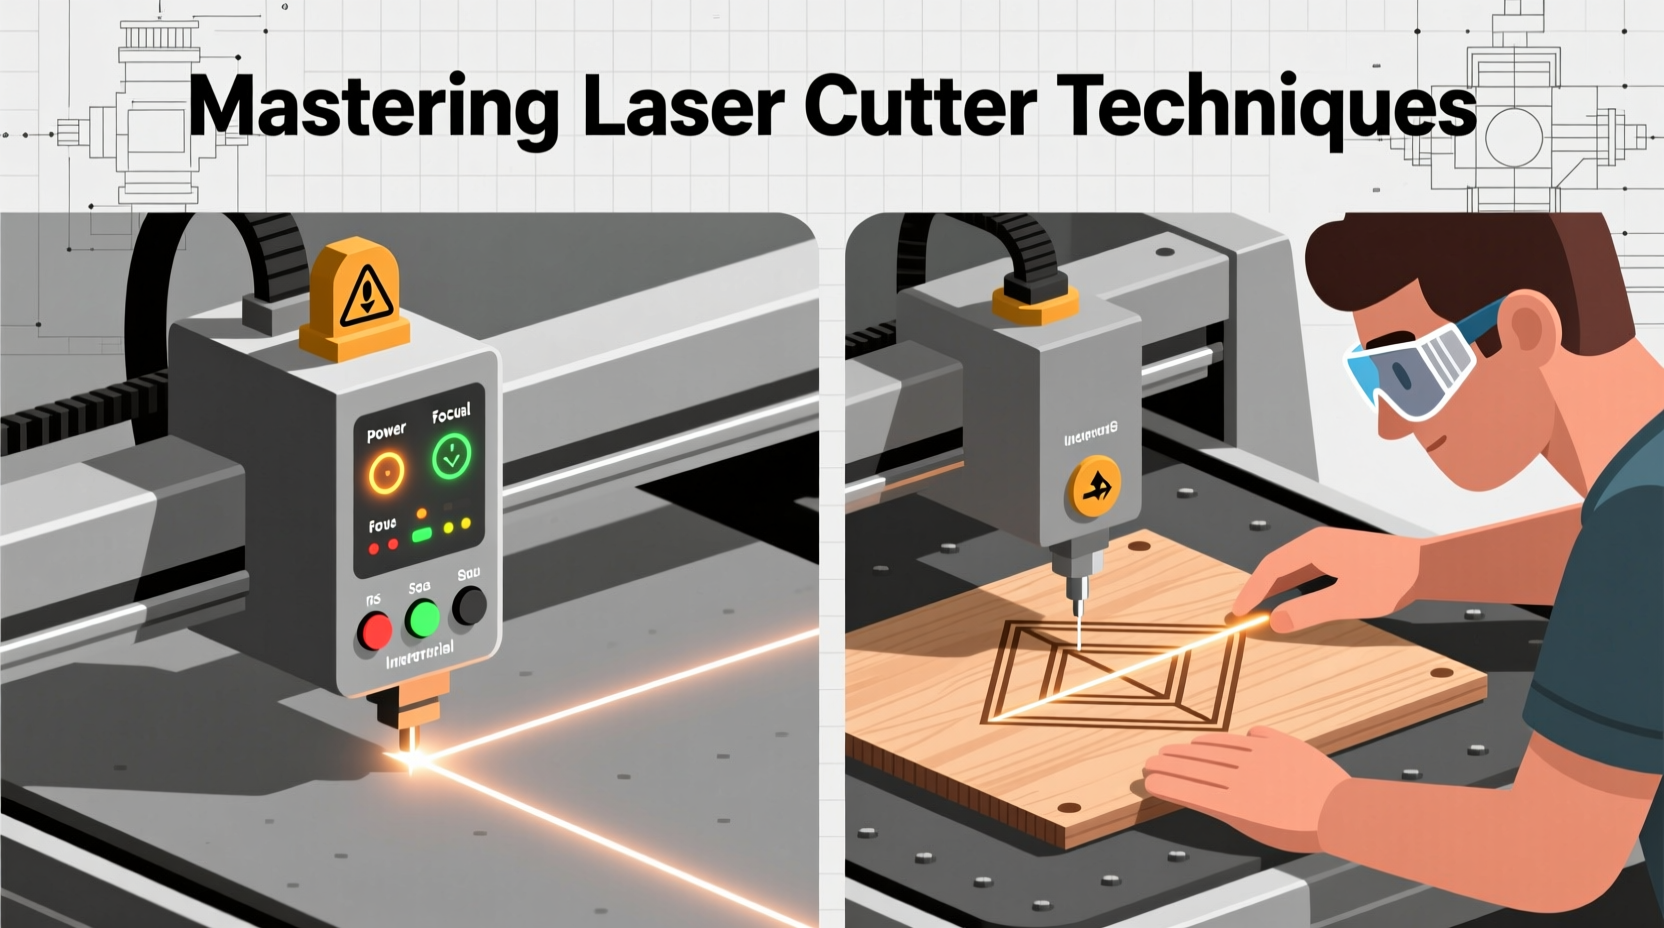
Safety First: Protocols Every Operator Must Follow
The concentrated energy of a laser beam poses real risks: fire, toxic fumes, and eye damage. Safety isn’t optional—it’s foundational.
Never operate a laser cutter without protective eyewear rated for the specific wavelength in use. For CO₂ lasers, polycarbonate safety glasses may suffice, but always verify optical density ratings. Enclosed machines reduce exposure, but interlocks must never be bypassed. If the lid opens during operation, the laser should deactivate immediately.
Ventilation is equally critical. Burning materials release hazardous compounds. Acrylic produces hydrogen cyanide when overheated; PVC emits chlorine gas—both potentially lethal. Use a dedicated exhaust system vented outdoors or equipped with activated carbon and HEPA filters.
“Every fire I’ve seen in a maker space started with unattended laser cutting. Never leave the machine running without monitoring.” — Daniel Ruiz, Industrial Safety Consultant
Laser Operation Safety Checklist
- Wear appropriate laser safety goggles
- Ensure emergency stop button is accessible
- Verify exhaust system is active before starting
- Inspect material for contaminants (e.g., glue, coatings)
- Keep a Class C fire extinguisher nearby
- Never cut PVC, vinyl, or PTFE (Teflon)
- Confirm material fits securely within bed limits
Optimizing Cut Settings: Power, Speed, and Focus
No two materials react identically to laser energy. Success depends on calibrating power, speed, frequency (for pulsed lasers), and focus height.
Start with manufacturer-recommended settings as a baseline. Then conduct test cuts on scrap material using a stepped parameter grid: vary speed from 5 mm/s to 30 mm/s at fixed power, then adjust power incrementally. The goal is a clean through-cut without excessive charring or melting.
Focus height determines beam convergence. Most machines use a manual Z-table or autofocus sensor. Incorrect focus spreads the beam, reducing intensity and widening the kerf (cut width). Always refocus when changing materials or thicknesses.
| Material | Thickness | Power (%) | Speed (mm/s) | Kerf (mm) |
|---|---|---|---|---|
| Acrylic | 3 mm | 70 | 8 | 0.15 |
| Birch Plywood | 6 mm | 85 | 5 | 0.20 |
| Cardboard | 2 mm | 40 | 20 | 0.18 |
| Leather | 3 mm | 50 | 12 | 0.12 |
Workflow Efficiency: From Design to Execution
A smooth workflow minimizes errors and maximizes throughput. Begin with vector-based design software—Adobe Illustrator, Inkscape, or CorelDRAW—for precise path control. Raster images require conversion to vectors for cutting, though they remain useful for engraving.
Nest parts tightly to conserve material. Use offset paths to account for kerf—especially important in interlocking designs. A 0.15 mm kerf means each cut removes that much material, so internal dimensions shrink slightly while external ones grow.
Import files into laser control software such as LightBurn, RDWorks, or LaserGRBL. Assign cut lines, engrave areas, and scoring paths using color-coded layers. Red might indicate full cut, blue for engrave, green for score. Double-check layer mappings before sending the job.
Step-by-Step Cutting Process
- Design part geometry with correct tolerances and kerf compensation
- Export as SVG or DXF and import into laser software
- Assign power, speed, and pass count per layer
- Position design on virtual bed to match physical material placement
- Set focus height using calibration tool
- Run air assist and exhaust systems
- Start job and monitor first 30 seconds closely
- Inspect result and adjust settings if needed
Real-World Example: Fixing a Failed Acrylic Cut
Jessica, a product designer, struggled with cracked edges on 5 mm cast acrylic enclosures. Initial tests used 90% power at 6 mm/s, resulting in cloudy, fractured edges. She assumed higher power would improve results—instead, it worsened thermal stress.
After consulting technical forums, she reduced power to 75%, increased speed to 10 mm/s, and enabled multiple passes with cooling intervals. The slower ramp-up allowed heat dissipation, preventing microfractures. She also switched from compressed air to dry nitrogen assist, minimizing oxidation. Final results showed crystal-clear edges suitable for retail display.
This case illustrates a key principle: more power isn’t always better. Controlled energy delivery often yields superior finishes, especially with thermoplastics prone to melting or cracking.
Maintenance for Long-Term Performance
Like any precision tool, laser cutters require regular upkeep. Dust buildup scatters the beam and insulates cooling systems. Mirrors degrade over time due to reflection losses. Belts stretch, affecting positional accuracy.
Weekly tasks include cleaning lenses and mirrors with proper solvents, wiping debris from the bed, and checking belt tension. Monthly, inspect mirror alignment using the dot-test method: fire short pulses at low power and observe beam position across the travel range. All dots should align perfectly.
Annually, consider professional recalibration, especially for high-use environments. Track usage hours and replace consumables—like lenses and nozzles—before failure occurs.
Frequently Asked Questions
Can I cut metal with a CO₂ laser?
Generally, no. CO₂ lasers lack sufficient absorption efficiency on bare metals. Fiber lasers are designed for this task. However, some coated or painted metals can be marked with CO₂ lasers under controlled conditions.
Why does my wood cut have dark residue?
Dark char is normal with wood, but excessive burning indicates too much power or too slow a speed. Increase speed incrementally or reduce power. Using air assist helps blow away smoke and cool the cut zone.
How do I prevent warping in thin acrylic?
Use a honeycomb bed to allow airflow beneath the sheet, reducing heat retention. Avoid prolonged exposure to ambient humidity before cutting, as acrylic absorbs moisture. Clamp edges lightly to minimize movement.
Conclusion: Precision Through Practice and Preparation
Mastering laser cutter techniques blends technical knowledge with disciplined habits. Safety, calibration, and incremental testing form the backbone of reliable operation. Whether you're prototyping electronics enclosures or crafting personalized gifts, attention to detail separates functional results from exceptional ones.
The most advanced machine cannot compensate for poor setup or rushed workflows. But with consistent care, thoughtful planning, and respect for the tool’s capabilities, you’ll achieve clean, repeatable results every time.


 浙公网安备
33010002000092号
浙公网安备
33010002000092号 浙B2-20120091-4
Comments
No comments yet. Why don't you start the discussion?