
Streaming live on YouTube has become a powerful way to engage audiences in real time—whether you're hosting a Q&A, running a gaming session, teaching a class, or broadcasting an event. But going live isn't just about hitting “Start Stream.” A successful broadcast demands preparation, technical know-how, and attention to detail. Without the right setup, even the most compelling content can be undermined by poor audio, lagging video, or unexpected interruptions.
This guide walks through every essential element of mastering live YouTube recording. From equipment selection to post-stream optimization, you'll learn how to deliver professional-grade streams that keep viewers watching—and coming back for more.
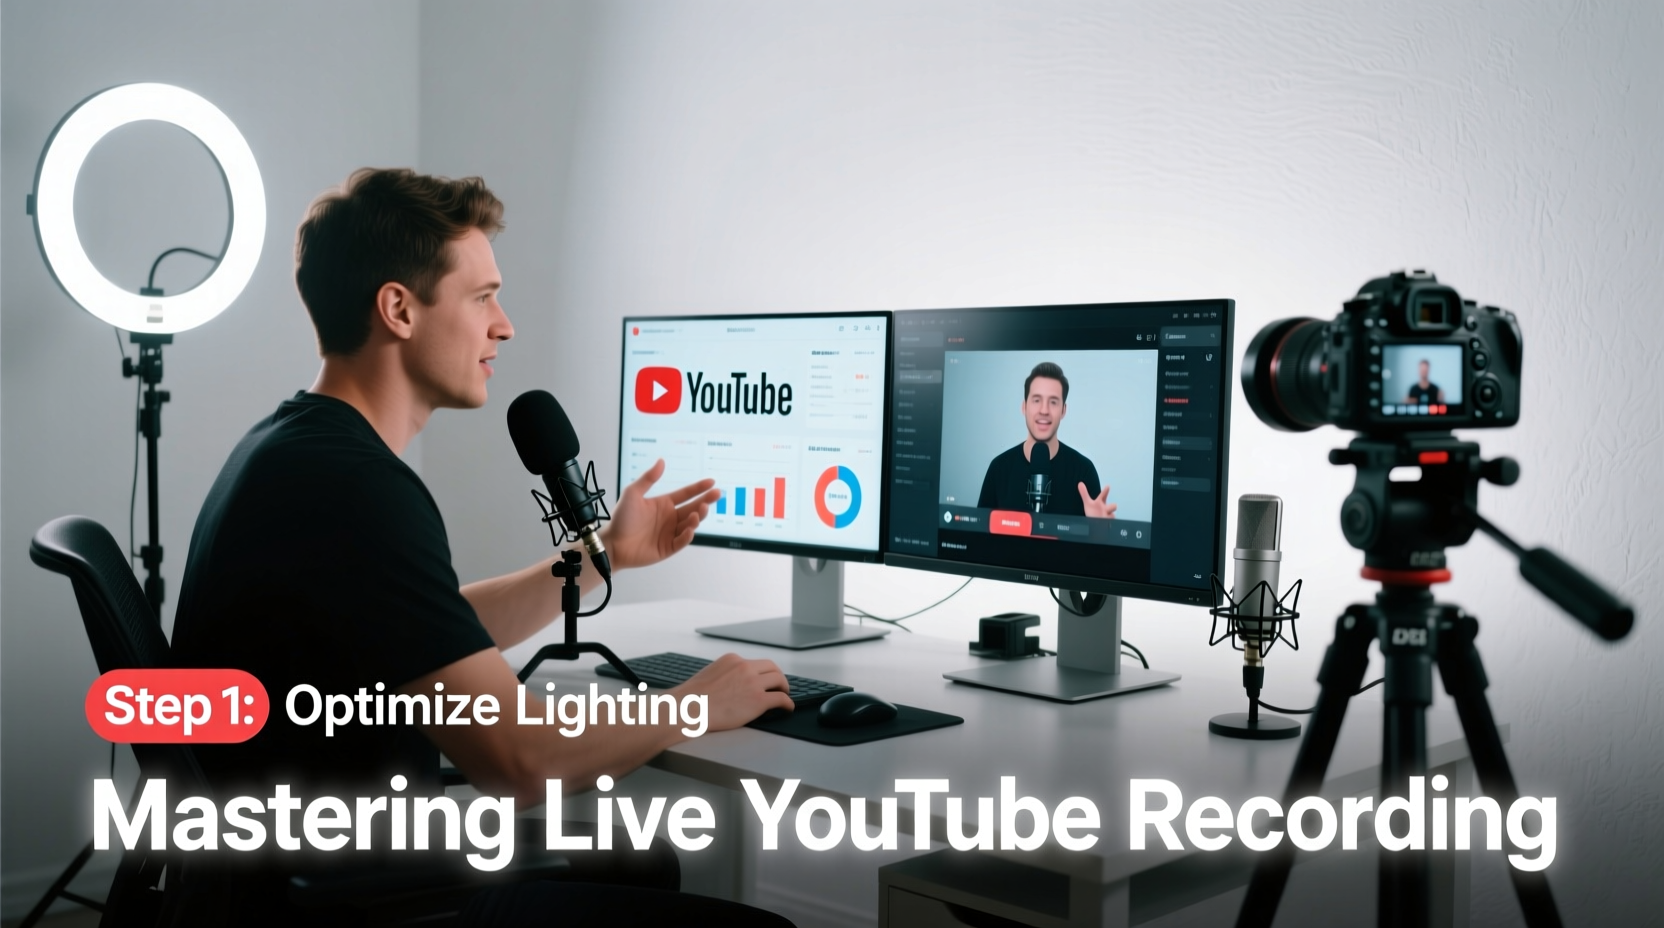
1. Understand the Basics of Live Streaming on YouTube
Before diving into hardware and software, it's important to understand how YouTube handles live broadcasts. YouTube supports live streaming through its Creator Studio or the newer YouTube Studio interface. To go live, your account must meet certain eligibility requirements: at least 1,000 subscribers and a verified phone number (though some features are available earlier for testing).
YouTube allows three types of live streams:
- Instant Streaming: Quick start from mobile or desktop without scheduling.
- Scheduled Stream: Plan your broadcast in advance, allowing viewers to set reminders.
- Premiere + Live: Upload a pre-recorded video and stream it as if live, with real-time chat.
The choice depends on your goals. Scheduled streams build anticipation and improve discoverability, while instant streams work well for spontaneous content.
2. Build Your Streaming Setup: Hardware & Software Essentials
A high-quality stream starts with reliable gear. While smartphone streaming is possible, professional results require dedicated tools.
Essential Hardware
- Camera: Use a DSLR, mirrorless camera, or high-resolution webcam (e.g., Logitech Brio, Sony ZV-E10). Built-in laptop cameras often lack clarity and low-light performance.
- Microphone: Audio quality is non-negotiable. Lavalier mics (like Rode SmartLav+) suit solo presenters; USB condenser mics (Audio-Technica AT2020USB) work well for studio setups.
- Lighting: Natural light helps, but consistent illumination requires softbox lights or ring lights to eliminate shadows.
- Computer: A modern machine with at least 8GB RAM (16GB recommended), multi-core processor, and dedicated GPU ensures smooth encoding.
- Internet Connection: Wired Ethernet is strongly preferred over Wi-Fi. Upload speeds should be at least 5 Mbps for 1080p at 30fps.
Software Tools
- OBS Studio (Open Broadcaster Software): Free, open-source software for mixing sources, adding overlays, and encoding video for YouTube.
- StreamYard or Restream: Browser-based alternatives ideal for beginners or multi-platform streaming.
- Chat Moderator Tools: Use OBS plugins like Streamlabs Chatbot or integrate with YouTube’s built-in moderation panel.
“Over 70% of viewer drop-off during live streams happens within the first 30 seconds due to poor audio or video quality.” — James Lin, Streaming Engineer at Broadcast Labs
3. Step-by-Step Guide to Launching Your First High-Quality Stream
Follow this timeline to ensure a smooth, professional broadcast:
- 7 Days Before: Schedule your stream in YouTube Studio. Craft a compelling title, description, and thumbnail to attract clicks.
- 3 Days Before: Test all equipment. Record a short test video to check focus, exposure, and audio levels.
- 1 Day Before: Prepare on-screen graphics (intro/outro, lower thirds), backup power sources, and a script or outline.
- 30 Minutes Before: Connect via Ethernet, close unnecessary apps, launch OBS, and connect to YouTube RTMP server using your stream key.
- 10 Minutes Before: Start a test stream (unlisted), verify bitrate stability (recommended: 3,000–6,000 kbps for 1080p), and invite a colleague to monitor chat.
- Go Live: Begin with a warm welcome, state the topic clearly, and encourage viewers to comment and subscribe.
- During Stream: Monitor CPU usage, internet stability, and chat engagement. Avoid sudden movements or loud background noise.
- After Stream Ends: Save a local recording, end cleanly in OBS, and allow YouTube to process the VOD (video on demand).
4. Optimize Quality: Settings That Make a Difference
Even with great gear, incorrect settings can ruin your stream. Here’s how to configure OBS for optimal output:
| Setting | Recommended Value | Notes |
|---|---|---|
| Base (Canvas) Resolution | 1920x1080 | Match your primary display or camera output |
| Output (Scaled) Resolution | 1920x1080 or 1280x720 | Lower if bandwidth or CPU is limited |
| Frame Rate | 30 fps (or 60 fps if motion-heavy) | Higher fps increases bandwidth needs |
| Encoder | x264 (software) or NVENC (hardware, if NVIDIA GPU) | NVENC reduces CPU load |
| Bitrate | 3,000–6,000 kbps | Stay under 8,000 kbps to avoid throttling |
| Keyframe Interval | 2 seconds | Standard for YouTube compatibility |
In addition to technical settings, consider viewer experience. Position your camera at eye level, frame yourself with space above the head, and use subtle background elements to add personality without distraction.
5. Real-World Example: How a Small Creator Grew Using Consistent Live Streams
Sophie Nguyen, a science educator with fewer than 2,000 subscribers, began hosting weekly live experiments from her home lab. Initially, her streams suffered from echoey audio and inconsistent lighting. After investing in a $100 USB mic and two softbox lights, viewer retention increased by 45%.
She implemented a simple checklist before each stream: test mic levels, confirm internet speed, preview thumbnails, and prepare three key talking points. Within six months, her average concurrent viewers rose from 12 to over 200, and she secured sponsorships from educational brands.
Her success wasn’t due to flashy production—it was consistency, reliability, and clear audio. “People don’t need Hollywood,” she says. “They need to hear you clearly and trust that you’ll be there every week.”
Common Pitfalls and How to Avoid Them
Many creators make preventable mistakes that damage credibility and viewer retention. Here’s what to watch for:
- Overloading scenes: Too many overlays, alerts, or pop-ups distract from content.
- Ignoring chat: Failing to acknowledge comments makes viewers feel ignored.
- Poor audio mix: Background music too loud, or no audio ducking when speaking.
- No backup plan: If internet fails, having a pre-recorded message ready prevents dead air.
“Your stream is only as strong as your weakest link—often that’s audio or connectivity.” — Maria Torres, Senior Producer at Digital Live Network
FAQ: Frequently Asked Questions About Live YouTube Recording
Can I go live on YouTube without 1,000 subscribers?
Yes, but with limitations. Accounts with fewer than 1,000 subscribers can stream for up to 8 hours using a verified phone number, though some advanced features (like longer durations or monetization) require meeting the subscriber threshold.
Should I record locally while streaming?
Yes. Always enable “Record while streaming” in OBS. This gives you a high-bitrate master file for editing highlights, uploading as VOD, or repurposing content across platforms.
How do I handle negative comments during a live stream?
Enable moderation tools in YouTube Studio. Assign trusted moderators, use auto-block filters for profanity, and avoid engaging with trolls on camera. Focus on fostering positive interaction.
Final Checklist Before You Go Live
- ☐ Equipment Check
- Camera focused, mic tested, lights on, computer charged or plugged in.
- ☐ Internet Stability
- Wired connection confirmed, speed test shows minimum 5 Mbps upload.
- ☐ Software Ready
- OBS open, scenes configured, stream key entered, audio meters active.
- ☐ Content Prepared
- Outline completed, graphics loaded, links in description drafted.
- ☐ Audience Engagement Plan
- Plan to greet early viewers, ask questions, and prompt likes/subscribes mid-stream.
Conclusion: Turn Every Stream Into a Professional Broadcast
Mastering live YouTube recording isn’t about having the most expensive gear—it’s about preparation, consistency, and respect for your audience’s time. By following these steps, you create a viewing experience that feels polished, trustworthy, and worth returning to.
Every stream is an opportunity to grow your presence, deepen connections, and showcase your expertise. Now that you have the roadmap, it’s time to press “Go Live” with confidence. Set your schedule, stick to your checklist, and let your content shine.


 浙公网安备
33010002000092号
浙公网安备
33010002000092号 浙B2-20120091-4
Comments
No comments yet. Why don't you start the discussion?