
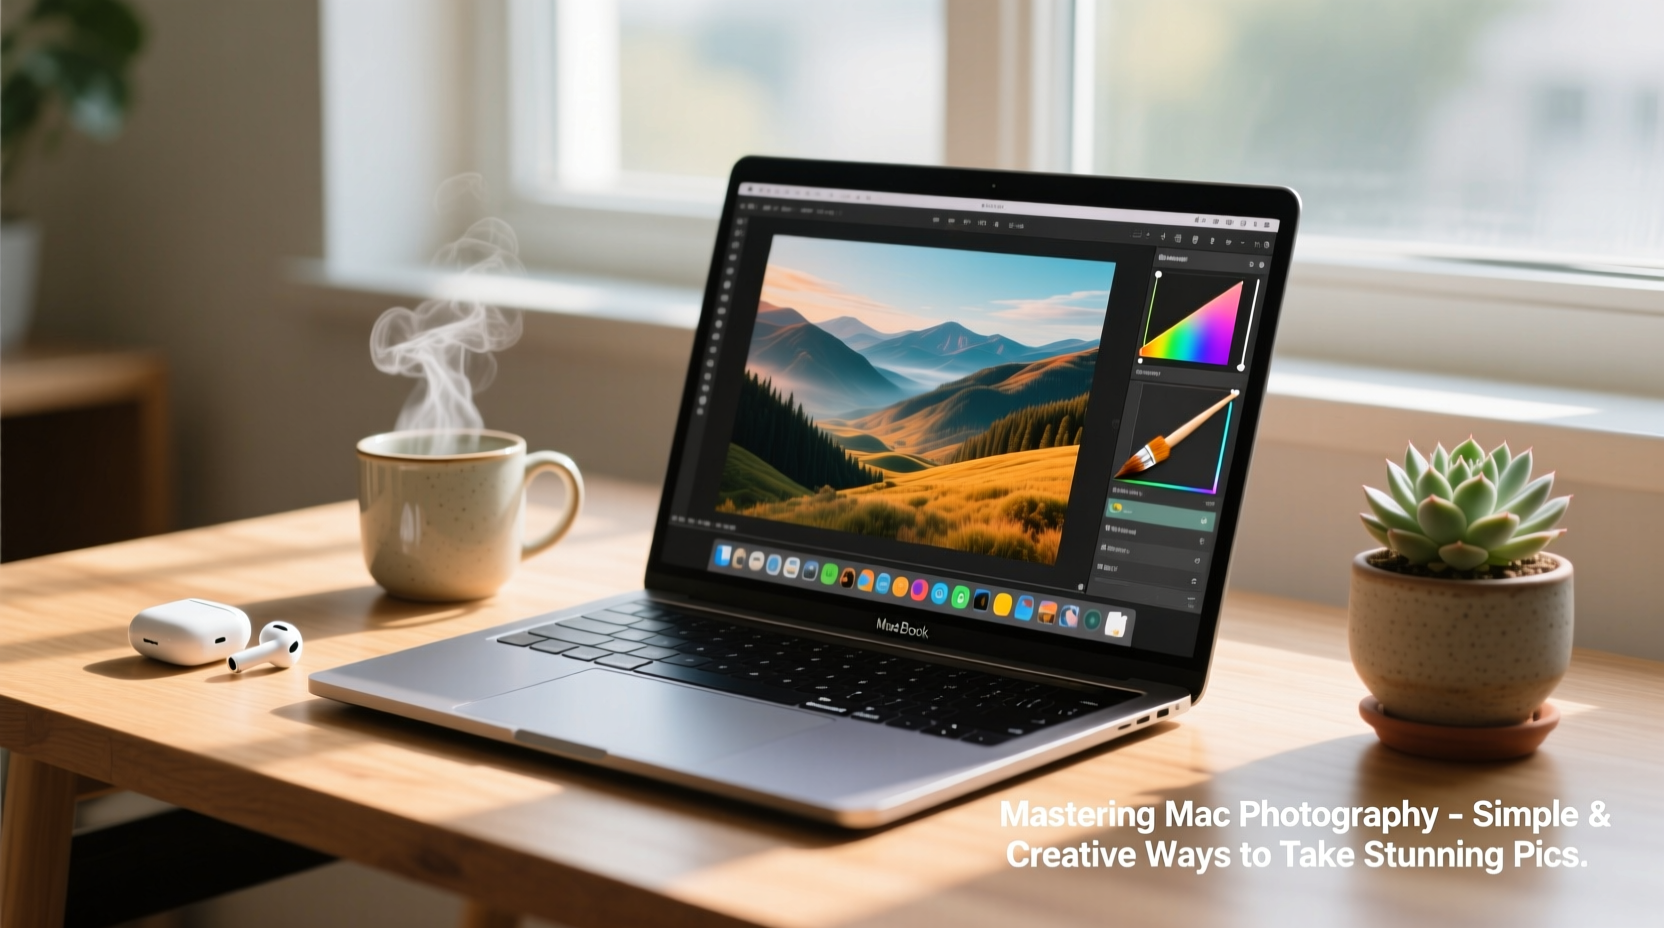
Photography isn’t limited to DSLRs or smartphones. Your Mac, often seen as just a productivity tool, holds untapped creative potential. With the right techniques, you can capture, edit, and share compelling images directly from your computer. Whether you're creating social media content, documenting ideas, or exploring digital art, mastering Mac photography opens doors to effortless visual storytelling—all without ever picking up a traditional camera.
Leverage Built-in Tools for Instant Capture
Your Mac comes equipped with powerful utilities that double as photography tools. The most underused of these is the Screenshot and Screen Recording feature. While commonly used for capturing errors or saving text, it’s equally effective for curating visual content.
Press Command + Shift + 5 to open the screenshot toolbar. From here, you can:
- Capture entire screens
- Select specific windows or regions
- Record screen activity with audio
This is ideal for preserving digital artwork, saving inspiring web layouts, or creating tutorials. For creative photographers, these snapshots can serve as raw material—backgrounds for collages, textures for mixed media, or reference frames for mood boards.
Use Photo Booth Creatively
Photo Booth isn’t just for silly filters. It’s a fully functional camera application that uses your Mac’s FaceTime camera to take stills and videos. Access it via Applications > Photo Booth, then experiment with lighting, angles, and expressions.
Try placing your Mac near a window during golden hour. Position yourself slightly off-center for a natural composition. Use the timer function (click the clock icon) to avoid shaky shots. You can even layer effects like black-and-white or vintage film to create stylized portraits.
While the FaceTime HD camera doesn’t match smartphone sensors, its fixed position encourages deliberate framing. Treat it like a studio setup: control your backdrop, use books or plants for depth, and shoot multiple takes to find the best expression.
“Constraints breed creativity. The limitations of a built-in webcam force you to focus on composition and emotion over megapixels.” — Jordan Lee, Digital Imaging Instructor at SF Art Institute
Step-by-Step: Create a Mini Photo Series on Your Mac
You don’t need external gear to produce a cohesive visual story. Follow this timeline to build a themed photo series entirely on your Mac:
- Choose a theme (e.g., “Morning Light,” “Desk Life,” “Digital Reflections”)
- Set up your space—clear clutter, add one focal object (a plant, notebook, coffee mug)
- Use Photo Booth to capture 3–5 variations throughout the day
- Edit in Preview or Photos app: crop, adjust brightness, apply subtle filters
- Assemble in Pages or Keynote to create a grid layout or digital zine
- Export as PDF or image and share online or print for personal display
This process turns routine moments into intentional art. Over time, these micro-series become a visual diary—proof that meaningful photography thrives on perspective, not equipment.
Edit Like a Pro Using Native Mac Apps
The Mac’s native editing suite—Preview and Photos—is surprisingly capable. Most users overlook Preview’s image tools, but it supports basic enhancements that rival entry-level third-party apps.
In Preview:
- Adjust exposure and color balance under Tools > Adjust Color
- Crop and rotate precisely using selection handles
- Remove minor distractions with the instant markup eraser
The Photos app goes further, offering AI-powered enhancement suggestions, filters, and non-destructive editing. Use the “Enhance” button for automatic improvements, then fine-tune manually. Sliders for light, color, and contrast give granular control without complexity.
| Task | Best App | Key Feature |
|---|---|---|
| Quick edits | Preview | Instant access, no install needed |
| Color grading | Photos | Temperature and tint sliders |
| Collage creation | Keynote | Flexible canvas and alignment tools |
| Batch renaming | Finder | Select files > Right-click > Rename |
Real Example: From Screenshot to Social Post
Sophie, a freelance writer in Portland, wanted to illustrate her blog post on digital minimalism. Instead of sourcing stock photos, she turned her Mac into a studio. She opened a blank Notes document with a single line of text: “Less noise, more clarity.” She positioned her MacBook at a 45-degree angle on a wooden desk, adjusted the room lighting, and used Photo Booth to capture three angles. In Photos, she applied a muted filter and reduced saturation. Then, in Keynote, she overlaid one image with a translucent quote box. The final piece became her featured article image—and later, a popular Instagram post.
No external devices. No subscriptions. Just intentional use of what she already had.
Essential Checklist for Mac Photography Success
To consistently produce high-quality visuals on your Mac, follow this checklist:
- ✅ Clean your FaceTime camera lens weekly with a microfiber cloth
- ✅ Position your Mac near natural light sources when possible
- ✅ Use Command + Shift + 5 for precise screen captures
- ✅ Experiment with Photo Booth filters for artistic effects
- ✅ Edit in Photos for non-destructive adjustments
- ✅ Organize shots in labeled folders within Finder
- ✅ Export images at 72–150 PPI for web use to maintain speed and quality
Frequently Asked Questions
Can I connect an external camera to my Mac for better photos?
Absolutely. DSLRs, mirrorless cameras, and even high-end webcams can connect via USB or HDMI. Use apps like OBS Studio or Camera Live to import the feed directly. This is ideal for product photography or live streaming with professional visuals.
How do I improve low-light shots from my Mac’s camera?
Lighting is key. Use a ring light, desk lamp with warm bulbs, or even your iPhone flashlight diffused through parchment paper. Avoid backlighting unless you’re going for a silhouette effect. In post-processing, increase exposure carefully to avoid graininess.
Is it possible to take RAW photos on a Mac?
Not directly through the built-in camera—but if you connect a compatible external camera that shoots in RAW, your Mac can receive and store those files. Use Photos or Adobe Lightroom to manage and edit them natively.
Think Beyond the Lens
Mastering Mac photography isn’t about replicating what other devices do. It’s about redefining what photography means in a digital workspace. A screenshot of a sunset timelapse on YouTube, a thoughtfully framed self-portrait in Photo Booth, or a curated collage of digital notes—all are valid forms of visual expression.
The most compelling images often come from constraints. Your Mac may not have a 48MP sensor, but it offers immediacy, integration, and creative flexibility. Combine its tools with intentionality, and you’ll discover a new kind of photographic practice—one that’s seamless, sustainable, and uniquely yours.


 浙公网安备
33010002000092号
浙公网安备
33010002000092号 浙B2-20120091-4
Comments
No comments yet. Why don't you start the discussion?