
YouTube success no longer depends on expensive cameras or desktop software. Today, creators are producing high-quality content using only their smartphones. The real power lies not in the device but in how skillfully you edit your footage. Mobile video editing has evolved into a full-fledged production toolset—offering precision, creativity, and speed that rival traditional setups. With the right approach, anyone can turn raw clips into polished videos optimized for engagement, all from the palm of their hand.
Why Mobile Editing Is Changing the Game
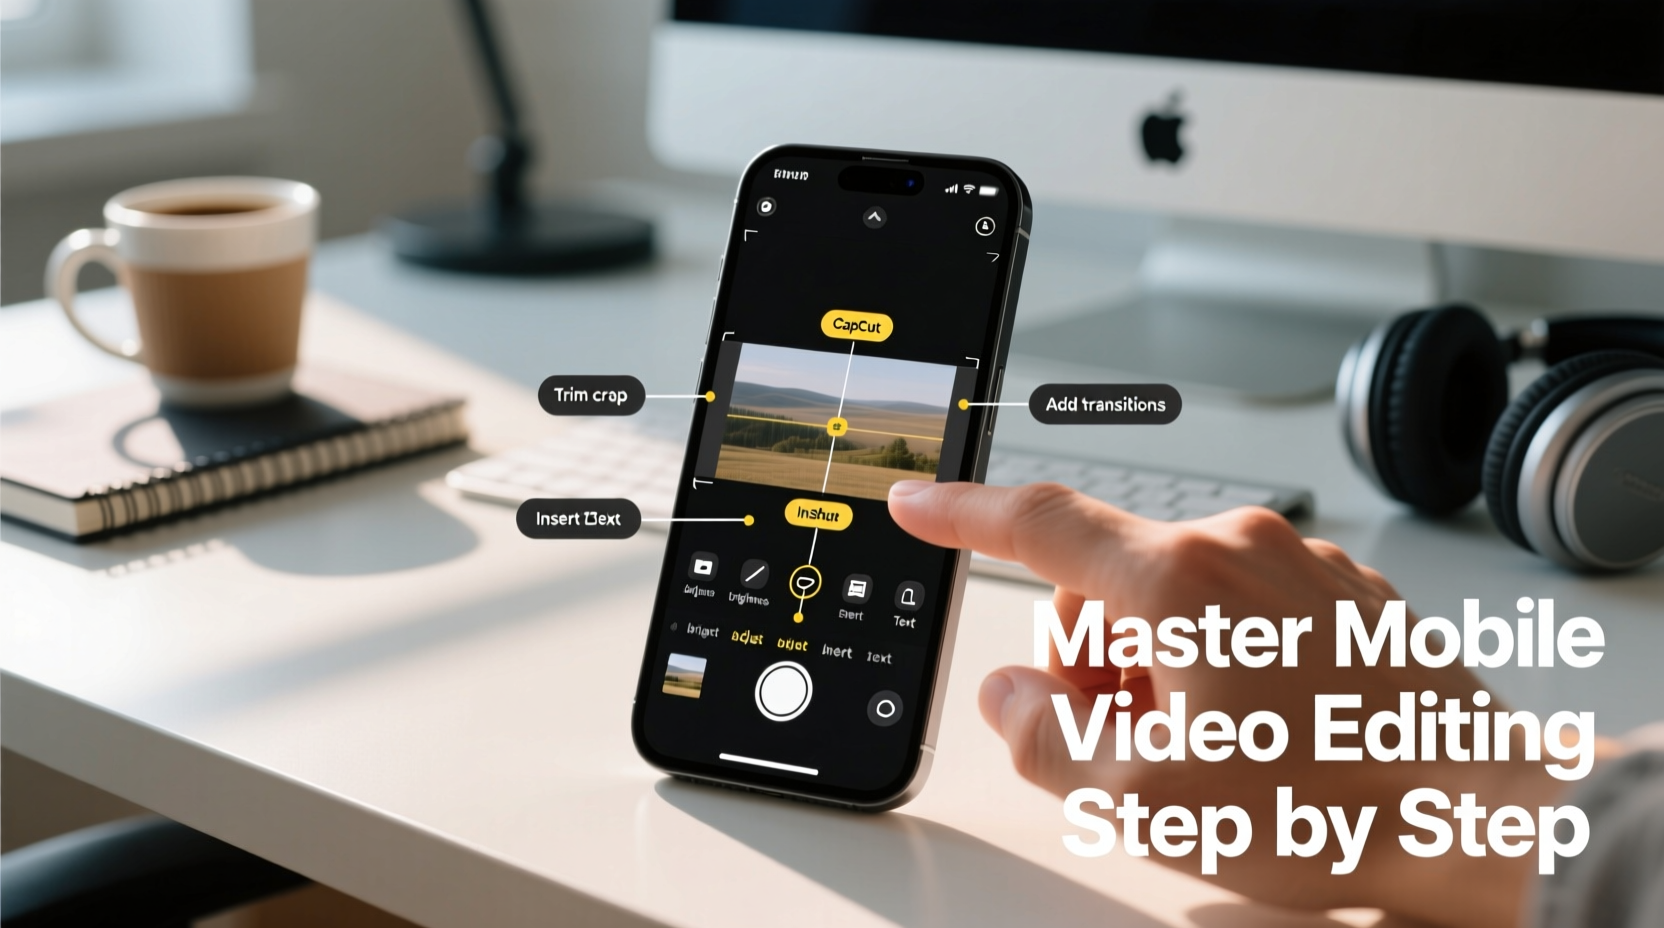
Smartphones now feature 4K cameras, advanced stabilization, and powerful processors capable of handling complex edits. Apps like CapCut, Adobe Premiere Rush, and InShot have closed the gap between mobile and desktop editing. For YouTubers who value agility—whether vlogging on location, responding quickly to trends, or working remotely—mobile editing offers unmatched convenience without sacrificing quality.
The key is understanding how to leverage these tools efficiently. It’s not just about trimming clips; it’s about storytelling, pacing, audio clarity, and visual consistency—all achievable on a phone with deliberate technique.
Essential Tools for Mobile Video Editing
Choosing the right app shapes your entire workflow. While many options exist, focus on those designed for narrative control and export flexibility. Here’s a breakdown of top performers:
| App | Best For | Key Features | Export Quality |
|---|---|---|---|
| CapCut | Fast-paced content, TikTok/YouTube Shorts | Auto-captions, templates, multi-track timeline | Up to 4K HDR |
| Adobe Premiere Rush | Professional-grade cross-device editing | Color presets, audio ducking, cloud sync | 4K with minimal compression |
| InShot | Beginners and social-first creators | Simple interface, music library, filters | 1080p standard |
| LumaFusion | Advanced editors (iOS only) | Multi-cam support, keyframing, external audio | 4K ProRes support |
LumaFusion remains the gold standard for serious creators due to its layer-based editing and support for external microphones. However, CapCut stands out for rapid turnaround, especially when adding subtitles automatically—a major time-saver for accessibility and viewer retention.
“Mobile editing isn’t a compromise—it’s a strategic advantage. Speed, portability, and immediacy let creators respond to moments while they’re still relevant.” — Jordan Lee, Digital Content Producer at Vox Media
Step-by-Step Guide to Editing a YouTube Video on Your Phone
Follow this proven process to go from unedited clips to a publish-ready YouTube video in under an hour.
- Organize Your Footage: Transfer all clips, B-roll, and audio files into a dedicated folder on your phone. Use naming conventions like “Intro_Take2” or “Broll_CoffeeShop” to avoid confusion during editing.
- Create a Rough Cut: Import clips into your chosen editor and arrange them in chronological order. Trim silences, pauses, or shaky shots. Focus on flow, not perfection.
- Add Structure with B-Roll: Insert supplementary footage between main takes to cover cuts and enhance visual interest. Even simple inserts—a hand gesture, product close-up, or ambient scene—can dramatically improve pacing.
- Enhance Audio Quality: Lower background music volume when speaking. Use noise reduction if available. Record voiceovers directly in the app with headphones to minimize echo.
- Apply Consistent Color Grading: Choose one filter or preset and apply it across all clips. Avoid mixing warm and cool tones unless intentional. Most apps allow saving custom looks for future use.
- Insert Subtitles: Enable auto-captioning, then review for accuracy. Customize font size, color, and position (usually bottom center). Captions increase watch time by up to 12%, according to YouTube analytics.
- Export Smartly: Select 1080p or 4K resolution, H.264 codec, and frame rate matching your source (usually 30fps). Name the file clearly: “VideoTitle_Final_1080p.mp4”.
A Real Example: From Raw Clips to Viral Vlog
Sophia, a travel vlogger based in Bali, films daily updates using her iPhone 14 Pro. One morning, she captured disjointed clips: waking up, making coffee, walking through rice fields, and interviewing a local artisan. Initially, the sequence felt flat and disorganized.
Using CapCut, she structured the story around a theme: “A Day Guided by Local Wisdom.” She opened with a tight shot of hands grinding spices, added subtitles explaining cultural context, and layered soft gamelan music beneath the dialogue. By inserting slow-motion field shots between interview segments, she created rhythm. The final video gained over 250,000 views in a week—largely because the mobile edit preserved authenticity while elevating professionalism.
Her workflow took less than two hours, allowing her to upload the same day—demonstrating how efficient mobile editing enables timely, emotionally resonant content.
Checklist: Pre-Publish Mobile Edit Review
- ✅ All clips are stable and well-lit
- ✅ Audio levels balanced (voice clear over music)
- ✅ Subtitles accurate and easy to read
- ✅ Transitions smooth (avoid overusing effects)
- ✅ Thumbnail image selected or created
- ✅ Title, description, and tags drafted
- ✅ Final export tested on another device
This checklist prevents common oversights like muffled audio or missing captions—issues that can undermine even the best content.
Common Mistakes and How to Avoid Them
Even experienced creators fall into traps when editing on mobile. Awareness is half the battle.
- Overloading with Effects: Too many transitions, zooms, or filters distract viewers. Stick to one consistent style.
- Neglecting Aspect Ratio: Posting vertical (9:16) videos on YouTube without black bars reduces screen space. Crop or pad to 16:9 if needed.
- Ignoring File Management: Deleting source clips after editing risks losing material for future projects. Back up originals to cloud storage.
- Skipping Audio Checks: Sound is 50% of the experience. Listen through earbuds to catch distortions or low volume.
FAQ
Can I edit long-form videos (10+ minutes) effectively on a phone?
Yes, especially with apps like LumaFusion or Adobe Premiere Rush. Ensure your phone has at least 128GB storage and close background apps to prevent lag during rendering.
Do I need to pay for premium features?
Many core functions are free, but watermarks, limited exports, or locked effects may hinder professionalism. A $5–$10 monthly subscription removes restrictions and supports ongoing development.
How do I make my mobile-edited videos look more “professional”?
Focus on three elements: consistent lighting across shots, clean audio with minimal background noise, and steady pacing. These matter more than flashy effects.
Final Thoughts: Turn Your Phone Into a Production Studio
Mastering mobile video editing means rethinking limitations. Your phone isn’t just a camera—it’s a portable studio capable of producing content that informs, entertains, and grows audiences. The barrier isn’t technology; it’s knowing how to use what’s already in your pocket.
Start small. Edit one short video this week using only your phone. Apply the steps outlined here: organize, structure, refine, and review. Then publish it. Each edit builds muscle memory, sharpens judgment, and deepens your connection with the audience.


 浙公网安备
33010002000092号
浙公网安备
33010002000092号 浙B2-20120091-4
Comments
No comments yet. Why don't you start the discussion?