
Applying makeup with a puff may seem straightforward, but the difference between a patchy, uneven look and a flawless, airbrushed finish often comes down to technique. Puffs—especially those designed for cushion compacts or liquid foundations—are powerful tools when used correctly. Yet many users apply product haphazardly, leading to caking, streaks, or premature wear. Understanding how to properly use a puff can transform your base routine, offering buildable coverage, extended longevity, and a natural skin-like texture.
This guide dives into the nuances of puff application, from selecting the right type to mastering pressure, blending motion, and maintenance. Whether you're using a silicone puff, foam pad, or the sponge included in your favorite cushion foundation, these expert-backed strategies will help you achieve a consistently smooth, durable result.
The Role of the Puff in Modern Makeup Application
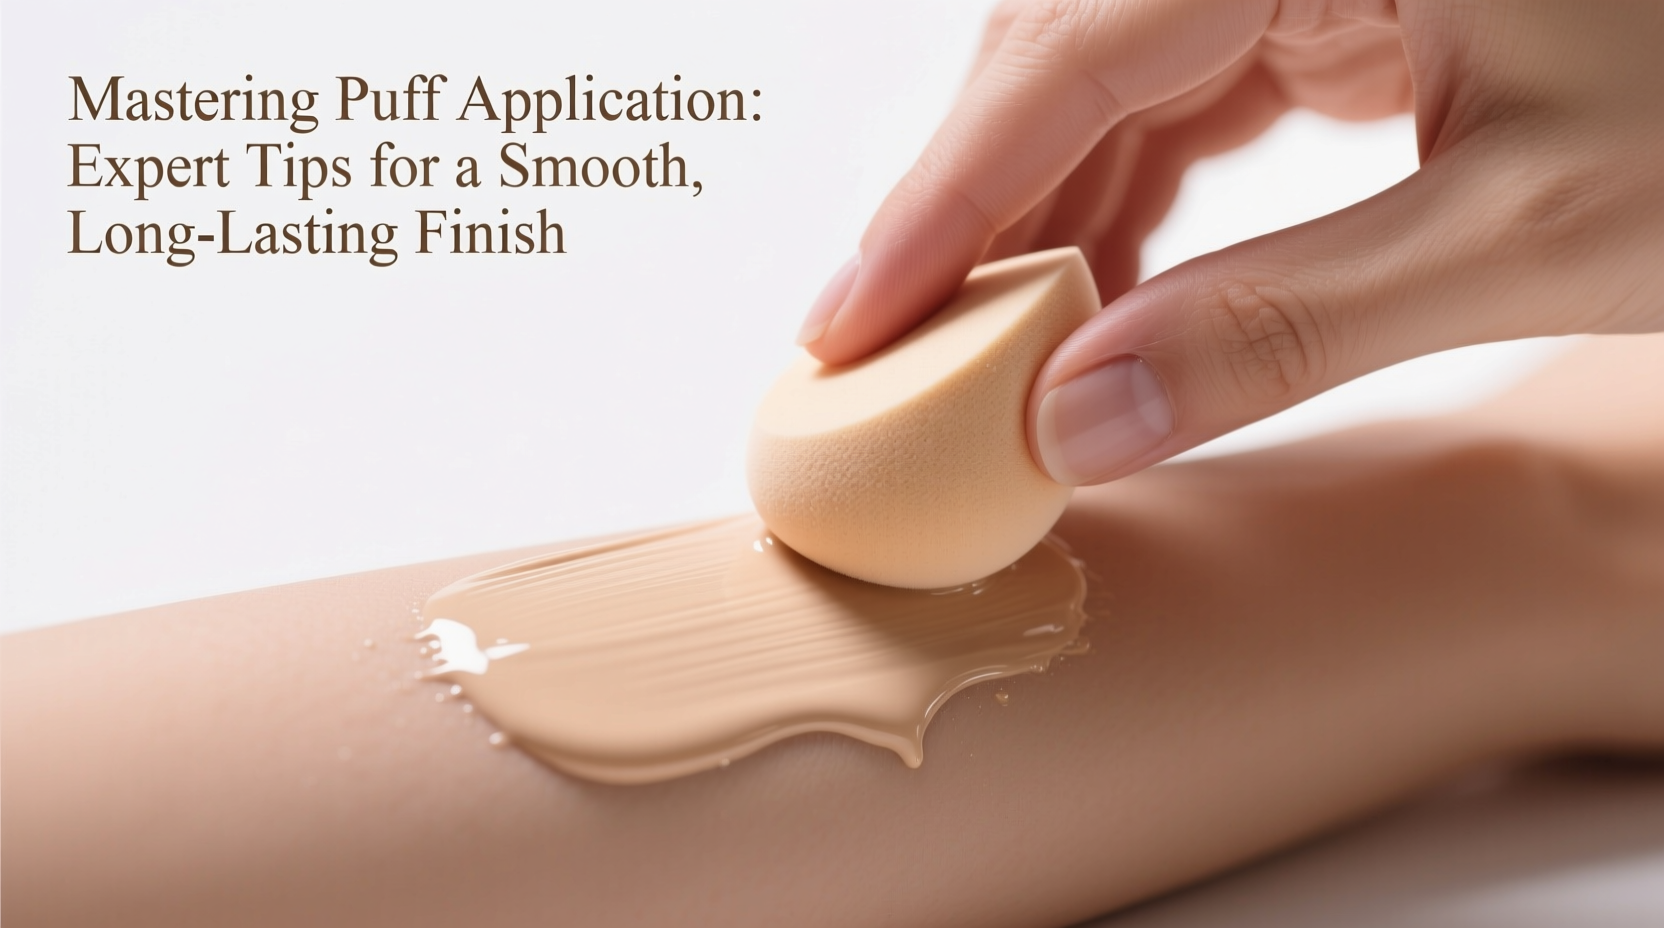
Puffs have evolved beyond simple powder applicators. Today’s high-performance puffs—particularly those paired with cushion compacts—are engineered to deliver precise amounts of liquid formula while minimizing waste and maximizing adherence to the skin. Unlike brushes or beauty blenders, puffs offer controlled bounce and compression, allowing for targeted stippling and pressing motions that lock foundation into place.
The key advantage lies in their ability to press product *into* the skin rather than dragging it across the surface. This action helps seal the foundation within pores and fine lines, reducing the risk of settling or creasing throughout the day. When used with the correct technique, a puff enhances both coverage and wear time without sacrificing a natural finish.
Choosing the Right Puff for Your Formula
Not all puffs are created equal. The material, density, and shape significantly affect performance. Using the wrong puff can compromise your entire makeup look—even if your foundation is perfect.
| Puff Type | Best For | Avoid With |
|---|---|---|
| Foam Pad (Cushion Compact) | Lightweight liquids, tinted moisturizers, CC creams | Thick, full-coverage foundations |
| Silicone Puff | Hybrid or dewy formulas; ideal for sensitive skin | Mattifying powders or dry textures |
| Velvet-Touch Microfiber | Pressed powders, setting products | Wet foundations (unless specifically designed) |
| Double-Sided Hybrid | Multi-step application (e.g., foundation + setting) | Delicate skin prone to tugging |
For everyday wear, dermatologist and cosmetic formulator Dr. Lena Park recommends sticking to hypoallergenic materials: “Foam puffs included with cushion compacts are often made from medical-grade polyurethane, which resists bacterial growth better than porous sponges.” She adds, “Replace them monthly if used daily, or sanitize weekly to prevent breakouts.”
Step-by-Step Guide to Flawless Puff Application
Follow this sequence to ensure even, long-lasting results every time:
- Prime the Skin: Apply a lightweight primer suited to your skin type. Allow it to set for one minute before foundation.
- Prep the Puff: Ensure it’s clean and dry. Gently press fingers into the center to check elasticity—replace if cracked or flattened.
- Load Product: Dab the puff onto the cushion or foundation reservoir. Avoid swiping; instead, press straight down and lift.
- Start at the Center: Begin at the forehead, nose, cheeks, and chin. Use a bouncing motion—never drag.
- Build Gradually: Apply thin layers, letting each press absorb before adding more. Two light layers beat one thick coat.
- Blend Edges: Use the edge of the puff to feather product into hairline, jawline, and neck.
- Set Strategically: After foundation, switch to a clean velvet puff for translucent powder only where needed (T-zone, under eyes).
“Press, don’t rub. The puff should act like a stamp—depositing pigment evenly while preserving the skin’s natural texture.” — Marco Silva, Celebrity Makeup Artist
Common Mistakes That Sabotage Longevity
Even experienced users fall into habits that shorten wear time and degrade finish quality. Watch out for these pitfalls:
- Using a dirty puff: Accumulated oils and bacteria cause pilling and discoloration.
- Over-saturating: Too much product overwhelms the skin barrier, leading to oxidation and fading.
- Dragging instead of stippling: Creates streaks and disrupts skincare underneath.
- Skipping puff replacement: Worn-out puffs lose bounce and spread product unevenly.
- Applying in poor lighting: Makes it hard to detect patchiness until later.
Real-World Example: Achieving All-Day Wear in Humid Conditions
Sophia, a marketing executive based in Miami, struggled with her foundation melting by mid-morning despite using a matte formula. She switched to a silicone puff with her hydrating cushion foundation and adjusted her technique: pressing instead of spreading, focusing on high-oil zones, and setting only after full absorption.
Within days, she noticed her makeup lasted six hours longer without touch-ups. “I used to think puffs were just for convenience,” she says. “Now I realize they’re precision tools. I get compliments on my skin, not my makeup.”
Expert Checklist for Optimal Puff Performance
Use this checklist before each application to maintain consistency and hygiene:
- ✅ Clean puff (no visible residue or odor)
- ✅ Foundation fully absorbed into puff—not pooling on surface
- ✅ Skin prepped and moisturized (not greasy)
- ✅ Room lighting bright and natural-facing
- ✅ Hands washed to avoid transferring dirt
- ✅ Extra puff available for setting (optional)
- ✅ Product stored upright to maintain cushion integrity
Frequently Asked Questions
Can I use a puff with any liquid foundation?
Most liquid foundations work with puffs, but best results come from fluid, medium-to-light coverage formulas. Thick, full-coverage bases may require a brush for initial application, followed by a puff for smoothing and setting.
How often should I replace my puff?
With daily use, replace foam or microfiber puffs every 4–6 weeks. Silicone puffs last longer—up to 3 months—with proper cleaning. Replace immediately if frayed, discolored, or difficult to clean.
Do puffs cause breakouts?
Only if not cleaned regularly. Bacteria thrive in damp, product-laden puffs. To prevent acne, wash after every 3–5 uses and store in a ventilated case. Avoid sharing puffs to reduce cross-contamination.
Final Thoughts: Elevate Your Routine One Press at a Time
Mastering puff application isn’t about speed—it’s about intention. Each bounce deposits color with purpose, creating a seamless veil that moves with your skin, not against it. By choosing the right tool, refining your motion, and maintaining cleanliness, you unlock a level of polish typically reserved for professional finishes.
The most radiant complexions aren’t built with heavy layers, but with thoughtful technique. Start small: focus on one area at a time, refine your pressure, and observe how your foundation behaves over the course of the day. Small adjustments yield dramatic improvements.


 浙公网安备
33010002000092号
浙公网安备
33010002000092号 浙B2-20120091-4
Comments
No comments yet. Why don't you start the discussion?