
Redstone is one of the most powerful yet underutilized mechanics in Minecraft. For new players, it can seem intimidating—wires, repeaters, pistons, and logic gates appear more suited to engineers than adventurers. But redstone isn’t just for complex computers or massive traps. At its core, it’s about automation, timing, and creativity. With a few foundational concepts, even beginners can start building practical and fun contraptions that enhance gameplay.
Whether you're looking to automate your farm, secure your base, or simply impress friends with hidden doors, mastering redstone opens up a new dimension of interactivity in the blocky world. This guide breaks down essential principles, common mistakes, and real-world applications so you can move from confusion to confidence.
Understanding Redstone Basics
Before diving into advanced builds, it's crucial to understand how redstone works at a fundamental level. Redstone behaves like electrical current in the real world. It powers mechanisms such as doors, pistons, lamps, and note blocks when activated by a power source like a lever, button, or pressure plate.
The key components include:
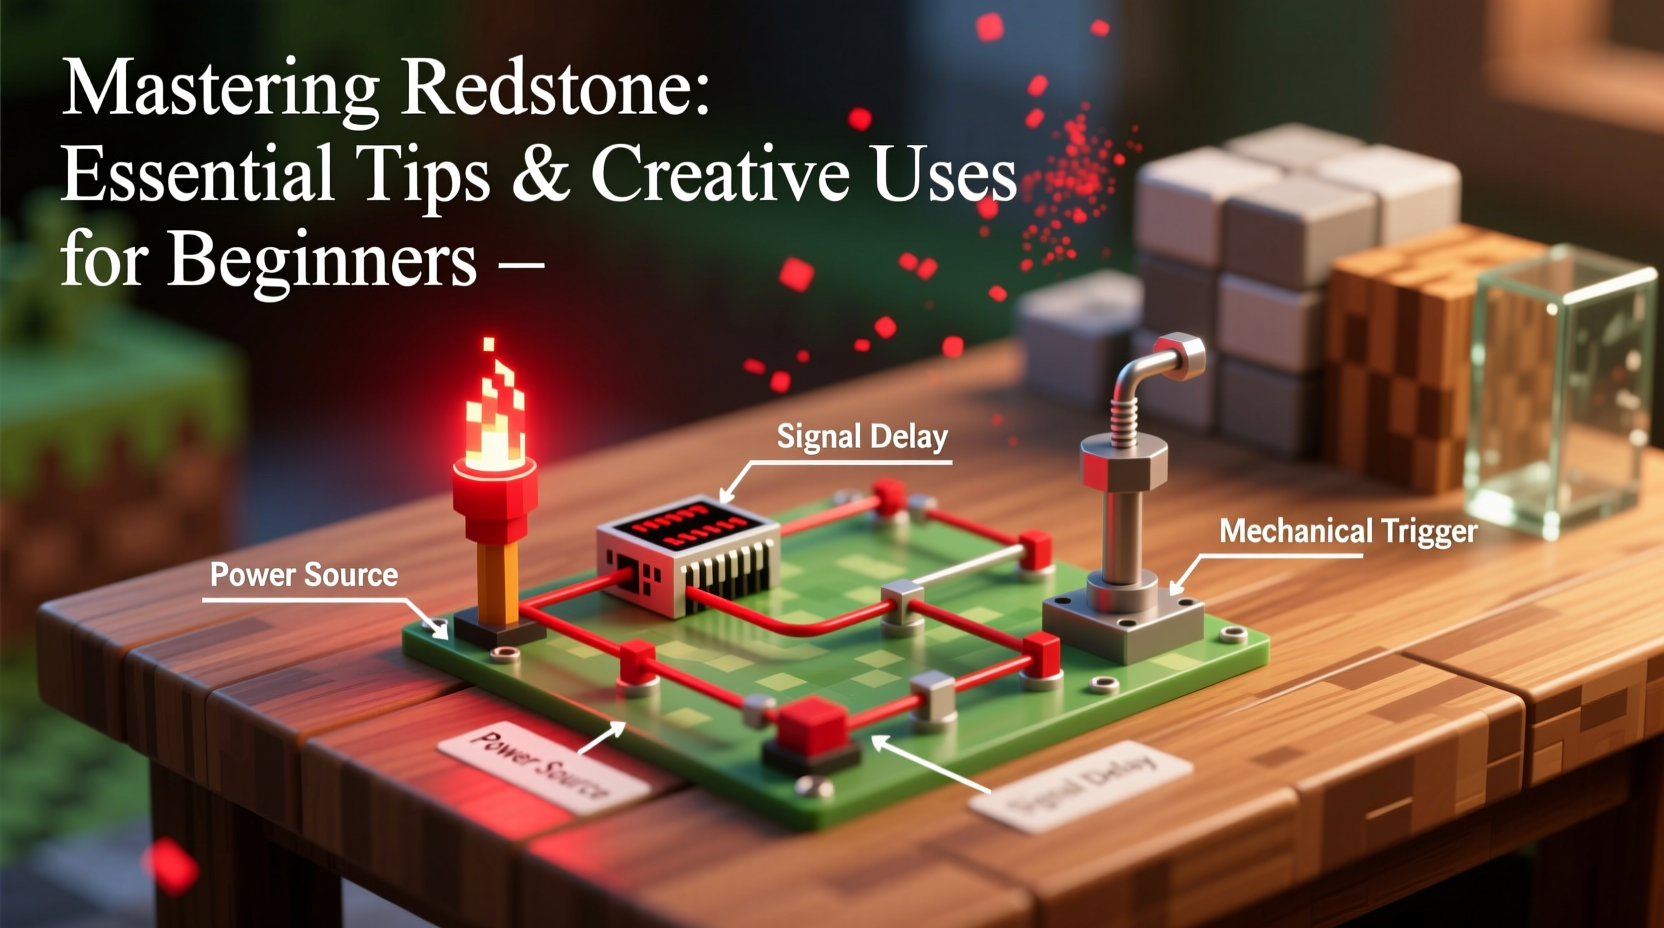
- Redstone Dust: Laid on blocks to transmit power.
- Power Sources: Levers, buttons, daylight sensors, etc.
- Transmission Tools: Repeaters, comparators, and redstone torches.
- Mechanisms: Devices that respond to redstone signals (e.g., dispensers, minecarts, pistons).
Redstone signals have a maximum range of 15 blocks without assistance. To extend beyond this, use redstone repeaters, which also allow you to delay the signal—a vital feature for timing-based builds.
Essential Tips for Building Reliable Circuits
Many beginners struggle not because they lack ideas, but because their circuits fail due to poor design. These tips will help avoid common pitfalls and lay a strong foundation.
- Start Simple – Begin with basic door openers or light switches before attempting automatic farms.
- Use Block Updates Wisely – Some devices, like pistons, activate when adjacent blocks change state. Understanding updates prevents unintended triggers.
- Label Your Builds – In large projects, use signs or colored wool to mark inputs, outputs, and different circuit sections.
- Minimize Signal Loss – Avoid unnecessary turns and long stretches of dust. Use repeaters every 15 blocks if needed.
- Power Modes Matter – Know the difference between direct, indirect (through a block), and strong vs. weak power. Pistons require strong power to extend.
“Most redstone failures come from misunderstanding power propagation, not complexity.” — Alex Turner, Minecraft Educator & Mod Developer
Creative Uses for Beginners
Once you grasp the basics, the real fun begins. Here are several beginner-friendly projects that demonstrate redstone’s versatility while teaching deeper mechanics.
1. Automatic Lighting System
Link a daylight sensor to redstone lamps to create outdoor lighting that turns on at dusk and off at dawn. No manual switching required. Place the sensor on your roof and run wires to lamps around your home.
2. Hidden Door Mechanism
Use two sticky pistons and a block to conceal a doorway. Trigger it with a lever behind a painting or a pressure plate under carpet. It’s simple, effective, and adds mystery to your base.
3. Item Sorter (Basic Version)
With a hopper, comparator, and dropper, you can filter specific items from your inventory. For example, set up a system that pulls only arrows into a chest while letting other items pass through.
4. Self-Repairing Bridge
Build a bridge out of slime blocks or regular blocks attached to pistons. When retracted, enemies fall; when extended, you can cross. Control it with a lever or button for tactical advantages in survival or PvP.
Step-by-Step: Building a Simple Piston Door
A piston-powered door is an excellent first project that teaches block movement, powering, and compact design.
- Dig a 3-block wide, 2-block high entrance into your wall.
- Place a block on either side of the doorway at ground level.
- Attach a sticky piston to each side block, facing inward.
- Power the side blocks using redstone dust connected to a button on the wall.
- When pressed, the pistons retract, pulling the door blocks aside.
- For a flush look, place matching wall blocks on the piston faces.
This setup takes less than five minutes and introduces core concepts like mechanical activation and signal delivery. Once working, experiment with delays using repeaters to make dual-layer doors or synchronized movements.
Common Mistakes and How to Avoid Them
Even small errors can disrupt entire systems. Below is a comparison of typical beginner behaviors versus best practices.
| Mistake | Better Approach |
|---|---|
| Laying redstone directly next to a powered block without understanding power direction | Use a redstone torch or repeater to control output direction and strength |
| Overcomplicating early builds with too many components | Stick to one function per circuit until confident |
| Ignoring tick delays when syncing pistons or dispensers | Use repeaters to fine-tune timing (1 tick = 0.1 seconds) |
| Hiding wiring immediately instead of testing openly | Test circuits in the open, then cover once fully functional |
| Using regular pistons when sticky ones are needed for retraction | Remember: sticky pistons pull blocks back; regular ones only push |
Mini Case Study: The Farmhouse Automation Upgrade
Jamie, a casual player, built a wheat farm but tired of manually collecting crops. After learning redstone basics, she added a simple system: water flushed harvested wheat into a central collection point, where a hopper fed it into a chest. A button-triggered piston broke the crops, and a daylight sensor ensured harvesting only occurred during daytime to prevent overgrowth.
The entire setup used six redstone dust, one piston, one hopper, and a comparator. It cut her farming time in half and sparked interest in more advanced builds like automatic animal breeders. Her experience shows that even minimal redstone knowledge yields significant quality-of-life improvements.
Frequently Asked Questions
Can redstone work underground?
Yes. Redstone functions identically regardless of location. Just ensure your power sources and mechanisms are properly connected and not obstructed by non-solid blocks.
Why isn’t my piston extending?
Pistons need strong power—either directly powered or via a powered block adjacent to them. If using redstone dust, make sure it’s powering the block the piston is attached to, not just the space beside it.
What’s the difference between a repeater and a comparator?
A repeater extends signal range and adds delay. A comparator measures signal strength (useful for containers) and can subtract or compare inputs, making it ideal for smart sorting or locking mechanisms.
Conclusion: Start Small, Build Bold
Mastering redstone doesn’t require memorizing Boolean algebra or building a calculator in your basement. It starts with curiosity, a willingness to experiment, and the patience to learn from failed circuits. Every expert builder once struggled to get a single piston to fire correctly.
By focusing on practical applications—automatic lighting, secure entrances, resource collectors—you’ll naturally absorb deeper concepts. Each success fuels the next idea, turning your world from static terrain into a responsive, dynamic environment.


 浙公网安备
33010002000092号
浙公网安备
33010002000092号 浙B2-20120091-4
Comments
No comments yet. Why don't you start the discussion?