
Reverse bicep curls are often overlooked in favor of traditional curls, yet they offer unique benefits that can transform your arm development. Unlike standard curls, this variation targets not only the biceps but also engages the brachialis and brachioradialis—key muscles that contribute to overall arm thickness and functional strength. When performed correctly, reverse curls build stronger, more defined arms while improving grip and forearm endurance. However, poor form or improper loading can lead to strain or diminished returns. This guide breaks down every aspect of the reverse bicep curl, from setup to progression, ensuring you get the most out of each repetition.
The Anatomy Behind Reverse Bicep Curls
The reverse curl’s effectiveness lies in its ability to activate multiple upper arm and forearm muscles simultaneously. With a pronated (palms-down) grip, the emphasis shifts compared to supinated (palms-up) curls. The primary muscles involved include:
- Biceps brachii: Still engaged, though slightly less than in traditional curls due to the altered hand position.
- Brachialis: Located beneath the biceps, this muscle contributes significantly to arm thickness and is highly stimulated during reverse curls.
- Brachioradialis: A forearm muscle that becomes a prime mover in this movement, especially as the elbow flexes.
- Forearm extensors: Work isometrically to stabilize the wrist under load.
This multi-muscle engagement makes reverse curls an excellent tool for building functional arm strength and achieving balanced development. As strength coach Dan John notes:
“Most people train their biceps in one plane. Reverse curls add variety and real-world carryover because they mimic pulling motions where grip matters.” — Dan John, Strength & Conditioning Coach
Step-by-Step Guide to Perfect Form
Executing reverse bicep curls with precision ensures safety and maximizes muscle recruitment. Follow this sequence to master the movement:
- Choose Your Equipment: Begin with an E-Z bar or straight barbell. An E-Z bar reduces wrist strain due to its curved design. For home workouts, dumbbells work well too.
- Set Your Stance: Stand with feet shoulder-width apart, knees slightly bent, and core engaged. Keep your chest up and shoulders back.
- Grip the Bar: Place hands slightly narrower than shoulder-width, palms facing down (pronated). Maintain a firm but relaxed grip—avoid squeezing too hard, which can fatigue forearms prematurely.
- Start Position: Let arms hang fully extended, elbows close to your torso. Do not allow them to drift forward.
- Lift Phase: Exhale and curl the bar upward by bending at the elbows. Focus on leading with the elbows, not the hands. Keep wrists neutral throughout—do not break at the wrist.
- Top Position: Pause briefly when the bar reaches shoulder level. You should feel tension in both biceps and forearms. Avoid swinging or using momentum.
- Lowering Phase: Inhale and lower the bar slowly over 2–3 seconds. Control is crucial here; resist gravity rather than dropping the weight.
- Repeat: Perform 8–12 reps per set, depending on intensity and goals.
Common Mistakes and How to Fix Them
Even experienced lifters fall into traps that reduce effectiveness or increase injury risk. Here’s a breakdown of frequent errors and corrections:
| Mistake | Why It’s Problematic | Solution |
|---|---|---|
| Swinging the body | Uses momentum instead of muscle, reducing bicep activation | Reduce weight and focus on strict form; perform curls standing against a wall to prevent leaning |
| Flaring elbows | Takes tension off target muscles and stresses shoulders | Keep elbows pinned to your sides throughout the movement |
| Wrist bending | Can cause tendon strain and reduce force transfer | Engage forearm stabilizers; consider wrist wraps if needed |
| Partial range of motion | Limits muscle growth and joint mobility | Extend arms fully at the bottom and bring bar to chin level at the top |
Programming for Maximum Results
To see consistent gains, integrate reverse curls strategically into your weekly routine. Whether you're aiming for hypertrophy, strength, or endurance, adjust volume and intensity accordingly.
Here’s a sample progression plan:
- Beginner (Weeks 1–4): 3 sets of 10–12 reps, twice per week, moderate weight (RPE 6–7)
- Intermediate (Weeks 5–8): 4 sets of 8–10 reps, adding a third session or supersets with hammer curls
- Advanced (Week 9+): Incorporate drop sets, slow eccentrics (4-second lowers), or alternate between barbell and dumbbell variations
Track your lifts weekly. Aim to increase either weight, reps, or time under tension progressively. Consistency beats intensity in the long run.
Mini Case Study: From Plateau to Progress
James, a 32-year-old intermediate lifter, had plateaued in arm size despite regular bicep training. He used only standard barbell curls and dumbbell concentration curls but saw little change in forearm definition or overall arm girth. After consulting a trainer, he added reverse curls twice weekly using an E-Z bar. Starting with just 30 lbs and focusing on form, he gradually increased to 50 lbs over eight weeks. By week 10, his arm measurements showed a 0.75-inch increase in both upper arm and forearm circumference. More importantly, his grip strength improved noticeably during deadlifts and pull-ups. “I didn’t realize how much I was neglecting half my arm,” James said. “Reverse curls filled the gap.”
Reverse Curl Variations and Alternatives
Variety prevents adaptation and keeps muscles challenged. Consider these effective variations:
- Dumbbell Reverse Curls: Allow independent arm work and better wrist positioning.
- Alternating Reverse Curls: Increase time under tension and correct strength imbalances.
- Incline Reverse Curls: Performed on a bench, these stretch the biceps at the bottom for greater fiber recruitment.
- Cable Reverse Curls: Provide constant tension throughout the range of motion.
- Zottman Curl (partial reverse): Curl up with palms down, rotate to palms up on the way down—combines benefits of both curl types.
Frequently Asked Questions
Are reverse curls bad for the elbows?
Not when done correctly. Some users report lateral elbow discomfort (often called \"tennis elbow\"), usually due to excessive weight or poor wrist alignment. Start light, maintain neutral wrists, and avoid flare-ups by limiting volume if soreness occurs. Prehab exercises like wrist extensions and forearm rolls can also help.
How do reverse curls compare to hammer curls?
Both target the brachialis and brachioradialis, but reverse curls place greater demand on the forearm extensors due to the fully pronated grip. Hammer curls use a neutral grip, making them more joint-friendly for many lifters. For best results, include both in your program on different days.
Can I do reverse curls every day?
No. Like all resistance exercises, reverse curls require recovery. Muscles grow during rest, not training. Perform them 1–3 times per week with at least 48 hours between sessions targeting the same muscles.
Final Checklist for Success
Before your next workout, review this checklist to ensure optimal execution:
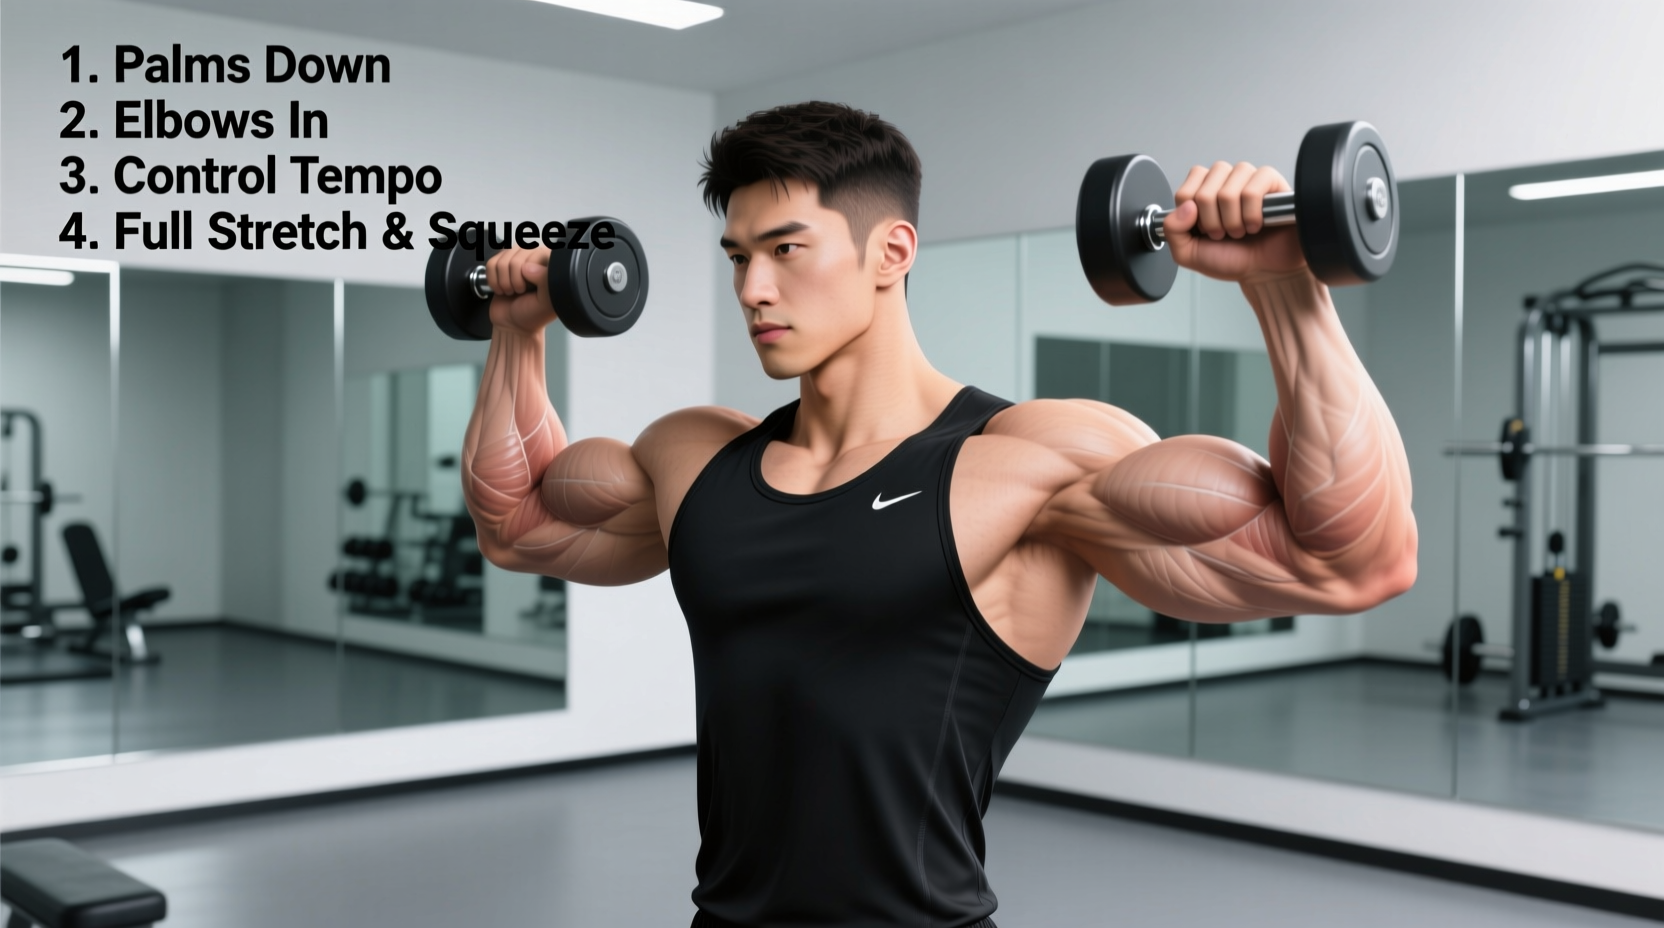
- ✅ Feet shoulder-width apart, core tight
- ✅ Elbows tucked close to torso
- ✅ Palms facing down, grip secure but not overly tight
- ✅ Full range of motion: arms extended at bottom, bar near chin at top
- ✅ Controlled tempo: 1 second up, 2–3 seconds down
- ✅ No swinging or jerking—strict form only
- ✅ Progress tracked weekly (weight, reps, or RPE)
Take Action and Transform Your Arms
Reverse bicep curls are more than just another arm exercise—they’re a strategic tool for building thicker, stronger, and more resilient arms. By mastering the technique, avoiding common pitfalls, and programming them effectively, you unlock new dimensions of upper-body development. Don’t let outdated routines limit your progress. Add reverse curls to your next arm or back session, focus on quality over quantity, and watch your strength and definition climb. The details matter. Get them right, and the results will follow.


 浙公网安备
33010002000092号
浙公网安备
33010002000092号 浙B2-20120091-4
Comments
No comments yet. Why don't you start the discussion?