
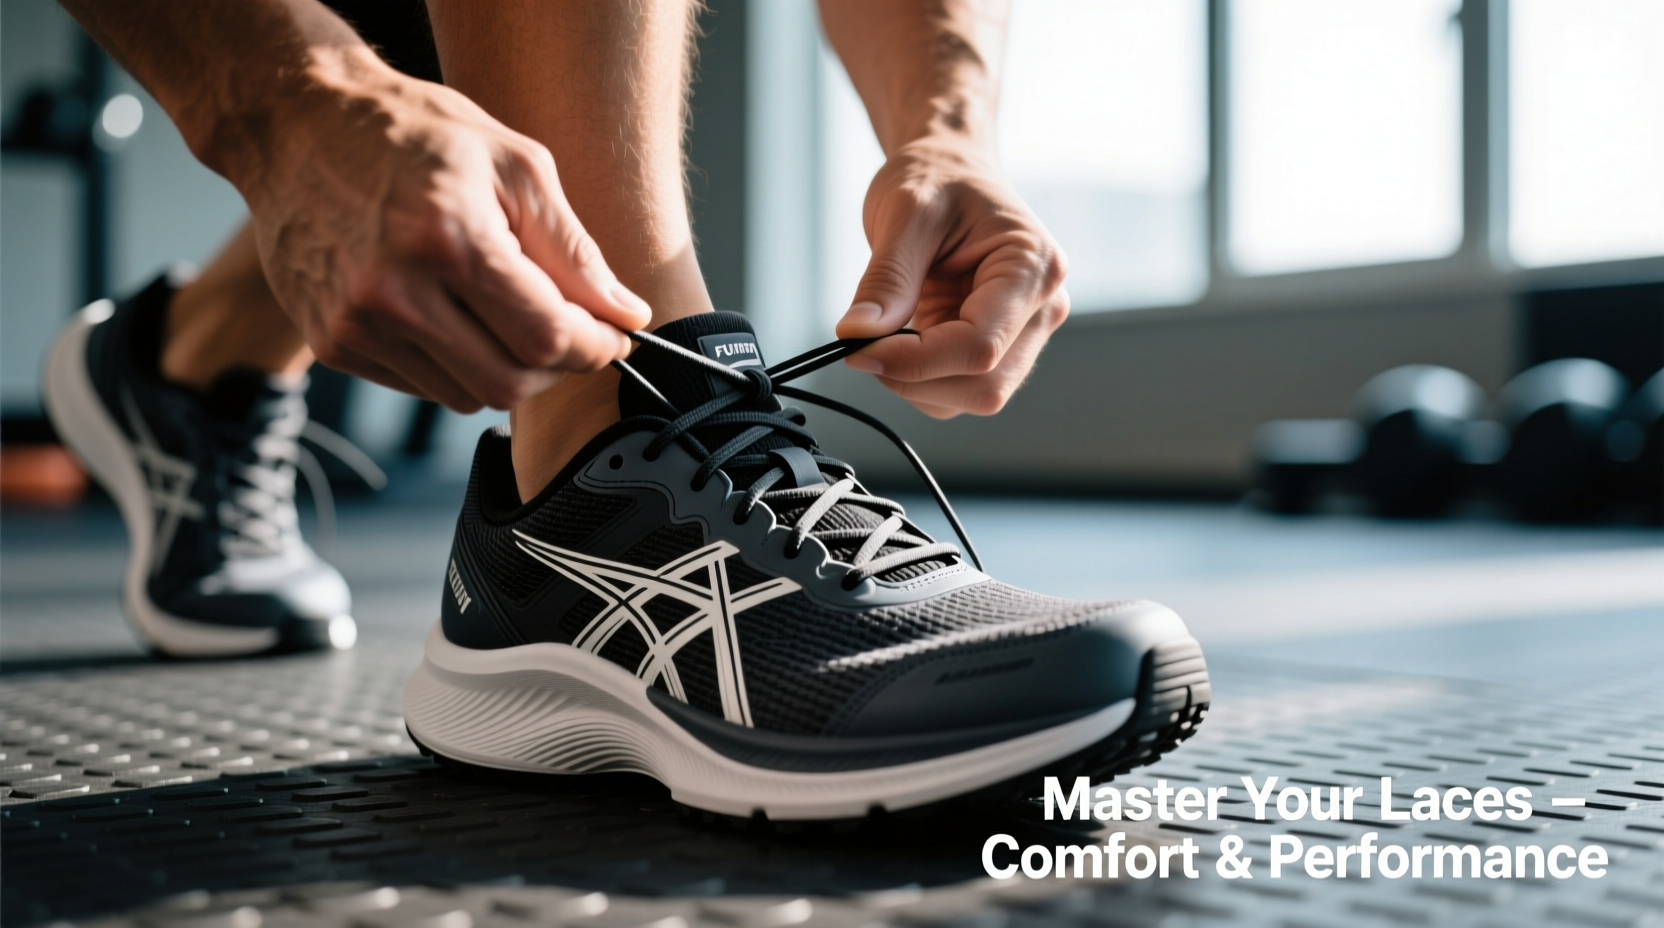
Running is as much about mechanics as it is about endurance, and one of the most overlooked elements in a runner’s form is how their shoes are laced. A poorly tied knot or misaligned lacing pattern can lead to blisters, heel slippage, numb toes, or even long-term discomfort. Yet, with a few simple adjustments, runners can transform their fit, improve stability, and unlock greater efficiency. The right lacing technique isn’t just about keeping shoes on—it’s about fine-tuning the connection between foot and shoe for maximum comfort and performance.
The Science Behind Proper Lacing
Your running shoe is only as effective as its ability to conform to your foot. Modern running footwear features engineered uppers, cushioned midsoles, and dynamic support systems—but none of these work optimally if the shoe doesn’t fit securely. Traditional crisscross lacing applies uniform pressure across the instep, but this one-size-fits-all method often fails to address individual anatomical differences such as high arches, wide forefeet, or sensitive top-of-foot areas.
Lacing patterns influence pressure distribution, heel lockdown, and toe box space. By modifying how you lace, you can correct common issues like:
- Heel lift during stride
- Toes jamming into the front of the shoe on downhill runs
- Pressure on the top of the foot causing numbness
- Inadequate midfoot support leading to instability
“Many runners blame their shoes for discomfort when the real issue lies in improper fit—often fixable through smarter lacing.” — Dr. Lena Torres, Sports Podiatrist
Step-by-Step Guide to Key Lacing Techniques
Below are five proven lacing methods tailored to specific running concerns. Each requires no special tools—just your existing shoelaces and a few extra minutes before your next run.
1. Lock Lacing (Heel Lock)
Prevents heel slippage, especially useful in newer shoes or models with looser heels.
- Lace normally up to the second-to-last eyelet.
- Instead of crossing over, bring each lace straight up to the top eyelet on the same side.
- Form a loop with each vertical lace.
- Cross the loops and pull one through the other, then tighten and tie normally.
2. Window Lacing (Relief for Top-of-Foot Pressure)
Ideal for runners experiencing pain or numbness across the metatarsal area.
- Lace normally until you reach the eyelets directly below the painful zone.
- Skip the next set of eyelets horizontally, creating an open “window.”
- Continue lacing above the gap, pulling tension from surrounding areas instead of the sensitive spot.
3. Parallel Lacing (Even Pressure Distribution)
Reduces friction and provides balanced hold, particularly beneficial for wide forefeet.
- Start at the bottom, threading the lace straight across.
- Bring both ends vertically up, then cross horizontally again.
- Repeat, creating parallel vertical lines along the sides.
4. Skip-Lace (Accommodate High Arches)
Loosens tension over the arch while maintaining forefoot and heel security.
- Lace normally from the first two eyelets.
- Skip one set of eyelets diagonally, moving to the third pair.
- Continue the crisscross pattern from there.
5. Loop-Back Lacing (Secure Midfoot Wrap)
Enhances midfoot containment without over-tightening the upper.
- After lacing halfway, thread each lace end back down through the previous eyelet to create a loop.
- Pull the lace through its own loop to lock tension.
- Resume normal lacing upward.
Do’s and Don’ts of Running Shoe Lacing
| Do | Don’t |
|---|---|
| Adjust lacing based on foot swelling during long runs | Over-tighten to compensate for wrong shoe size |
| Use different patterns for different runs (e.g., trail vs. track) | Ignore persistent numbness—it may signal nerve compression |
| Replace frayed or overly stiff laces regularly | Use elastic laces in races unless thoroughly tested |
| Test new lacing styles on short runs first | Assume all shoes fit the same—always re-evaluate lacing per model |
Real Example: From Blisters to Breakthrough
Jamal, a marathoner training for his first Boston qualifier, struggled with recurring blisters behind his right heel. He replaced shoes twice, adjusted socks, and tried various tapes—but the problem persisted. During a gait analysis, a coach noticed his heel lifting slightly with each stride. After switching to a heel-lock lacing technique, Jamal eliminated the slippage entirely. Within two weeks, his blistering stopped, and he reported feeling more connected to his shoes. “It was like unlocking a hidden setting,” he said. “I’d been fighting my gear instead of working with it.”
Checklist: Optimize Your Lacing Routine
- Identify your primary fit issue (heel slip, pressure, width, etc.)
- Select the appropriate lacing method from the guide above
- Practice the technique at home before race day
- Ensure laces are long enough—typically 40–60 inches depending on eyelet count
- Reassess lacing after 30 minutes of running, when feet naturally swell
- Carry spare laces in varying lengths for race-day experimentation
- Document what works for each shoe model in your rotation
Frequently Asked Questions
Can lacing really affect running performance?
Absolutely. Poor lacing leads to micro-movements inside the shoe, which waste energy and increase fatigue. Secure, customized lacing improves proprioception—your body’s awareness of foot position—leading to smoother transitions and better stride efficiency.
How tight should I tie my running shoes?
You should be able to fit one finger snugly under the laces at the midfoot. The forefoot should have room to expand during impact, and the heel must remain locked without compressing the Achilles tendon. If your toes feel pinched on downhills, loosen the upper laces slightly.
Are elastic laces worth using?
For some runners, yes. Elastic laces provide consistent tension and eliminate the need to re-tie during runs. However, they offer less adjustability and can restrict natural foot swelling if not sized correctly. Test them on training runs before relying on them in competition.
Conclusion: Lace Smart, Run Better
Running shoe lacing is not a minor detail—it’s a precision tool. Just as you fine-tune your cadence, hydration, and pacing strategy, your lacing deserves the same level of attention. With minimal effort and a bit of knowledge, you can resolve chronic discomfort, enhance stability, and move more efficiently mile after mile. The next time you slip on your trainers, take ten extra seconds to assess not just *if* they’re tied, but *how*. That small adjustment might be the difference between finishing strong and limping to the finish line.


 浙公网安备
33010002000092号
浙公网安备
33010002000092号 浙B2-20120091-4
Comments
No comments yet. Why don't you start the discussion?