
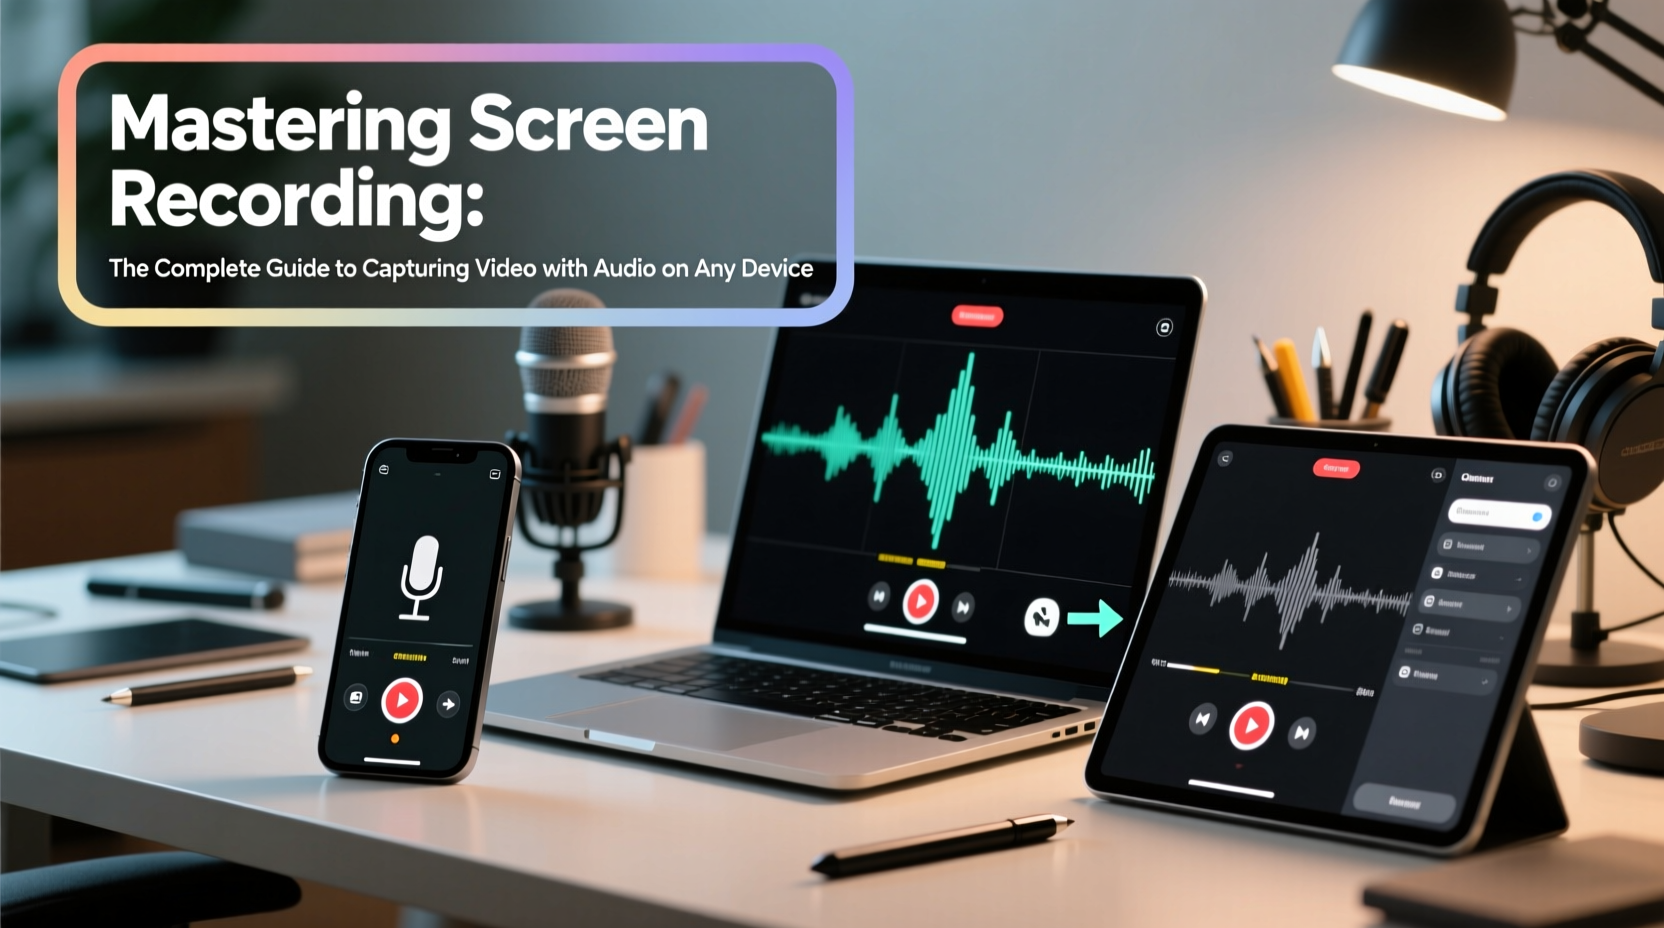
Capturing what happens on your screen with synchronized audio is no longer limited to professionals with expensive setups. Whether you're creating tutorials, documenting software bugs, recording gameplay, or delivering remote presentations, screen recording has become an essential digital skill. But getting it right—clear visuals, crisp audio, and smooth performance—requires more than just pressing a button. The key lies in understanding the tools, settings, and techniques that align with your device and purpose.
This guide walks through everything you need to know to master screen recording with audio across Windows, macOS, iOS, and Android. From built-in utilities to advanced third-party tools, we’ll cover setup, optimization, troubleshooting, and real-world applications so you can produce high-quality recordings every time.
Choosing the Right Screen Recording Tool by Device
Not all screen recorders are created equal. Each operating system offers native options, while third-party software provides enhanced features like editing, multi-source audio capture, and cloud sharing. Selecting the right tool starts with identifying your device and use case.
| Device | Built-in Option | Recommended Third-Party Tool | Best For |
|---|---|---|---|
| Windows 10/11 | Xbox Game Bar | OBS Studio | Tutorials, gaming, live streaming |
| macOS | QuickTime Player | ScreenFlow | Professional editing, demos |
| iOS | Built-in Screen Recorder | Loom (via Safari) | Quick feedback, mobile walkthroughs |
| Android | Built-in Screen Recorder (varies by brand) | AZ Screen Recorder | App reviews, bug reporting |
For casual users, built-in tools are often sufficient. Power users and content creators, however, benefit from advanced software that allows scene composition, microphone mixing, cursor highlighting, and post-recording edits.
Step-by-Step Guide to Record Screen with Audio
Follow this universal workflow to ensure clean, professional results regardless of your device:
- Define Your Purpose: Are you recording a tutorial, gameplay, or a quick message? Knowing the goal shapes your settings and delivery.
- Choose Your Software: Pick a recorder that supports system audio, microphone input, and your desired resolution.
- Prepare Your Environment: Close unnecessary apps, silence notifications, and ensure good lighting if using a webcam.
- Configure Audio Sources: Enable both system sound (for app audio) and microphone (for voiceover). Avoid echo by using headphones.
- Set Recording Area: Decide between full-screen, window-specific, or custom region capture.
- Do a Test Run: Record 20–30 seconds and review playback for clarity, sync, and background noise.
- Record in Short Segments: Long sessions increase risk of crashes. Break complex topics into clips under 10 minutes.
- Edit and Export: Trim silences, enhance audio, add captions, and export in MP4 format for broad compatibility.
Consistency in this process builds reliability. Over time, you’ll develop muscle memory for optimal settings based on your most common use cases.
Optimizing Audio Quality for Clear Voiceovers
Poor audio ruins even the most visually polished recording. Many users focus on video resolution but neglect sound, resulting in muffled narration or distorted system audio.
System audio capture—recording sounds coming from your speakers—is not always enabled by default. On Windows, Xbox Game Bar captures system audio only when used with supported apps. macOS QuickTime requires additional setup via a virtual audio driver like BlackHole to route internal sound. Third-party tools like OBS Studio offer built-in audio routing once configured.
- Use a dedicated USB microphone instead of built-in laptop mics for clearer voice capture.
- Speak at a consistent distance from the mic—about 6–8 inches—to avoid volume fluctuations.
- Lower background music or interface sounds during narration to prevent masking your voice.
- Apply noise suppression filters in post-production or via real-time plugins (e.g., Krisp).
“Over 70% of viewers abandon videos within the first 30 seconds if the audio is unclear.” — Dr. Lena Patel, UX Researcher at MediaLab Insights
Common Pitfalls and How to Avoid Them
Even experienced users make mistakes that degrade recording quality. Recognizing these early prevents frustration and rework.
Here are frequent issues and their solutions:
| Issue | Root Cause | Solution |
|---|---|---|
| No system audio captured | OS restrictions or incorrect source selection | Use third-party software or enable loopback audio drivers |
| Audio out of sync | High CPU usage or encoding lag | Lower resolution, close background apps, or resync in editor |
| Blurry or choppy video | Low frame rate or outdated graphics drivers | Set frame rate to 30fps minimum; update GPU drivers |
| Large file sizes | Uncompressed formats or excessive duration | Export in H.264 codec; split long recordings |
Real-World Example: Creating a Software Tutorial
Sarah, a customer support manager at a SaaS company, needed to train her team on a new CRM update. Instead of writing lengthy emails, she decided to create a 6-minute screen recording.
She used OBS Studio on her Windows machine, set up her Blue Yeti microphone, and connected headphones to prevent echo. She selected the CRM browser window as her capture area and enabled both system audio (to capture alert sounds) and her voice. Before recording, she disabled Slack notifications and turned off her Wi-Fi to prevent interruptions.
After a 30-second test, she recorded in two segments: one showing navigation, another explaining key features. In post-production, she trimmed pauses, added zoom effects on critical buttons, and exported the video in 1080p MP4 format. Her team reported a 40% faster onboarding time compared to text-based guides.
Essential Checklist for Flawless Screen Recordings
Before every recording session, run through this checklist to ensure technical readiness:
- ✅ Close all non-essential applications
- ✅ Disable notifications (email, messaging, system alerts)
- ✅ Connect external microphone and test input levels
- ✅ Plug in headphones to monitor audio without feedback
- ✅ Confirm system audio capture is enabled
- ✅ Set screen resolution to 1080p or higher
- ✅ Choose appropriate frame rate (30fps for standard, 60fps for motion-heavy content)
- ✅ Verify sufficient storage space (HD video uses ~1GB per 5 minutes)
- ✅ Perform a short test recording and playback
- ✅ Save project files and backups immediately after export
Frequently Asked Questions
Can I record system audio on iPhone?
Yes. Starting with iOS 14, you can enable screen recording with audio by adding the “Screen Recording” control to Control Center. Press and hold the recording button, then tap the microphone icon to include ambient sound. Note: Due to licensing restrictions, internal app audio (like music from Spotify) cannot be captured directly.
Why is my audio out of sync?
Desynchronization usually occurs due to hardware limitations or encoding delays. To fix it, reduce the recording resolution, lower the frame rate temporarily, or use editing software like DaVinci Resolve or Shotcut to manually adjust audio timing.
Is OBS Studio safe and free to use?
Yes. OBS Studio is open-source, completely free, and widely trusted by millions of users worldwide. Download it only from the official site (obsproject.com) to avoid malware-laced clones.
Mastery Starts with Practice
Screen recording with audio is a skill that improves with deliberate practice. The technology is accessible, but excellence comes from attention to detail—clean audio, stable performance, and intentional presentation. Whether you're teaching, collaborating, or creating content, every recording is an opportunity to communicate more effectively.


 浙公网安备
33010002000092号
浙公网安备
33010002000092号 浙B2-20120091-4
Comments
No comments yet. Why don't you start the discussion?