
Capturing what’s on your screen is a daily necessity—whether you're troubleshooting an error, sharing instructions, documenting research, or creating content. While taking a screenshot might seem straightforward, doing it efficiently and effectively requires more than just pressing a button. Knowing the right method, tool, and format can save time, improve clarity, and enhance communication. From built-in keyboard shortcuts to advanced third-party applications, mastering screen capture means understanding both simplicity and precision.
The Basics of Screen Capture
Screenshots come in various forms: full-screen captures, partial selections, scrolling windows, and timed shots. Each serves a different purpose. A full-screen capture records everything visible on your monitor, while a selective capture isolates specific areas like a single window or a section of text. Scrolling screenshots go beyond the visible frame, capturing entire web pages or documents from top to bottom.
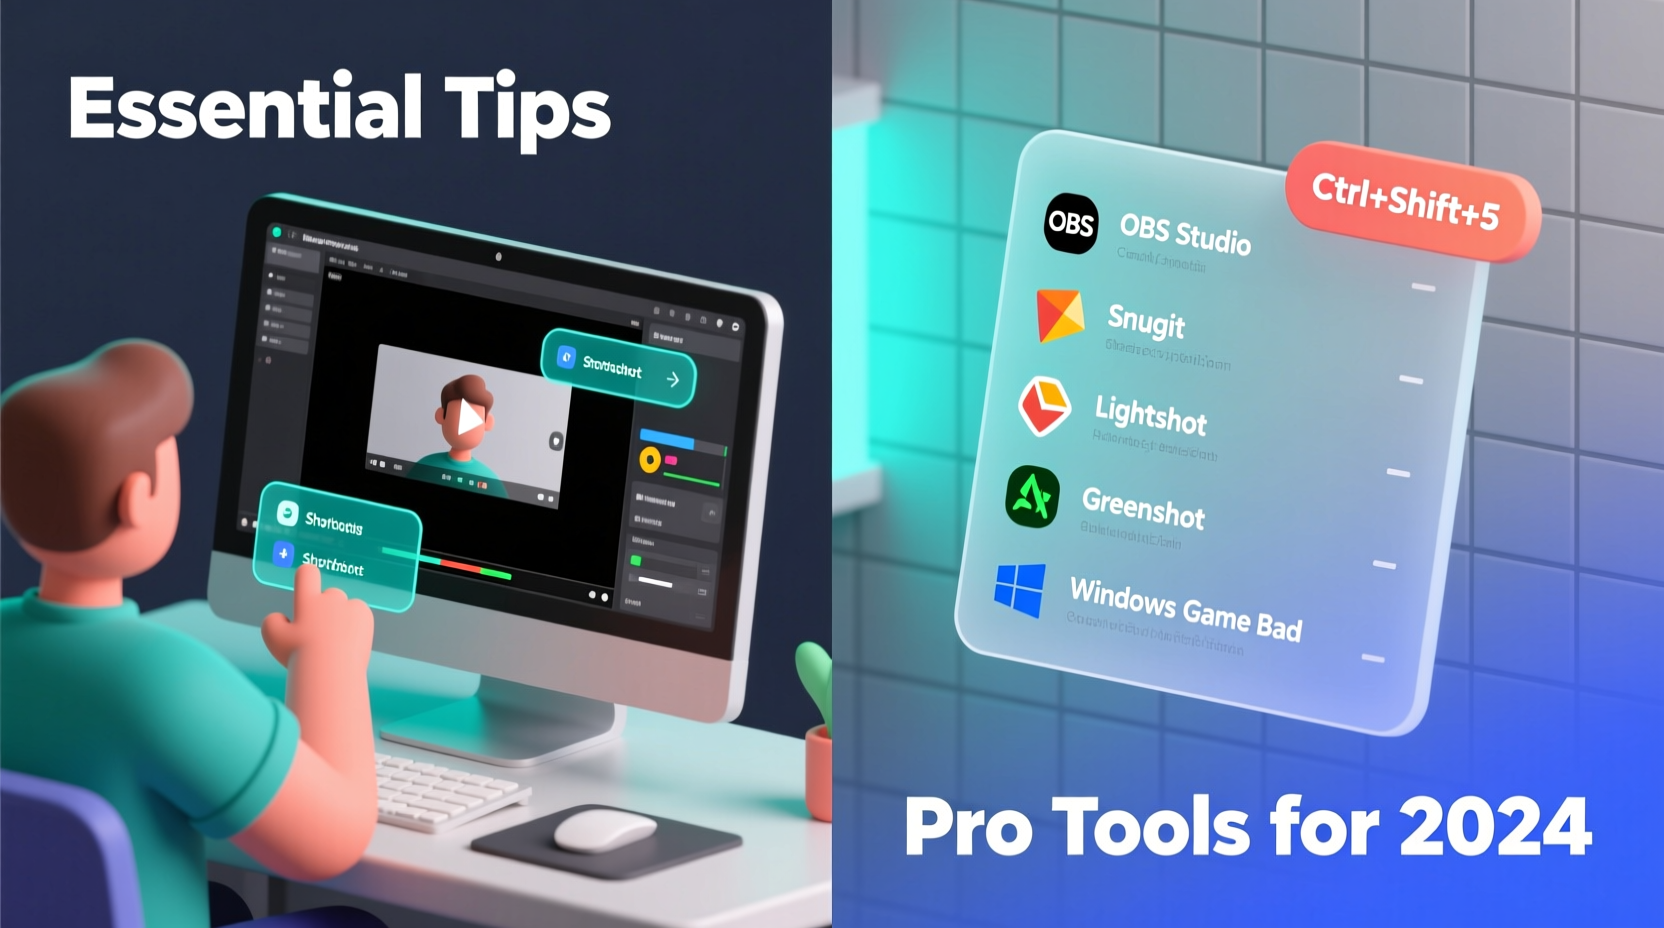
Most operating systems include native tools for basic screen capture. On Windows, Print Screen copies the entire display, while Alt + Print Screen captures only the active window. Windows 10 and 11 users can press Win + Shift + S to open the Snip & Sketch tool for selective captures. Mac users rely on Command + Shift + 4 for region selection or Command + Shift + 5 to access a full screenshot menu with timer and recording options.
Choosing the Right Tool for the Job
While built-in tools are convenient, they often lack advanced features such as annotation, cloud saving, OCR (optical character recognition), or collaboration. Third-party tools fill these gaps with enhanced functionality tailored to professionals, educators, developers, and remote teams.
| Tool | Platform | Key Features | Best For |
|---|---|---|---|
| Snagit | Windows, macOS | Scrolling capture, annotations, video recording, templates | Tutorials, documentation |
| Lightshot | Windows, macOS | Quick upload, simple editing, lightweight | Fast sharing |
| Greenshot | Windows | Open-source, customizable output, export to email/PDF | Developers, IT support |
| Monosnap | Windows, macOS | Cloud sync, blur sensitive data, team folders | Remote collaboration |
| ShareX | Windows | Highly customizable, automation, workflow integration | Power users, automators |
“Efficiency in screen capture isn’t about speed alone—it’s about context. The right tool ensures your message is clear, secure, and shareable.” — Jordan Lee, UX Design Lead at TechFlow Solutions
Step-by-Step Guide to Professional Screen Captures
Creating a polished, effective screenshot involves more than snapping an image. Follow this sequence to ensure quality and usability every time:
- Prepare the screen: Close irrelevant tabs, minimize desktop clutter, and adjust window size to focus on the subject.
- Choose the capture type: Decide whether you need a full screen, window, region, or scrolling capture based on content length and context.
- Capture cleanly: Use keyboard shortcuts or dedicated software to avoid shaky mouse movements or double captures.
- Edit for clarity: Add arrows, highlights, or text labels to direct attention. Blur out personal information or passwords.
- Save appropriately: Use PNG for sharpness and transparency; JPEG for smaller file sizes; PDF for multi-page documentation.
- Organize and share: Name files clearly (e.g., “Login_Error_Report_2024”) and store them in shared drives or project folders when collaborating.
A Real-World Example: Resolving a Client Issue
Marketing consultant Maria Chen once faced a recurring problem: clients misunderstood her feedback on website layouts because her descriptions lacked visual context. She began using Snagit to capture specific sections of live websites, annotate navigation issues with red circles and callouts, and export annotated images directly into her project management tool.
The result? Client approval time dropped by 40%. One client noted, “Seeing exactly where the button was hidden made it so much easier to fix.” By replacing vague comments like “the CTA isn’t prominent” with labeled visuals, Maria transformed abstract feedback into actionable insight.
This case illustrates how a small shift in screen capture technique can have an outsized impact on communication efficiency and project outcomes.
Common Pitfalls and How to Avoid Them
- Ignoring resolution: Low-resolution screenshots appear blurry when zoomed. Capture at native screen resolution whenever possible.
- Overlooking privacy: Accidentally exposing emails, URLs, or internal data undermines security. Always review and redact before sharing.
- Poor file naming: Files named “Screenshot_1.png” become unmanageable in bulk. Adopt a consistent naming convention.
- Using the wrong format: JPEG compression can distort text. Stick to PNG for interface elements and diagrams.
- Skipping post-capture editing: Unedited screenshots may include distractions. Crop unnecessary space and highlight key areas.
“Over half of technical misunderstandings in remote work stem from unclear visuals—not poor writing.” — Dr. Lena Patel, Remote Collaboration Researcher, Stanford University
Essential Checklist for Every Screenshot Workflow
Before capturing and sharing any screen image, run through this checklist to maintain professionalism and clarity:
- ✅ Clear all unrelated browser tabs and notifications
- ✅ Maximize or resize the target window for optimal framing
- ✅ Disable pop-ups or auto-updates that could interrupt capture
- ✅ Use dark mode if it improves contrast and reduces glare
- ✅ Capture in high DPI settings for sharp results
- ✅ Annotate with arrows, numbers, or text to guide the viewer
- ✅ Blur or hide sensitive data (usernames, tokens, financial info)
- ✅ Save with a descriptive filename and proper extension
- ✅ Verify legibility on mobile and desktop views
- ✅ Share via secure link or encrypted channel if confidential
Frequently Asked Questions
How do I capture a scrolling webpage?
Use tools like Snagit, Monosnap, or browser extensions such as GoFullPage (Chrome) or FireShot (Firefox). These allow you to capture long web pages beyond the visible viewport and save them as a single image or PDF.
Why does my screenshot look blurry?
Blurriness often occurs when using JPEG for text-heavy screens or scaling images improperly. Always use PNG format for UI elements and avoid stretching screenshots beyond their original dimensions.
Can I automate repetitive screenshot tasks?
Yes. Tools like ShareX (Windows) support workflows that auto-capture, annotate, rename, and upload screenshots to cloud storage or issue trackers. You can set triggers based on time, clipboard changes, or hotkeys.
Mastery Starts with Practice
Becoming proficient at screen capturing isn’t about memorizing shortcuts—it’s about developing a habit of clarity and intention. Whether you’re a teacher explaining a concept, a developer reporting a bug, or a designer presenting mockups, the quality of your visuals shapes how your message is received. With the right combination of tools, techniques, and attention to detail, you can turn a simple screenshot into a powerful communication asset.


 浙公网安备
33010002000092号
浙公网安备
33010002000092号 浙B2-20120091-4
Comments
No comments yet. Why don't you start the discussion?