
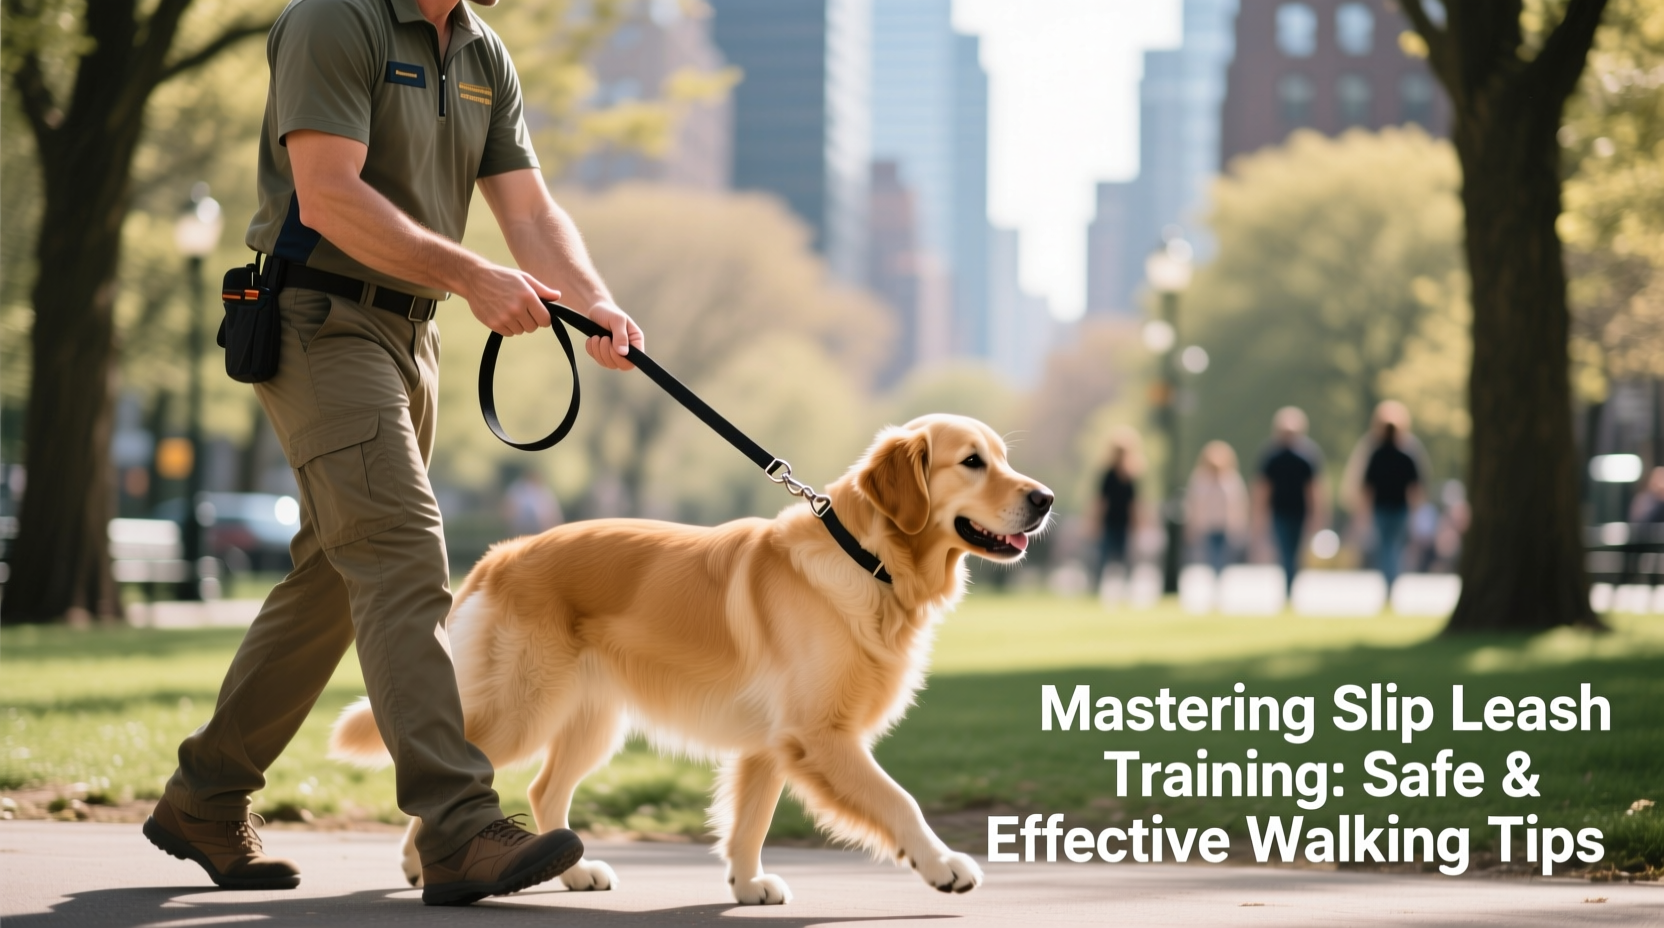
Walking your dog should be a peaceful, enjoyable experience for both of you. Yet many pet owners struggle with pulling, lunging, or lack of responsiveness during walks. The slip leash—also known as a choke chain or limited-slip collar—is often misunderstood. When used correctly, it can be an effective tool for communication and control. However, improper use risks injury and erodes trust. This guide breaks down the essentials of slip leash training, offering practical, humane strategies to help you walk your dog safely and confidently.
Understanding the Slip Leash: Function and Mechanics
A slip leash is a looped collar that tightens when pulled and loosens when tension is released. Unlike a fixed buckle collar, it adjusts dynamically around the dog’s neck. It's commonly made from nylon or chain material and operates on the principle of pressure and release—a foundational concept in canine learning.
The key to safe use lies in understanding its mechanism: the leash tightens slightly when the dog pulls forward, creating momentary pressure at the back of the neck. When the dog stops pulling and slack returns, the pressure releases. This mimics natural corrections dogs experience in pack dynamics, making it intuitive when applied with precision.
“Properly used, a slip leash isn’t about punishment—it’s about timing, clarity, and immediate feedback.” — Dr. Karen Becker, Integrative Veterinarian and Canine Behavior Advocate
It's crucial to note: this tool is not designed for constant tension. Yanking or jerking can cause tracheal damage, spinal issues, or eye pressure in brachycephalic breeds. Mastery comes from finesse, not force.
Step-by-Step Guide to Introducing the Slip Leash
Transitioning to a slip leash requires patience and structured training. Follow this timeline to ensure safety and positive association:
- Day 1–3: Familiarization
Let your dog sniff and explore the leash off-body. Pair it with treats so the sight of the leash becomes linked with good things. - Day 4–5: On-Leash Acclimation
Put the slip leash on loosely (ensure it fits high on the neck, behind the ears) and let your dog wear it indoors while supervised. Reward calm behavior. - Day 6–7: Pressure & Release Drills
In a quiet space, gently tighten the leash with a quick snap (not a pull), then immediately release. Pair the release with a treat. Repeat 5–10 times per session. - Week 2: Controlled Walking Practice
Begin short walks in low-distraction areas. Use a “pop-and-release” motion when pulling occurs—sharp but brief—and reward the instant your dog returns to your side. - Week 3+: Gradual Distraction Increase
Move to busier sidewalks, parks, or near other dogs. Maintain consistency in cues and corrections.
Common Mistakes and How to Avoid Them
Even well-intentioned handlers make errors that compromise safety and effectiveness. Below are frequent pitfalls and their solutions:
| Mistake | Why It’s Harmful | Solution |
|---|---|---|
| Pulling steadily on the leash | Causes prolonged pressure, risking injury and fear | Use only quick, quarter-second corrections followed by full release |
| Attaching the leash to the front ring of a harness | Defeats the purpose; no proper feedback loop | Use a flat collar or proper slip collar placement; never combine with front-clip harnesses |
| Using the slip leash for unsupervised tethering | Dog can get tangled and strangle itself | Never leave a dog unattended while on a slip leash |
| Over-correcting sensitive dogs | Can lead to anxiety or aggression | Adjust correction intensity to the dog’s temperament and size |
Real Example: Transforming a Reactive Walker
Max, a two-year-old German Shepherd, would lunge at cyclists and bark at passing dogs. His owner, Sarah, tried retractable leashes and harnesses, but Max remained unresponsive. After consulting a professional trainer, she switched to a slip leash with guided instruction.
Starting in her backyard, Sarah practiced the pop-and-release technique whenever Max surged forward. She paired each release with a treat and praise. Within a week, Max began pausing instinctively after the light correction. By the third week, they were walking calmly past previously triggering stimuli. The key wasn’t the tool itself—but the consistency in timing and reinforcement.
“I used to dread our walks,” Sarah said. “Now we both look forward to them. The slip leash gave me clearer communication, not more control through force.”
Essential Tips for Safe and Effective Training
- Always supervise your dog when wearing a slip leash—never use it as a permanent collar.
- Train with high-value treats during early sessions to reinforce desired behavior.
- Keep walks short and focused at first; gradually increase duration as reliability improves.
- Use verbal cues like “Heel” or “With me” in tandem with physical feedback for stronger association.
- Practice loose-leash walking drills daily, even if just for five minutes indoors.
Checklist: Preparing for Your First Slip Leash Walk
- ✔ Choose a quiet, distraction-free environment (e.g., empty parking lot or quiet street)
- ✔ Ensure proper fit: the slip leash should sit snugly behind the ears and slide no lower than the shoulders
- ✔ Carry small, soft treats for immediate rewards
- ✔ Wear comfortable shoes and keep your posture upright—your stance influences your dog’s behavior
- ✔ Plan for short sessions (10–15 minutes max) to prevent frustration
- ✔ Have a backup flat collar available in case the slip leash proves unsuitable
Frequently Asked Questions
Is a slip leash cruel?
Not when used correctly. A properly timed, brief correction followed by release is no more harmful than a tap on the shoulder to get attention. Cruelty arises from misuse—constant pulling, jerking, or using it on unsuitable dogs (e.g., those with respiratory conditions).
Can I use a slip leash on a puppy?
Generally not recommended before 6 months of age. Puppies’ necks and spines are still developing. Focus on positive reinforcement and flat collars first. If needed later, introduce the slip leash gradually under expert guidance.
What if my dog keeps slipping out of the collar?
This usually means improper fit or incorrect orientation. The metal loop should go through the fabric loop, tightening when pulled. Ensure it’s adjusted snugly during fitting and always check before walks. Some dogs with narrow heads (like Greyhounds) may need a martingale collar instead.
Conclusion: Building Trust Through Clear Communication
Mastering slip leash training isn’t about dominance—it’s about clarity. Dogs thrive on consistent signals, and the slip leash, when respected and used skillfully, offers real-time feedback that strengthens mutual understanding. Safety, timing, and empathy are non-negotiable. With patience and practice, you can transform chaotic walks into moments of connection and confidence.


 浙公网安备
33010002000092号
浙公网安备
33010002000092号 浙B2-20120091-4
Comments
No comments yet. Why don't you start the discussion?