
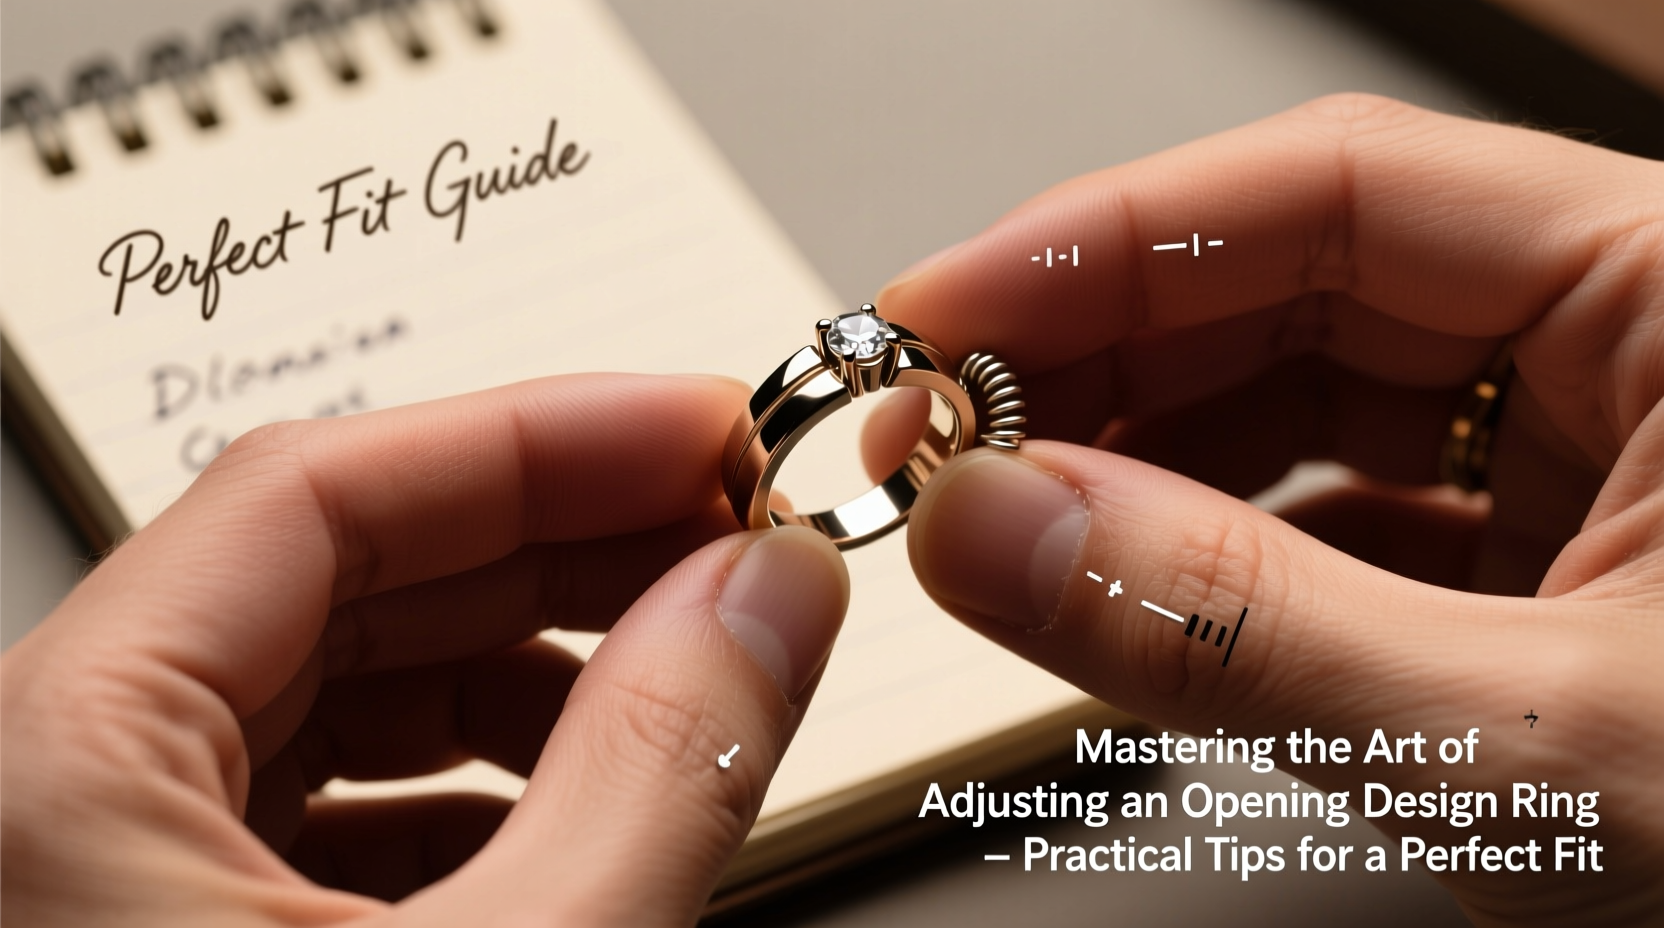
Opening design rings—also known as adjustable or tension rings—are prized for their versatility and style. Unlike traditional bands that require precise sizing, these rings feature a gap between the ends, allowing them to be gently opened or closed to fit various finger sizes. While this flexibility is a major advantage, improper adjustment can lead to discomfort, misshaping, or even damage. Mastering the fine balance between fit, comfort, and structural integrity ensures your ring remains both beautiful and functional.
Understanding the Anatomy of an Opening Design Ring
Before adjusting any ring, it’s essential to understand its construction. Most opening rings are made from a continuous band of metal with a deliberate gap at the front. The band exerts gentle tension to keep the ring in place while allowing slight expansion and contraction. Common materials include sterling silver, gold, titanium, and brass—each with different levels of malleability and durability.
The key components include:
- Band width: Wider bands offer more stability but require greater force to adjust.
- Gap size: Determines how much the ring can expand or contract.
- Metal thickness: Thicker metals resist deformation but are harder to reshape.
- Design complexity: Rings with intricate engravings or embedded stones need extra care during adjustment.
Knowing these elements helps you apply the right amount of pressure and choose appropriate tools—critical steps in preserving the ring’s longevity.
Step-by-Step Guide to Adjusting Your Ring Safely
Adjusting an opening ring should be done slowly and with attention to detail. Rushing the process may cause permanent bending or cracking. Follow this timeline for best results:
- Assess the current fit: Slide the ring onto your intended finger. Note whether it's too tight, too loose, or unevenly seated.
- Clean the ring: Use a soft cloth and mild soap solution to remove oils or debris that could interfere with handling.
- Use protective gloves or cloths: Prevent scratches by wearing cotton gloves or wrapping the ring in a microfiber cloth when manipulating it.
- Apply even pressure: Gently squeeze the two ends toward each other to tighten, or pull them apart slightly to loosen. Always use both hands for balanced control.
- Test frequently: After each small adjustment, try the ring on to avoid over-correction.
- Check symmetry: Ensure the gap remains centered and the band lies flat against the finger.
- Final polish: Buff lightly with a jewelry cloth to restore shine after handling.
Do’s and Don’ts When Resizing an Opening Ring
| Do’s | Don’ts |
|---|---|
| Adjust in small increments (1–2 mm at a time) | Force the ring beyond its natural tension range |
| Store the ring in a soft pouch when not in use | Leave it exposed to hard surfaces where it can be bent accidentally |
| Use padded pliers if additional leverage is needed | Use regular metal pliers without protection—they can mar the surface |
| Rotate wear between fingers to prevent constant stress on one size | Wear the ring during heavy labor or exercise where impact is likely |
| Have a professional resize complex or valuable pieces | Attempt major reshaping on antique or gemstone-set rings without expert help |
Real-Life Example: Restoring Comfort to a Heirloom Ring
Sophia inherited a handcrafted silver opening ring from her grandmother. Though sentimental, the ring was too large for her slender fingers and would rotate constantly. Instead of resizing it permanently, she decided to adjust it herself using the incremental method. Over three days, she carefully narrowed the gap by less than a millimeter each time, testing the fit after every change. She wrapped the ring in a soft cloth to avoid fingerprints and used her fingertips for even pressure. Eventually, the ring sat snugly without pinching—a perfect balance of form and function. This experience taught her that patience yields better results than force, especially with delicate heirlooms.
“Adjustable rings are meant to move with you—but they still demand respect. A few seconds of carelessness can undo years of craftsmanship.” — Marcus Tran, Master Jeweler & Metalwork Instructor
Expert Tips for Long-Term Care and Fit Maintenance
Even after achieving the ideal fit, ongoing maintenance plays a crucial role in preserving your ring’s condition. Temperature changes, daily activities, and natural metal fatigue can all affect how the ring performs over time.
- Seasonal adjustments: Fingers shrink in cold weather and swell in heat. Keep this in mind when wearing your ring year-round.
- Avoid chemical exposure: Lotions, chlorine, and cleaning agents can degrade metal and increase brittleness.
- Rotate usage: Alternate between multiple rings to reduce wear on any single piece.
- Inspect regularly: Look for signs of metal fatigue, especially near the gap ends.
Frequently Asked Questions
Can I resize an opening ring permanently?
Yes, but only through professional soldering. Closing the gap entirely removes adjustability. This should only be done if you’re certain about the final size and no longer want flexibility.
Why does my ring lose its shape after a few weeks?
Repeated stretching beyond its elastic limit causes metal fatigue. High-quality rings made from durable alloys like titanium or platinum hold their shape longer than softer metals like silver.
Is it safe to adjust a ring with stones or engravings?
Proceed with caution. Stones set near the gap may become loose under pressure. For engraved or delicate designs, consult a jeweler to avoid damaging intricate details.
Essential Checklist for Perfect Ring Adjustment
- Wash and dry hands before handling the ring
- Clean the ring with a soft cloth
- Determine whether you need to tighten or loosen the fit
- Protect the surface with a fabric barrier if using tools
- Apply gradual, symmetrical pressure using fingertips or padded pliers
- Test the fit on the correct finger multiple times
- Ensure the gap remains centered and the band sits flush
- Polish gently to restore luster
- Monitor fit over the next few days and make micro-adjustments if needed
Conclusion: Achieve Confidence Through Care
Mastering the art of adjusting an opening design ring isn’t just about fitting it to your finger—it’s about understanding the balance between flexibility and integrity. With the right technique, even a simple twist of the wrist can be transformed into a mindful act of personalization and preservation. Whether you're wearing a modern minimalist band or a cherished family heirloom, taking the time to adjust it properly ensures lasting comfort and beauty.


 浙公网安备
33010002000092号
浙公网安备
33010002000092号 浙B2-20120091-4
Comments
No comments yet. Why don't you start the discussion?