
Setting up a pop-up camper doesn’t have to be a stressful ordeal. With the right approach, what once felt like a chaotic puzzle can become a smooth, satisfying routine. Whether you're new to camping or returning after years away, mastering the fundamentals ensures safety, comfort, and more time enjoying nature. This guide walks through every phase—from arrival at the site to final interior touches—so you can set up confidently and efficiently, every single time.
Choosing the Right Campsite
The foundation of a successful pop-up camper experience begins before you even open the trailer. Selecting a level, well-drained site is critical for stability, drainage, and comfort. Look for flat ground free of rocks, roots, and debris. If possible, position your camper so the main door faces away from prevailing winds and toward scenic views or morning sun.
Most campgrounds provide designated spots with concrete pads or gravel surfaces. When boondocking, use a bubble level or smartphone app to check side-to-side and front-to-back balance. Even slight tilts can affect appliance performance and sleeping comfort.
Step-by-Step Setup Process
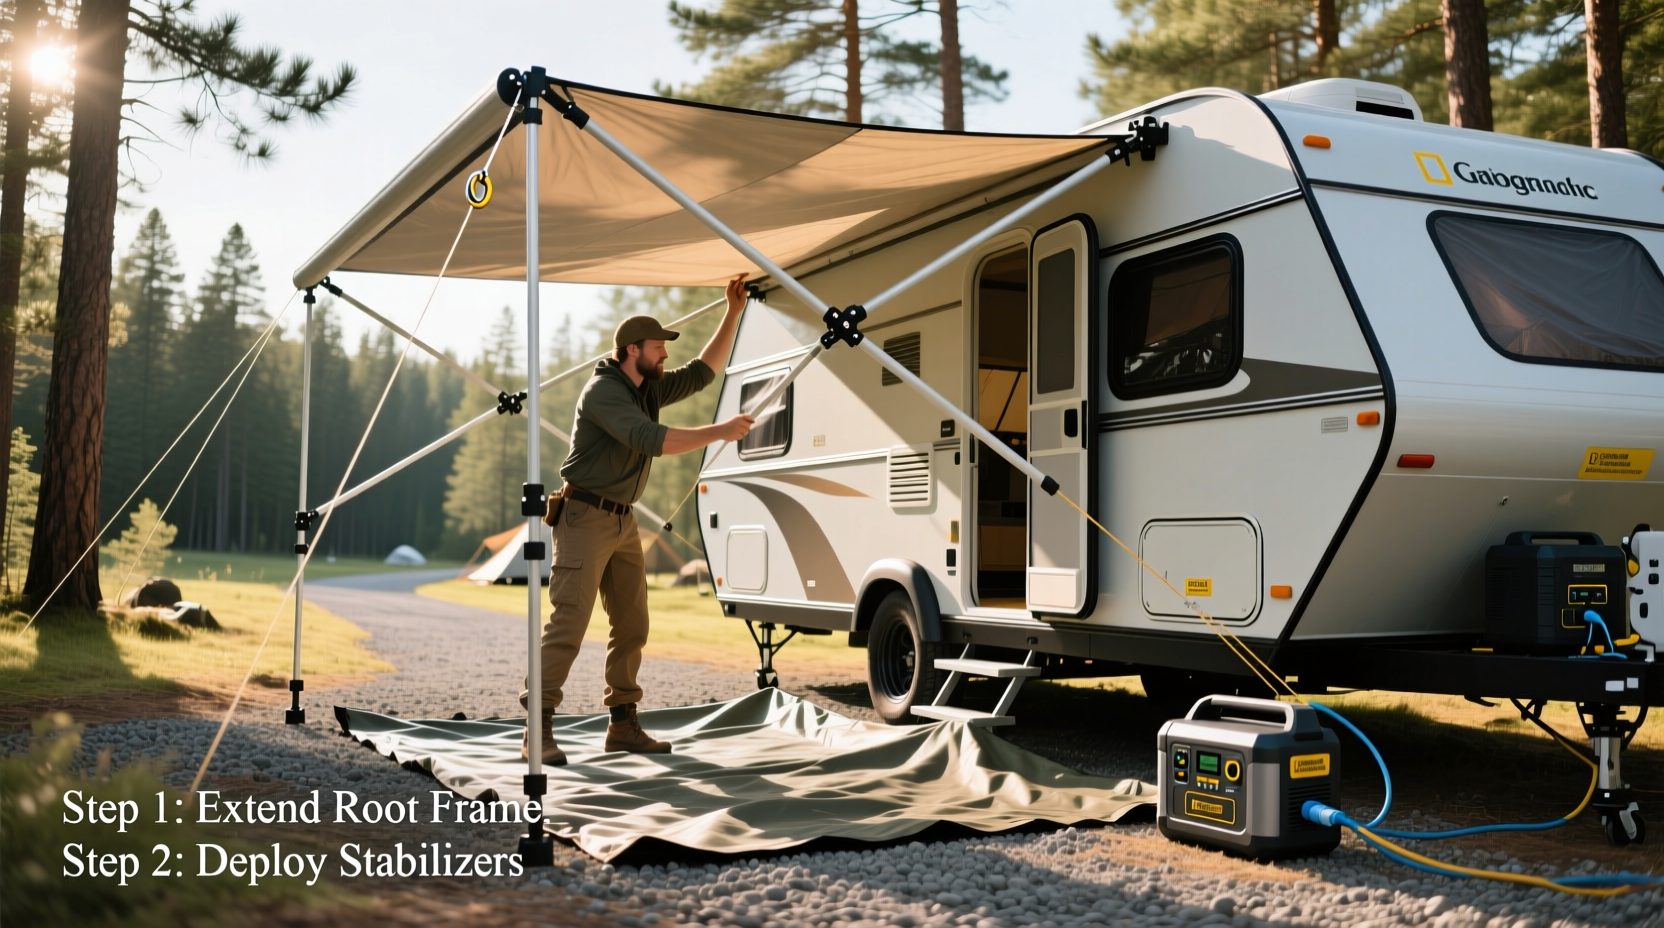
A systematic setup reduces frustration and prevents missed steps. Follow this logical sequence for reliable results.
- Park and chock wheels: Once positioned, engage the parking brake and place wheel chocks on both sides of the tires to prevent rolling.
- Lower the stabilizer jacks: Extend all four corner stabilizers until they make firm contact with the ground. Do not fully lift the trailer—these are for stabilization, not support.
- Unlatch and raise the roof: Release all latches securing the roof. Use the crank handle (usually stored inside) to raise the roof smoothly. Ensure it locks into place with audible clicks or visible pins.
- Deploy slide-out sections (if applicable):strong> Carefully extend any slide-outs, making sure nothing obstructs their path.
- Connect utilities: Attach the freshwater hose, sewer drain line, and electrical cord if shore power is available. Always use a surge protector for electrical connections.
- Check systems: Test lights, water pump, propane appliances, and ventilation fans to confirm everything functions properly.
“Proper leveling and secure utility hookups are non-negotiables. They prevent long-term damage and ensure safe operation.” — Mark Reynolds, RV Technician & Outdoor Educator
Interior Preparation and Comfort Optimization
With the structure secure, focus shifts to creating a livable space. Start by unfolding beds and locking frames in place. Inspect mattresses for wear and consider adding foam toppers for extra comfort.
Ventilation is often overlooked but essential. Open roof vents and windows slightly to reduce condensation, especially in cooler weather. Install mesh screens to keep insects out while allowing airflow.
Kitchen readiness means wiping down counters, checking propane levels, and organizing cooking supplies. Store food in sealed containers to deter pests. Keep a small trash bin accessible and empty it daily.
| Area | Key Actions | Common Oversights |
|---|---|---|
| Floor | Sweep thoroughly; lay rugs for warmth | Forgetting floor debris under seats |
| Beds | Lock frame joints; add padding | Ignoring loose bolts over time |
| Windows | Open vents; install screens | Leaving unsecured during rain |
| Storage | Organize by frequency of use | Overloading cabinets above head height |
Essential Checklist for Every Arrival
Use this checklist to stay organized and avoid missing critical steps:
- ✅ Wheel chocks in place
- ✅ Parking brake engaged
- ✅ Roof fully raised and locked
- ✅ Stabilizer jacks deployed
- ✅ Level front-to-back and side-to-side
- ✅ Freshwater tank filled or hose connected
- ✅ Sewer hose attached (with sealant)
- ✅ Electrical cord plugged in (with surge protector)
- ✅ Propane turned on and leak-checked
- ✅ Interior systems tested (lights, fan, fridge)
- ✅ Exterior awning extended (if used)
- ✅ Fire extinguisher accessible
Real-World Example: The First-Time Family Trip
The Thompson family arrived at a state park campground after a three-hour drive. Excited but tired, they rushed to unload gear before raising the roof. In their haste, they skipped leveling checks. That night, dishes slid off the counter, the refrigerator cycled inefficiently, and one child complained of sliding out of bed.
The next morning, they re-leveled using wooden blocks under the tires and adjusted the stabilizers. The difference was immediate: doors stayed closed, the fridge ran quietly, and sleep improved dramatically. They also discovered a forgotten sewer cap, which led to an unpleasant surprise when draining the gray tank. After reviewing the setup checklist, they created a laminated version kept in the glove compartment—a small change that transformed future trips.
Common Mistakes and How to Avoid Them
Newcomers often repeat avoidable errors. Recognizing them early saves time and stress.
- Rushing the process: Take 30–45 minutes for a full setup. Speed comes with practice, not pressure.
- Ignoring wind direction: Awning fabric tears easily in strong gusts. Position accordingly.
- Over-tightening latches: This strips threads or warps fiberglass. Snug is sufficient.
- Leaving propane on during travel: A major safety hazard. Always shut it off before driving.
- Forgetting ventilation: Closed units trap moisture, encouraging mold and mildew.
Frequently Asked Questions
How long should it take to set up a pop-up camper?
Beginners typically need 30–60 minutes. With experience, most can complete setup in under 25 minutes. Practice in your driveway first to build confidence and identify bottlenecks.
Can I leave my pop-up camper set up overnight?
Yes, as long as it’s properly secured, leveled, and monitored for weather changes. Never leave it unattended for extended periods without ensuring all systems are stable and secure.
Why won’t my refrigerator cool properly?
Most pop-up camper fridges require near-perfect leveling to function. Also verify that the unit has adequate ventilation behind it and that the propane supply is turned on and free of leaks.
Final Thoughts: Confidence Through Preparation
Becoming proficient at setting up your pop-up camper isn’t about memorizing steps—it’s about building habits that prioritize safety, functionality, and enjoyment. Each trip refines your rhythm, turning what once seemed complex into second nature. The goal isn’t perfection; it’s progress. With consistent attention to detail, you’ll spend less time troubleshooting and more time reconnecting with the outdoors—and with each other.


 浙公网安备
33010002000092号
浙公网安备
33010002000092号 浙B2-20120091-4
Comments
No comments yet. Why don't you start the discussion?