
Crafting a custom men’s shirt from scratch is more than a sewing project—it’s an exercise in precision, personalization, and pride. Unlike off-the-rack options that often compromise fit or style, a handmade shirt reflects individual measurements, preferred fabrics, and unique design choices. With patience and attention to detail, even beginners can produce professional-quality garments at home. This guide walks through every stage of the process, from measuring and selecting materials to stitching and pressing, ensuring your final product fits flawlessly and wears comfortably.
Understanding Shirt Anatomy and Design Options
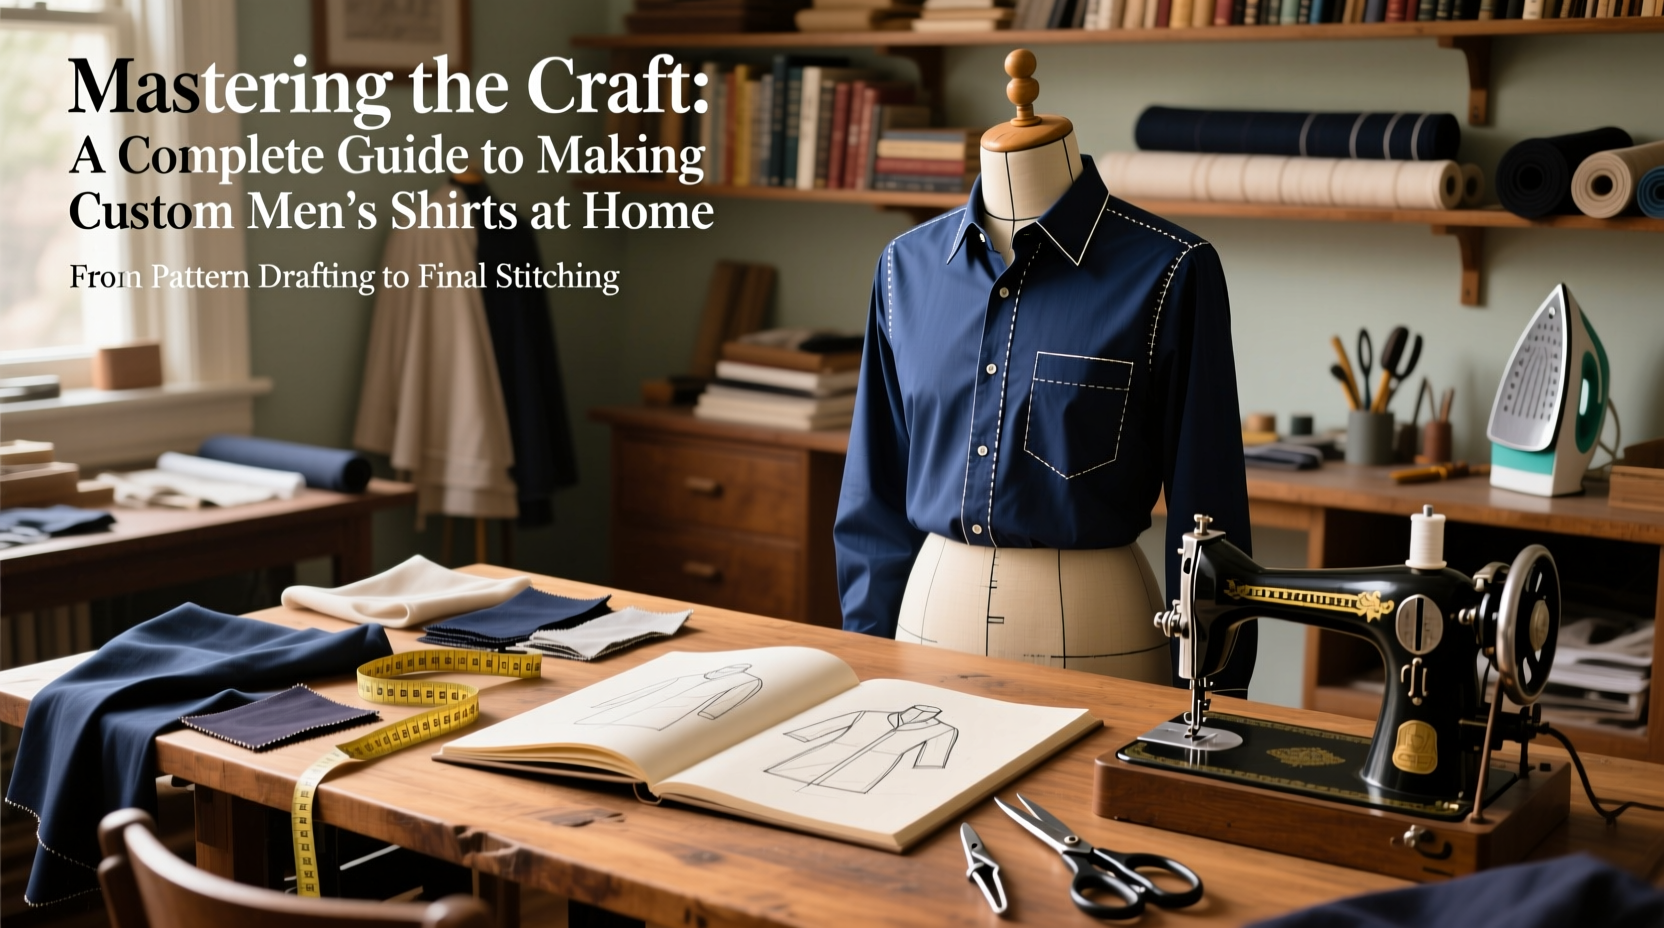
A well-constructed shirt consists of multiple components: collar, cuffs, yoke, placket, sleeves, and body panels. Each part contributes to both aesthetics and function. Before cutting any fabric, it’s essential to understand how these elements interact and how design decisions affect wearability.
Common variations include:
- Collar styles: Point, spread, button-down, club
- Sleeve closures: Barrel cuffs, French cuffs, adjustable tabs
- Fits: Slim, regular, relaxed, tailored
- Pockets: Chest pocket (optional), no pocket for formal shirts
- Plackets: Standard, fly-front, hidden-button
The choice of style should align with the intended use—whether for business, casual wear, or special occasions. For example, a semi-spread collar with French cuffs suits formal settings, while a button-down collar on a chambray workshirt complements jeans and boots.
“Tailoring begins not with thread, but with intention. Know who you’re designing for—their lifestyle, posture, and preferences.” — Daniel Reeves, Bespoke Shirtmaker, London
Accurate Measurement and Pattern Drafting
Fit is the hallmark of a truly custom shirt. Ready-made patterns rarely account for individual proportions like shoulder slope, torso length, or arm circumference. Creating a personalized pattern ensures consistency across future projects.
Step-by-Step Measurement Guide
- Neck: Measure around the base where the collar sits, adding ½ inch for comfort.
- Chest: Wrap tape around the fullest part, keeping it level and not too tight.
- Waist: Measure at natural waistline; helpful for tapered fits.
- Shoulders: From one shoulder bone to the other across the back.
- Sleeve length: From shoulder edge, over elbow, to wrist bone.
- Front/back rise: From base of neck to desired shirt hem (typically 28–32 inches).
- Bicep: Measure around the upper arm at fullest point.
With measurements in hand, draft a basic block pattern using grid paper or digital tools like Seamly2D or Valentina. Start with a standard template and adjust darts, ease, and seam allowances (typically ⅝ inch) based on body shape. Test the pattern with muslin fabric before cutting expensive cloth.
Fabric Selection and Preparation
The right fabric determines drape, breathability, durability, and care requirements. Cotton remains the top choice for its balance of softness and structure, but blends with linen, silk, or synthetic fibers offer seasonal versatility.
| Fabric Type | Best For | Weight (GSM) | Care Notes |
|---|---|---|---|
| Poplin | Dress shirts | 80–120 | Machine washable, low shrinkage |
| Oxford Cloth | Casual shirts | 120–150 | Resists wrinkles, durable |
| Twill | All-purpose | 100–140 | Smooth drape, moderate ironing |
| Linen | Summer wear | 140–180 | Wrinkles easily, hand wash recommended |
| Flannel | Winter shirts | 160–200 | Pre-wash to prevent shrinkage |
Always pre-wash fabric to eliminate shrinkage after construction. Lay the material flat or hang it to dry, then press before cutting. When laying out the pattern, align grain lines precisely—especially along button plackets and center backs—to maintain symmetry during wear.
Construction Techniques for a Professional Finish
Sewing a shirt demands methodical assembly. Use a quality sewing machine with adjustable tension and stitch length. A straight stitch at 2.5mm works best for seams; switch to a narrow zigzag for buttonholes.
Assembly Sequence
- Stitch shoulder seams and attach yoke to shirt back.
- Set sleeves into armscyes, matching notches and easing cap into opening.
- Sew side and sleeve seams in one continuous line.
- Attach cuffs to sleeves, right sides together; turn and press.
- Construct collar stand and attach collar; understitch to roll cleanly.
- Install collar onto neckline, aligning center back and shoulders.
- Sew front placket (French or stitched-felled) and attach buttons.
- Hem bottom edge with double-folded ½-inch hem.
- Press thoroughly with steam, especially collars, cuffs, and plackets.
Button placement follows a simple rule: center each button vertically between corresponding buttonholes. Spacing should be consistent—usually 3 to 3.5 inches apart. Secure each with a cross-stitch or X-stitch, and add a small knot on the backside to prevent loosening.
Mini Case Study: Building a Wardrobe Staple
James, a software engineer from Portland, wanted shirts that fit his broad shoulders and narrow waist without buying bespoke. Over three weekends, he measured himself, drafted a pattern, and sewed two poplin dress shirts using vintage mother-of-pearl buttons. After adjusting the sleeve cap depth and shortening the collar points, his third version received compliments at work. He now rotates five handmade shirts, all cut from sustainable cotton sourced locally. “It’s slower than shopping,” he says, “but I’ve never worn anything that feels quite this right.”
Troubleshooting and Long-Term Care
Even experienced sewers encounter issues. Common problems include puckered seams, misaligned collars, or twisted hems. Most stem from incorrect tension, uneven pressing, or inaccurate cutting.
“Pressing is half the job. A poorly pressed shirt looks homemade, no matter how well it’s stitched.” — Maria Tran, Textile Instructor, Rhode Island School of Design
To extend the life of your handmade shirts:
- Wash in cold water on gentle cycle or hand wash.
- Use mild detergent; avoid bleach or fabric softeners.
- Hang to dry or tumble dry on low—high heat damages fibers.
- Iron while slightly damp for best results.
- Store on sturdy hangers to preserve shoulder shape.
Checklist: Essential Tools for Home Shirtmaking
- Measuring tape and flexible curve ruler
- Pattern paper or Swedish tracing paper
- Sharp fabric scissors and thread snips
- Pins or wonder clips
- Seam gauge and tailor’s chalk
- Quality all-purpose cotton thread
- Sewing machine with buttonhole foot
- Steam iron and pressing cloth
- Buttons (mother-of-pearl, corozo, or plastic)
- Optional: rotary cutter, cutting mat, clapper
FAQ
Can I make a custom shirt without a commercial pattern?
Yes. By taking accurate body measurements and drafting a personal sloper, you can create reusable patterns tailored exactly to your frame. Many tailors start this way to achieve perfect fit.
How long does it take to sew a shirt from scratch?
For a beginner, expect 8–12 hours over several sessions. Experienced sewers may complete one in 4–6 hours. Time varies based on complexity, fabric behavior, and pressing diligence.
What’s the easiest shirt style for a first-time maker?
A classic button-down oxford shirt with set-in sleeves and a standard placket is ideal. It uses straightforward techniques and forgiving fabric, making it easier to troubleshoot mistakes.
Final Stitches: Wear Your Work with Pride
Creating a custom men’s shirt at home is a rewarding blend of craftsmanship and self-expression. Each stitch carries intention, each fabric choice tells a story. Beyond saving money or reducing waste, the real value lies in wearing something made with care—something uniquely yours. Whether you're refining your skills or starting your first project, remember that mastery comes not from perfection, but from practice. Pick your fabric, trace your pattern, and begin. The shirt you wear tomorrow could be one you made today.


 浙公网安备
33010002000092号
浙公网安备
33010002000092号 浙B2-20120091-4
Comments
No comments yet. Why don't you start the discussion?