
For many pet owners, grooming their dog at home is more than a chore—it’s an act of care that strengthens the bond between human and animal. While professional groomers have access to specialized equipment, one tool in particular has transformed DIY grooming: the dog grooming arm. This adjustable restraint system keeps your dog steady during brushing, trimming, and bathing, reducing stress for both you and your pet. However, improper use can lead to discomfort or even injury. Mastering the grooming arm requires understanding its function, selecting the right setup, and applying safe handling techniques.
Understanding the Dog Grooming Arm System
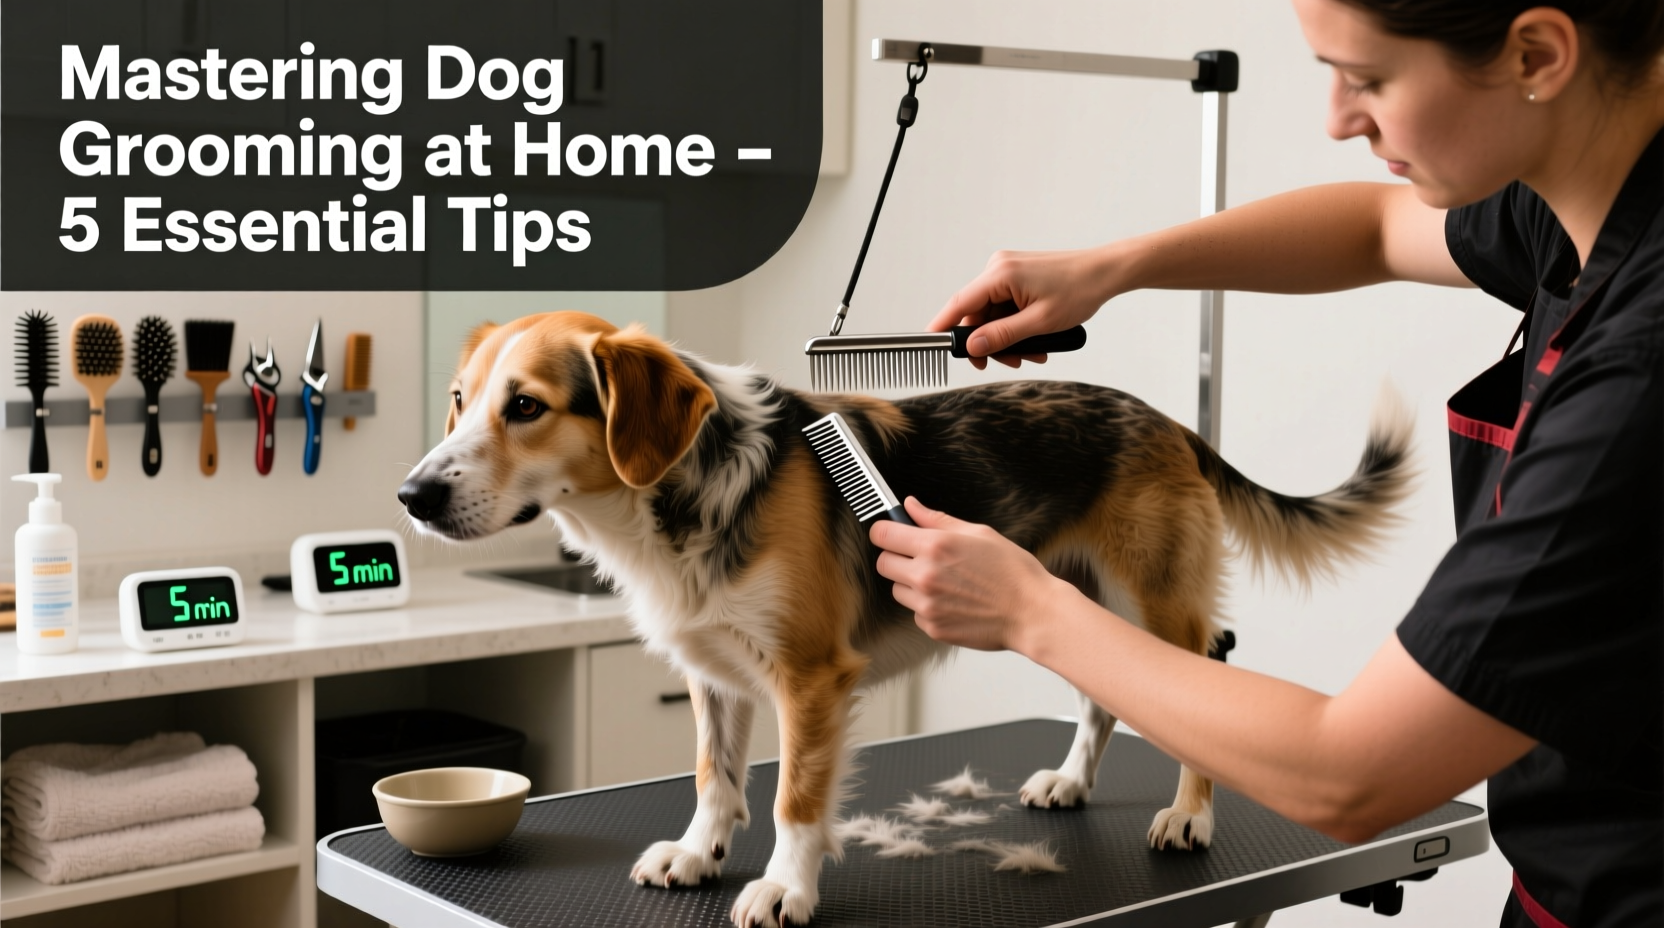
A dog grooming arm consists of a sturdy base, vertical pole, and adjustable horizontal bar with a looped leash or harness attachment. It suspends gently over the dog’s back, allowing freedom of movement while preventing sudden jumps or escapes. These systems are commonly used in salons but are increasingly popular among home users who groom medium to large breeds regularly.
The key benefit lies in stability. Dogs often fidget during grooming, especially when nails are clipped or mats are removed. The grooming arm minimizes unpredictable movements without confining the dog in a cage. When set up correctly, it supports ergonomic positioning, reducing strain on the groomer’s back and shoulders.
Setting Up Your Grooming Station Safely
Before introducing your dog to the grooming arm, ensure your workspace is calm, well-lit, and free from distractions. Choose a non-slip surface to prevent slipping during grooming. Assemble the grooming table and attach the arm securely to the pole. Check all knobs and clamps for tightness; loose fittings can shift under pressure and compromise safety.
Position the overhead arm so the loop hangs directly above the dog’s shoulder area. Use a padded noose or soft collar instead of a standard leash clip to avoid pressure on the trachea. Introduce the system gradually—let your dog sniff and explore the table and arm before attaching them. Offer treats and praise to build positive associations.
“Dogs respond best when restraint feels supportive, not restrictive. A properly adjusted grooming arm should allow natural posture and small movements.” — Dr. Lena Patel, Veterinary Behaviorist
Step-by-Step Guide to Using the Grooming Arm
Using the grooming arm effectively involves preparation, proper attachment, and attentive monitoring. Follow this sequence for a smooth experience:
- Prepare tools beforehand: Have brushes, clippers, nail trimmers, and towels within reach.
- Lure your dog onto the table: Use treats or a favorite toy to encourage stepping up willingly.
- Attach the grooming loop gently: Place the padded loop around the dog’s neck or upper chest, ensuring two fingers fit underneath.
- Adjust height and tension: Raise or lower the arm so the tether provides light support without lifting the dog.
- Begin grooming slowly: Start with brushing or wiping paws to acclimate the dog to touch.
- Monitor body language: Watch for signs of stress—panting, whale eye, trembling—and pause if needed.
- Release calmly: Detach the loop only after all tools are put away and the dog is relaxed.
Common Mistakes to Avoid
Even experienced pet owners make errors when using grooming arms. Awareness of these pitfalls ensures safer, more effective sessions.
| Mistake | Why It’s Harmful | How to Fix It |
|---|---|---|
| Attaching the loop too high | Pulls on the neck, risking tracheal damage | Keep loop near shoulders, never under chin |
| Over-tightening the tether | Restricts movement and increases anxiety | Allow 2–3 inches of lateral motion |
| Grooming for too long initially | Causes fatigue and resistance | Limit early sessions to 10–15 minutes |
| Ignoring signs of distress | Builds negative association with grooming | Pause, soothe, and reassess comfort level |
Real-Life Example: Training a Nervous Rescue Dog
Sarah adopted Max, a 45-pound mixed breed with a history of neglect. He flinched at touch and bolted during bath time. Determined to groom him safely at home, she invested in a grooming arm with a padded loop. For two weeks, she practiced just getting Max onto the table with treats—no grooming involved. By week three, she attached the loop briefly while brushing his back. Over time, Max learned that the arm didn’t hurt him and even provided balance when he wobbled. Within six weeks, Sarah could trim his nails and remove tangles without sedation or struggle. The grooming arm became a tool of trust, not control.
Essential Checklist for Home Groomers
Before each session, run through this checklist to ensure safety and efficiency:
- ✅ Table and arm securely assembled
- ✅ Non-slip mat placed on table surface
- ✅ Padded loop or soft collar ready
- ✅ All grooming tools cleaned and within reach
- ✅ Treats available for reinforcement
- ✅ Dog has emptied bladder before starting
- ✅ Quiet environment with minimal noise
- ✅ Emergency scissors nearby (for tangled fur)
Frequently Asked Questions
Can I use a grooming arm on puppies or small dogs?
Yes, but only if the system is adjustable to low heights and uses a lightweight loop. Puppies require extra gentleness—limit sessions to basic brushing and handling. Never leave a small dog unattended on a grooming table.
Is the grooming arm suitable for aggressive or fearful dogs?
It can be, but only as part of a broader behavioral plan. Dogs with severe fear or reactivity should first undergo desensitization training. In some cases, veterinary guidance or mild sedation may be necessary. The grooming arm is not a substitute for proper behavior modification.
How do I clean and maintain the grooming arm?
Wipe down metal components with a damp cloth after each use. Lubricate moving joints quarterly with silicone spray. Inspect cables and clamps monthly for wear. Store in a dry place to prevent rust.
Final Thoughts: Building Confidence Through Consistency
Mastering the dog grooming arm isn’t about control—it’s about creating a predictable, secure environment where your dog can relax during necessary care. With patience, correct setup, and attention to your pet’s cues, this tool can transform grooming from a stressful event into a routine of mutual respect. The goal isn’t perfection on the first try, but progress through consistent, compassionate practice.


 浙公网安备
33010002000092号
浙公网安备
33010002000092号 浙B2-20120091-4
Comments
No comments yet. Why don't you start the discussion?