
When it comes to chilling beverages efficiently—especially in social or commercial settings—the double layer ice bucket stands out as a game-changer. Unlike single-wall models that sweat and lose cold rapidly, the double layer design uses insulated construction to maintain lower temperatures longer while minimizing condensation. Whether you're hosting backyard gatherings, managing a bar service, or simply enjoying wine on the patio, understanding how to use this tool effectively can elevate your experience. This guide dives into the mechanics, best practices, and real-world applications of the double layer ice bucket to help you get the most from every use.
How Double Layer Ice Buckets Work
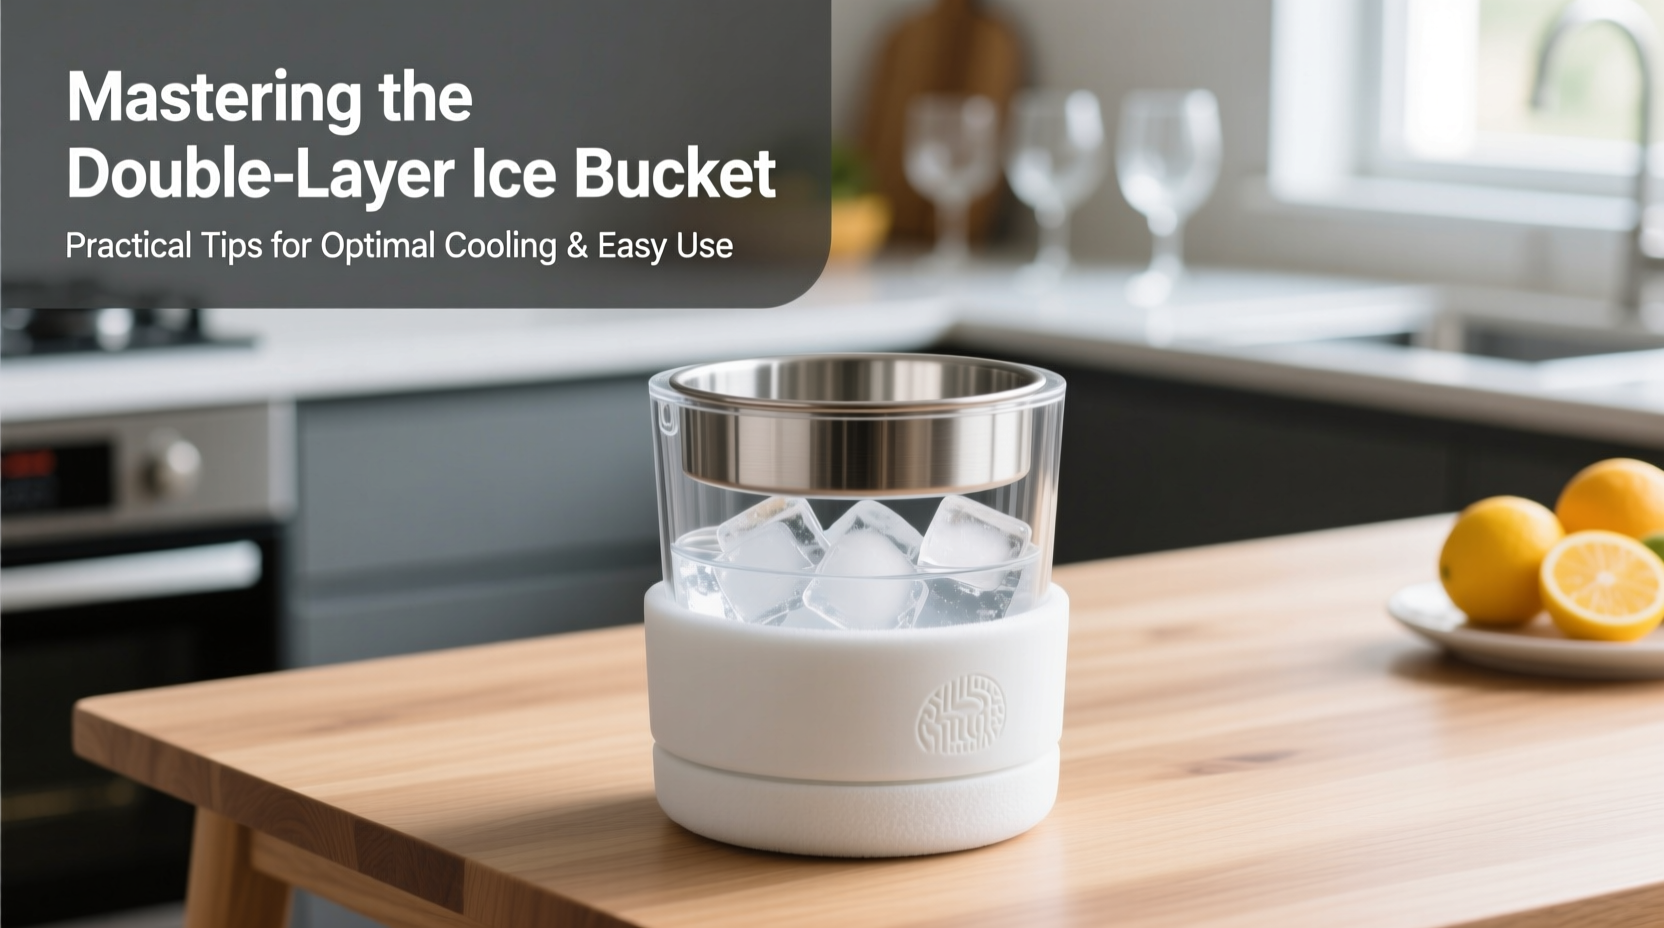
The key advantage of a double layer ice bucket lies in its construction: two walls of stainless steel (or sometimes plastic) separated by an air gap or insulating material. This creates a thermal barrier that slows heat transfer from the outside environment. As a result, ice melts more slowly, drinks stay colder, and the exterior remains dry—eliminating the slippery mess associated with traditional buckets.
These buckets are commonly made from 18/8 or 304-grade stainless steel, prized for its durability, resistance to rust, and non-reactive surface. The tight-fitting lid further enhances insulation and prevents contamination. While not vacuum-sealed like high-end coolers, the passive insulation is sufficient for short-term chilling needs—typically 2 to 6 hours depending on ambient temperature and usage.
Step-by-Step Guide to Optimal Cooling Performance
- Pre-chill the bucket: Place the empty bucket in the freezer ahead of time. Even a brief cooldown helps reduce initial heat absorption.
- Use cubed or crushed ice: Fill the outer chamber with ice up to one-third full. Crushed ice conforms better and chills faster; cubes last longer.
- Add a small amount of water: Pour in about ½ cup of cold water to improve thermal conductivity between the ice and inner liner.
- Insert beverage containers: Place bottles or cans upright in the center well. Avoid overpacking—leave space for even cooling.
- Cover with the lid: Seal tightly to trap cold air and block warm ambient air.
- Rotate bottles occasionally: For uniform chilling, gently turn each bottle every 10–15 minutes during the first hour.
This sequence ensures rapid and consistent cooling without compromising the structural integrity of the bucket or risking overflow from melting ice.
Do’s and Don’ts: Maintaining Efficiency and Longevity
| Action | Recommendation | Reason |
|---|---|---|
| Do pre-chill the bucket | Yes | Reduces initial thermal load and accelerates cooling onset |
| Do use salt with ice | In moderation | Lowers freezing point for sub-zero temps; avoid excess to prevent corrosion |
| Don’t leave filled bucket in direct sunlight | No | Sun exposure overwhelms insulation and speeds ice melt |
| Don’t store long-term with moisture inside | No | Prolonged dampness may lead to odor retention or microbial growth |
| Do clean after each use | Yes | Prevents residue buildup and maintains hygiene |
Real Example: A Summer Garden Party Setup
Consider Sarah, who hosts monthly garden dinners for 12 guests. Previously, she used standard plastic buckets lined with wet towels—ineffective and messy. After switching to two double layer stainless steel ice buckets, her results improved dramatically. She pre-chilled both units earlier in the day, then loaded one with white wine and sparkling water, the other with craft beers. Using a mix of cube ice and a splash of water, all beverages reached ideal serving temperature within 25 minutes. Thanks to the insulated walls, condensation stayed minimal, and the tables remained dry. Guests appreciated the professional presentation and consistently cold drinks throughout the evening.
Sarah now rotates the bottles halfway through the first hour and keeps spare ice nearby for topping off. Her investment paid off not just in comfort but in perceived hospitality quality.
Expert Insight: What Professionals Recommend
“Double wall ice buckets aren’t just about looks—they’re functional tools. In catering, we rely on them because they buy us time. You can set up stations early without worrying about water rings or lukewarm champagne.” — Marco Delvecchio, Beverage Director at Lakeside Events Co.
Delvecchio emphasizes timing and placement: “Position the bucket in shaded areas, and if you’re chilling sparkling wines, aim for 20–25 minutes max. Over-chilling dulls the aromatics. These buckets give you control.”
Checklist for Everyday Use
- ☑ Clean and dry the bucket before first use
- ☑ Pre-chill the unit when possible
- ☑ Use fresh, food-grade ice only
- ☑ Add a small amount of water to enhance contact cooling
- ☑ Limit open-lid exposure during service
- ☑ Rotate contents for even temperature distribution
- ☑ Empty, rinse, and air-dry thoroughly after use
- ☑ Store with the lid off to prevent musty odors
Frequently Asked Questions
Can I put dry ice in a double layer ice bucket?
Not recommended. Dry ice reaches -78°C (-109°F), which can cause excessive pressure build-up and potential damage to the sealed chamber. Additionally, prolonged exposure may compromise the integrity of plastic components or gaskets. Stick to regular ice for safety and compatibility.
Why does my ice bucket still form some condensation?
A small amount of exterior moisture can appear if the bucket is moved from a cold to a humid environment quickly. However, significantly less than single-wall models. Wipe it down with a cloth and ensure the unit isn't overloaded with warm items initially.
How long will drinks stay cold in a double layer ice bucket?
Under average conditions (room temperature ~24°C / 75°F), expect 2–4 hours of effective cooling. In hotter environments or under direct sun, performance drops to 1–2 hours. For maximum duration, keep the lid closed and refresh ice as needed.
Maximizing Ease of Use and Portability
Beyond cooling efficiency, ease of transport matters—especially outdoors. Many double layer models feature ergonomic handles, non-slip bases, and lightweight builds despite their sturdy appearance. When selecting a model, prioritize balance and grip comfort. A poorly balanced bucket can tip easily when carried full.
For events, consider pairing your ice bucket with a secondary tray to catch any incidental drips during transit. Some premium versions include built-in spigots or drainage valves, though these are rare in consumer-grade units. If you frequently serve large groups, owning two buckets allows one to be prepped while the other is in use—ensuring uninterrupted service.
Conclusion
Mastery of the double layer ice bucket goes beyond dropping ice and forgetting it. It involves preparation, smart technique, and ongoing maintenance. By leveraging its insulating properties correctly, you gain longer-lasting chill, cleaner surfaces, and greater confidence in your ability to serve perfectly cooled beverages anytime. Whether for casual enjoyment or professional presentation, this simple yet sophisticated tool delivers measurable benefits.


 浙公网安备
33010002000092号
浙公网安备
33010002000092号 浙B2-20120091-4
Comments
No comments yet. Why don't you start the discussion?