
The square puff stitch is a dynamic, dimensional crochet technique that transforms simple yarn into striking textured squares. Unlike flat stitches, the puff adds volume and depth, making it ideal for afghans, throw pillows, baby blankets, and wall art. While it may appear complex at first glance, the square puff stitch is built on familiar techniques—double crochets worked in the same space and joined at the top. With practice, you can master this stitch and use it to elevate your crochet projects from ordinary to artistic.
This guide breaks down the square puff stitch into clear, repeatable steps. Whether you're an intermediate crocheter looking to expand your repertoire or a confident beginner ready for a new challenge, this tutorial provides everything you need to create consistent, professional-looking textured squares.
Understanding the Square Puff Stitch: Structure and Purpose
The square puff stitch creates a raised, cushion-like cluster that stands proud from the fabric surface. It’s formed by working multiple incomplete double crochets into a single stitch or space, then pulling the final loop through all active loops on the hook. The result is a plump, rounded puff. When arranged in a square formation—typically four puffs meeting at the center—it forms a symmetrical, geometric texture that resembles a blooming flower or a quilted tile.
Unlike traditional puff stitches that are often aligned in rows, the square variation is modular. Each unit is self-contained, allowing for flexible design applications. You can work them in isolation as embellishments or join them together seamlessly to form larger panels.
“Textured stitches like the square puff add both visual interest and tactile warmth to handmade items. They invite touch and conversation.” — Lila Montgomery, Fiber Arts Instructor and Designer
Materials and Preparation Checklist
Before beginning, gather the right tools and materials. Using consistent supplies ensures even tension and uniform results across your project.
Recommended Supplies
- Medium-weight (Worsted) yarn – 100% acrylic or wool blend recommended for structure
- 5.5 mm (I-9) crochet hook (adjust based on yarn label suggestions)
- Stitch markers (optional but helpful for tracking corners)
- Yarn needle for weaving in ends
- Scissors
Preparation Checklist
- Choose a smooth, light-colored yarn to clearly see your stitches.
- Check yarn label for recommended hook size and care instructions.
- Make a test swatch using the basic puff stitch to warm up fingers and adjust grip.
- Ensure good lighting and a comfortable seating position to avoid strain.
- Have a notepad nearby to track row counts or pattern variations.
Step-by-Step Guide to Crocheting the Square Puff Stitch
Follow these steps carefully to create one complete square puff unit. Once mastered, you can repeat the process to build a full grid of interconnected squares.
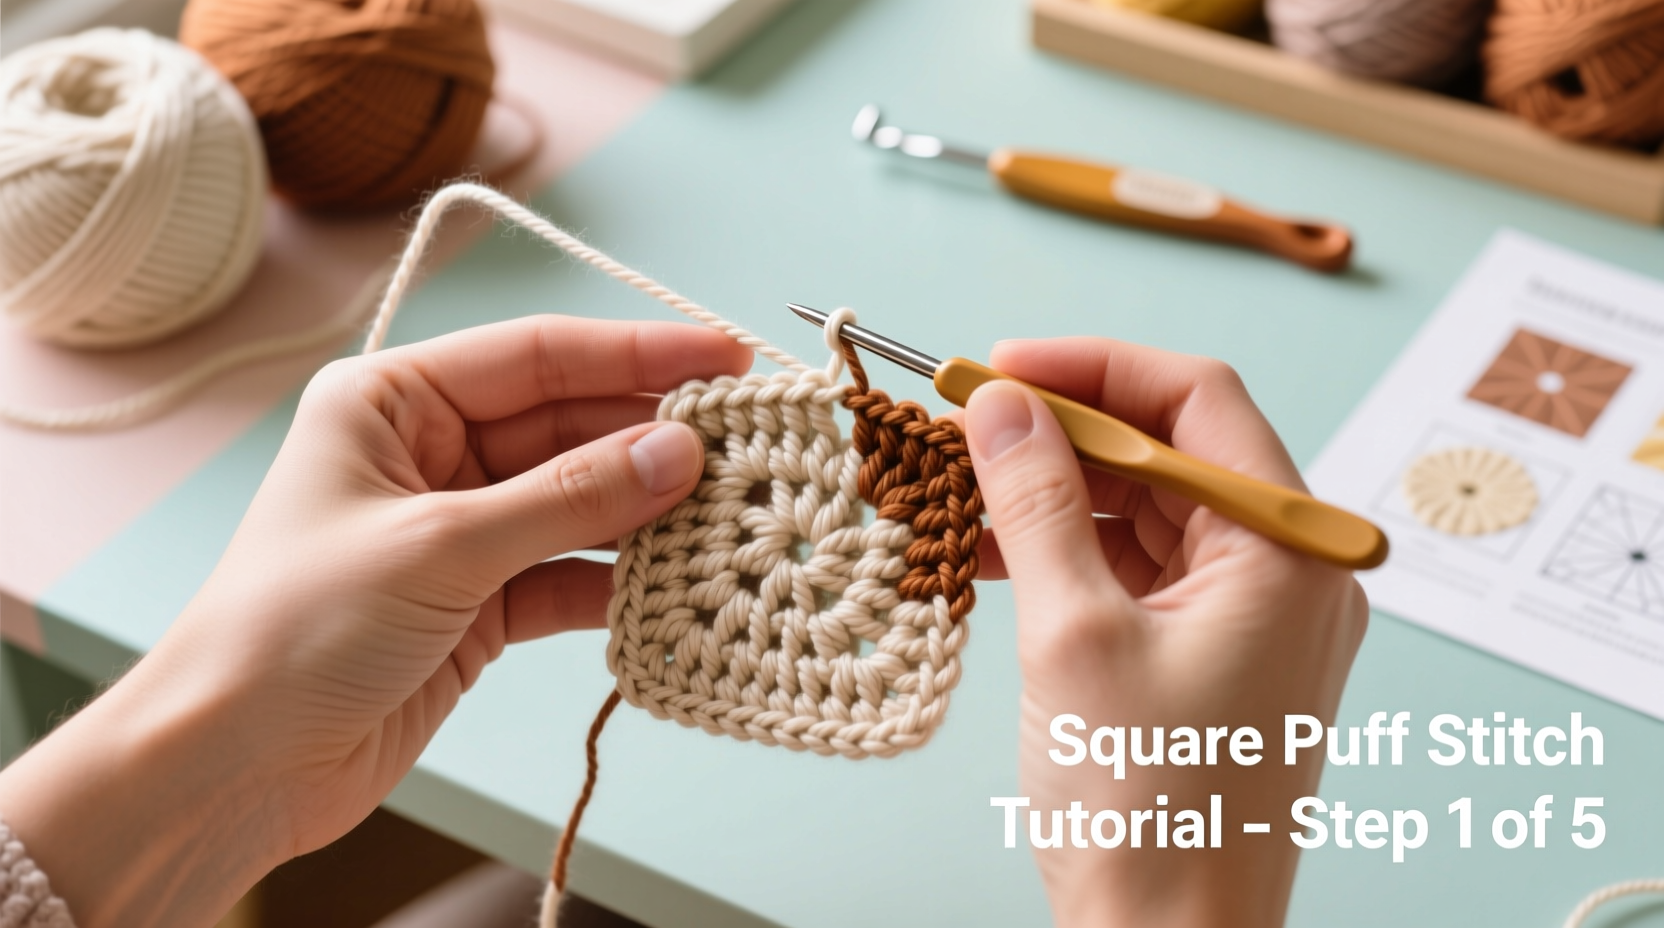
Step 1: Foundation Chain and Base Round
- Chain 4 and join with a slip stitch to form a ring.
- Chain 3 (counts as first double crochet).
- Work 2 more double crochets into the ring. This completes the first group of 3 dc.
- Chain 2 to create the first corner space.
- Work 3 double crochets into the ring again.
- Repeat this sequence two more times: (3 dc, ch 2) three more times total.
- You should now have four groups of 3 dc separated by four ch-2 corners.
- Join with a slip stitch to the top of the initial ch-3. Fasten off if ending here, or continue to the puff round.
Step 2: Creating the Square Puff Stitch
- Join a new yarn color or continue with the same at any ch-2 corner space.
- Chain 2 (does not count as a stitch), then work the following into the same ch-2 space:
- Puff stitch setup: Yarn over, insert hook into space, pull up a loop (3 loops on hook). Repeat two more times in the same space, so you have 7 loops total.
- Yarn over and pull through all 7 loops. This completes one puff stitch.
- Chain 1 to secure and define the puff.
- Repeat this entire puff stitch (same method) three more times into the same ch-2 corner, resulting in 4 puff stitches clustered together.
- Now move to the next ch-2 corner: work 1 slip stitch into the side of the adjacent 3-dc group to position the yarn.
- In the next ch-2 space, repeat the set of 4 puff stitches.
- Continue around, placing a cluster of 4 puffs in each corner space.
- After completing the fourth cluster, slip stitch to the top of the first puff to close the round.
- Cut yarn and weave in ends.
Design Variations and Creative Applications
Once you’ve mastered the basic square puff, experiment with layout and color to create unique effects.
| Variation | How to Achieve It | Ideal For |
|---|---|---|
| Alternating Colors | Switch yarn color at each puff cluster | Modern throws, baby quilts |
| Offset Grid Layout | Join squares diagonally to create a diamond alignment | Wall hangings, scarves |
| Solid Center Fill | Replace corner chains with solid dc rounds before puff clusters | Coasters, pillow tops |
| Miniature Puffs | Use sport weight yarn and smaller hook (3.75 mm) | Jewelry, trim details |
Real Example: Sarah’s Textured Baby Blanket
Sarah, a hobby crocheter from Portland, wanted to make a gender-neutral gift for her sister’s newborn. She used soft oatmeal-colored yarn and followed the square puff stitch pattern across a 36” x 36” blanket. By alternating every other square with a contrasting heather gray, she created a subtle checkerboard effect. The textured surface proved popular with the baby, who enjoyed feeling the soft puffs during tummy time. Sarah finished the edges with a simple crab stitch border for a polished look. The entire project took 18 hours over three weekends and became a family heirloom piece.
Troubleshooting Common Issues
Even experienced crocheters encounter hiccups. Here are frequent challenges and how to resolve them:
- Puffs too loose or floppy: Try tightening your yarn tension during the initial \"pull-ups,\" but keep the final pull-through relaxed to avoid puckering.
- Uneven puff height: Ensure each partial double crochet is pulled to the same height before completing the stitch.
- Gaps between clusters: Make sure to work slip stitches precisely into the side of the previous group to maintain tight joins.
- Different-sized squares: Check that each puff cluster has exactly four puffs and that chain-1 spacers are consistent.
Frequently Asked Questions
Can I use cotton yarn for square puff stitches?
Yes, 100% cotton works well, especially for home decor items like coasters or washcloths. However, cotton lacks elasticity, so monitor your tension closely to prevent stiffness.
How do I join multiple square puff units together?
Use either a whip stitch or single crochet seam. For an invisible join, work a row of slip stitches through both layers’ side loops. Alternatively, crochet them together as you go by working a slip stitch from the last puff of one square into the first puff of the next.
Is the square puff stitch suitable for wearable garments?
It can be, but consider drape and comfort. Dense puff clusters may feel bulky against the skin. Use it sparingly in cuffs, collars, or yoke details rather than full sweaters unless using lightweight yarn.
Conclusion: Bring Texture to Life with Confidence
The square puff stitch opens a world of creative expression in crochet. Its structured yet playful form bridges the gap between classic technique and modern design. Once you internalize the rhythm of building puffs and spacing clusters, you’ll find yourself eager to incorporate this stitch into more projects—from seasonal decor to personalized gifts.


 浙公网安备
33010002000092号
浙公网安备
33010002000092号 浙B2-20120091-4
Comments
No comments yet. Why don't you start the discussion?