
Capturing what’s on your screen is a daily necessity for many—whether you're troubleshooting an error, sharing instructions, or saving visual references. While most users rely on the familiar Snipping Tool, Windows offers a range of faster, more versatile screenshot methods that remain underused. Mastering these alternatives can save time, improve accuracy, and streamline workflows across personal and professional tasks.
From simple keyboard shortcuts to powerful built-in utilities and third-party enhancements, this guide explores the full spectrum of screenshot techniques available in modern Windows environments. Whether you're using Windows 10 or 11, these strategies will help you capture, edit, and share screens with precision and speed.
1. The Power of Keyboard Shortcuts
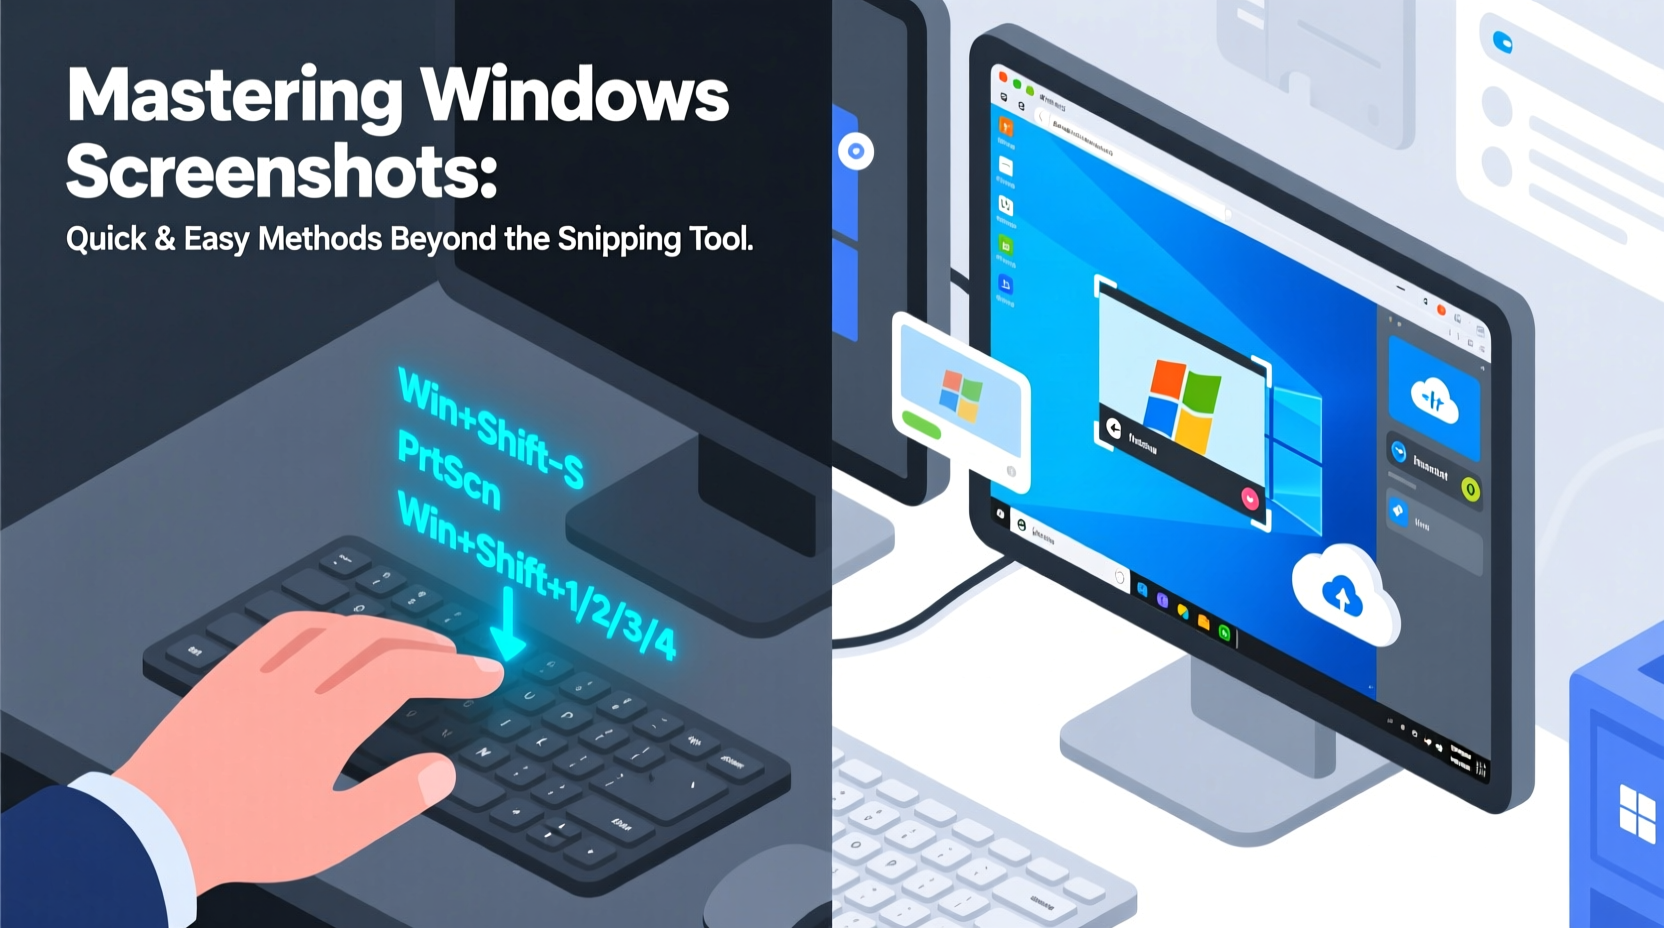
One of the fastest ways to take a screenshot doesn’t involve opening any application at all. Windows includes several built-in keyboard combinations that instantly capture your screen and store it where you need it.
The most widely used shortcut is Print Screen (PrtScn). Pressing this key copies the entire screen to the clipboard. You can then paste it into an image editor, document, or email. However, if you want automatic file saving, combine it with other keys:
- PrtScn – Copies full screen to clipboard
- Win + PrtScn – Saves full screen as a PNG file in the Screenshots folder (
Images > Screenshots) - Alt + PrtScn – Captures only the active window to clipboard
- Win + Shift + S – Opens the Snip & Sketch toolbar for selective capture
Practical Step-by-Step: Using Win + Shift + S
- Press Win + Shift + S.
- Your screen dims, and a toolbar appears at the top.
- Select your capture mode:
- Rectangular snip – Drag to select a rectangle
- Freeform snip – Draw any shape around content
- Window snip – Click any open window
- Fullscreen snip – Capture all monitors
- The selected area is copied to the clipboard.
- Paste (Ctrl + V) into any app—Word, Teams, email, etc.
This method bypasses the need to open and configure the Snipping Tool, making it ideal for rapid documentation or collaboration.
2. Leveraging Snip & Sketch and Snipping Tool Evolution
In recent Windows versions, Microsoft merged functionality from the classic Snipping Tool and Snip & Sketch into a unified experience. Despite its simplified interface, this hybrid tool offers robust editing features post-capture.
After taking a screenshot via Win + Shift + S, a notification pops up in the corner. Click it to open the captured image in Snip & Sketch, where you can:
- Highlight or annotate with pen or pencil
- Erase parts of annotations
- Trim or crop the image
- Add arrows or shapes
- Save, copy, or share directly
You can also launch the Snipping Tool manually by searching for it in the Start menu. From there, set delay timers (up to 5 seconds), useful for capturing dropdown menus or tooltips that disappear when you click away.
“Speed matters in digital communication. A well-placed screenshot reduces miscommunication by up to 70%.” — Dr. Linda Tran, UX Researcher at Microsoft
3. Game Bar: The Hidden Screenshot Tool for All Users
Built primarily for gamers, the Xbox Game Bar is surprisingly effective for general-purpose screen capture—even when no game is running.
To enable it:
- Go to Settings > Gaming > Game Bar.
- Toggle “Record game clips, screenshots, and broadcast using Game Bar” to On.
Once enabled, press Win + G to open Game Bar on any desktop screen. Then press Win + Alt + PrtScn to take a screenshot, which saves automatically in Video > Captures.
Game Bar supports both screenshots and screen recordings, making it ideal for creating tutorials or demonstrating software behavior over time.
| Method | Output Location | Best For |
|---|---|---|
| Win + PrtScn | Images > Screenshots | Quick full-screen captures |
| Win + Shift + S | Clipboard (manual paste) | Selective snips during meetings |
| Snipping Tool (with delay) | Saved or copied after edit | Capturing hidden UI elements |
| Game Bar (Win + Alt + PrtScn) | Videos > Captures | Non-gaming apps, especially immersive ones |
4. Advanced Tips for Productivity and Precision
For professionals who frequently document processes or create training materials, mastering advanced screenshot techniques enhances clarity and consistency.
Create Consistent Documentation with Delayed Snips
Use the Snipping Tool’s delay feature to prepare complex captures:
- Open Snipping Tool.
- Click “Mode,” then choose a snip type.
- Click the dropdown arrow next to “New” and select a delay (e.g., 3 or 5 seconds).
- Click “New.”
- During the countdown, open a context menu, hover over an icon, or switch windows.
This technique is invaluable when capturing right-click menus, autocomplete suggestions, or hover states in web design.
Multi-Monitor Screenshots
If you use multiple monitors, pressing PrtScn captures everything across all displays. Use Win + Shift + S to selectively capture just one screen or a portion of it. This avoids unnecessary cropping later.
5. Real-World Example: Solving Tech Support Faster
Consider Sarah, a remote IT support specialist. Her team receives dozens of tickets daily, many involving unclear user descriptions like “the thing turned red.” Instead of back-and-forth emails, she now trains users to press Win + Shift + S, select the error message, and paste it directly into the ticket.
This small change reduced average resolution time by 40%. Users find it intuitive, and Sarah gets accurate visuals without asking them to install third-party tools.
By standardizing on native Windows tools, her organization improved response efficiency while maintaining security—no external apps required.
Frequently Asked Questions
Where are my screenshots saved?
If you use Win + PrtScn, screenshots are saved in C:\\Users\\[YourName]\\Pictures\\Screenshots. If you use Win + Shift + S, they’re copied to the clipboard—you must paste them into a file to save.
Can I change the default screenshot format?
Windows saves screenshots as PNG by default, which preserves quality and transparency. There’s no built-in option to change this, but you can convert files afterward using Paint or bulk tools like PowerShell scripts.
Why doesn’t Win + Shift + S work?
Ensure the Snip & Sketch feature is enabled. Go to Settings > Apps > Optional Features and verify that “Snipping Tool” and “Snip & Sketch” are installed. If not, add them. Also, check that clipboard history (Win + V) is enabled, as it supports the snipping workflow.
Final Checklist: Master Your Windows Screenshots
- ✅ Know your shortcuts:
- Memorize Win + Shift + S, Win + PrtScn, and Alt + PrtScn.
- ✅ Enable Game Bar:
- Use it for silent, fast captures in fullscreen applications.
- ✅ Use delays strategically:
- Capture transient UI elements like popups or tooltips.
- ✅ Organize outputs:
- Keep screenshots backed up or auto-synced via OneDrive.
- ✅ Train others:
- Share quick tips with colleagues to improve team communication.
Conclusion
Mastering Windows screenshots goes far beyond opening the Snipping Tool. With the right combination of keyboard shortcuts, built-in utilities, and smart habits, you can capture exactly what you need—when you need it—without slowing down. These methods integrate seamlessly into everyday computing, whether you're writing reports, providing support, or collaborating remotely.


 浙公网安备
33010002000092号
浙公网安备
33010002000092号 浙B2-20120091-4
Comments
No comments yet. Why don't you start the discussion?