
The Apple Pencil or any high-quality stylus transforms the iPad from a consumption device into a powerful creative and productivity tool. Whether you're sketching ideas, annotating documents, taking handwritten notes, or designing layouts, mastering your stylus opens up new dimensions of control and precision. Yet many users only scratch the surface of what’s possible. With the right techniques and mindset, your stylus can become an extension of your hand—fluid, intuitive, and highly effective.
Optimize Your Hardware Setup
Your experience starts with hardware compatibility and configuration. Not all styluses work equally well across iPad models, and even minor misalignments can affect accuracy and responsiveness.
Ensure your Apple Pencil (1st or 2nd generation) is magnetically attached and charging if using an iPad Pro or iPad Air (4th gen or later). For older models requiring Lightning adapters, keep the connection clean and secure. Third-party styluses should support palm rejection and pressure sensitivity for a natural writing feel.
| iPad Model | Stylus Compatibility | Charging Method |
|---|---|---|
| iPad Pro (M1/M2) | Apple Pencil (2nd gen) | Magnetic side attachment |
| iPad Air (4th/5th gen) | Apple Pencil (2nd gen) | Magnetic side attachment |
| iPad (9th–10th gen) | Apple Pencil (1st gen) | Lightning adapter |
| iPad Mini (6th gen) | Apple Pencil (2nd gen) | Magnetic side attachment |
Third-party options like Logitech Crayon or Adonit Dash 4 offer reliable performance at lower price points but may lack tilt detection or haptic feedback. Choose based on your usage: casual note-takers may not need advanced features, while artists benefit from full pressure and angle sensitivity.
Refine Your Note-Taking Workflow
One of the most practical uses of a stylus is digital note-taking. Apps like Notes, GoodNotes, and Notability turn your iPad into a dynamic notebook. But efficiency comes from structure—not just writing faster, but organizing smarter.
- Use consistent templates for lectures, meetings, or brainstorming sessions.
- Enable ruled or grid backgrounds to guide handwriting alignment.
- Leverage keyboard shortcuts when switching between typing and inking.
- Tag notes by project or date for quick retrieval.
In GoodNotes, create a “Meeting Minutes” template with sections for agenda, decisions, and action items. As you write, the app automatically converts handwriting to text when needed, allowing searchability without sacrificing personal expression.
Real Example: A Student’s Daily Routine
Sophia, a university architecture student, uses her iPad and Apple Pencil during lectures. She imports PDF slides directly into Notability, annotates them in real time, and records audio synced to her notes. After class, she reviews by circling key concepts and adding voice memos explaining complex diagrams. This multimodal approach improves retention and cuts revision time in half.
“Digital ink isn’t about replacing paper—it’s about enhancing how we think, capture, and recall information.” — Dr. Mark Chen, Human-Computer Interaction Researcher
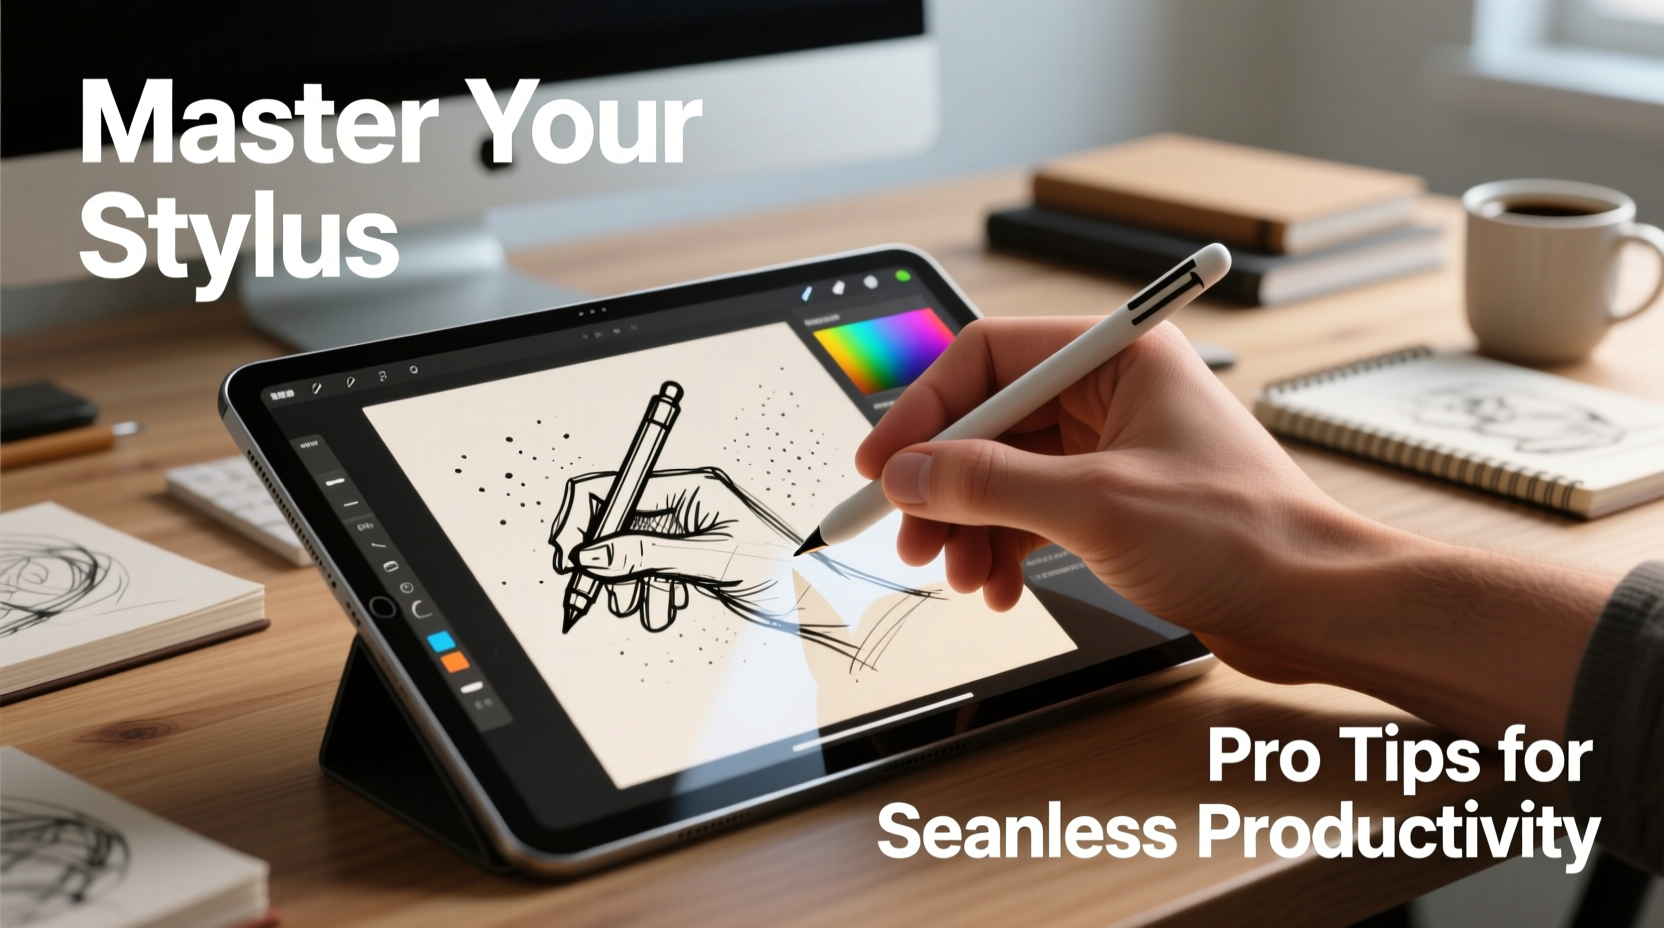
Unlock Creative Potential with Drawing & Design
For illustrators, designers, and hobbyists, the stylus enables professional-grade creation on a portable device. However, technique matters as much as tools.
- Adjust brush settings to respond to pressure and tilt for realistic strokes.
- Use layers to separate sketch, line art, and color stages.
- Zoom in strategically—don’t rely solely on wrist movement; reposition your hand for large curves.
- Save frequently and enable auto-backup to iCloud or external drives.
Procreate remains a favorite among digital artists due to its responsive interface and vast brush library. Beginners should explore default brushes like “Studio Pen” and “Ink Pen” before customizing their own. The Smudge tool, combined with low-opacity blending brushes, creates soft gradients ideal for shading.
Step-by-Step: Creating a Quick Sketch in Procreate
- Open Procreate and select a canvas size (A4 or Letter works well).
- Choose the “6B Pencil” brush from the Sketching set.
- Sketch loosely in light gray to establish proportions.
- Create a new layer above and refine lines using steady strokes.
- Add shadows on a separate layer using a soft airbrush at 30% opacity.
- Merge layers only after final review; otherwise, keep editable.
Boost Productivity Across Workflows
Beyond creativity, the stylus excels in business and academic environments. From signing contracts to diagramming processes, it streamlines tasks that would otherwise require printing or mouse precision.
Annotate PDFs in apps like Adobe Acrobat or PDF Expert by highlighting text, adding comments, or freehand drawing arrows to emphasize points. Real estate agents, lawyers, and educators routinely mark up documents without ever leaving digital space.
“I sign three to five client agreements daily using my iPad and Apple Pencil. It saves paper, speeds delivery, and integrates seamlessly with my CRM.” — Jordan Lee, Real Estate Consultant
To maximize efficiency, integrate your stylus with multitasking features:
- Use Split View to reference a document while annotating another.
- Slide Over a calculator or dictionary for instant lookups.
- Take screenshots and immediately mark them up using the built-in markup tool.
Checklist: Optimize Your Stylus Productivity
- ✅ Pair and charge your stylus daily
- ✅ Set up templates for recurring tasks
- ✅ Master one annotation app thoroughly
- ✅ Use gestures to minimize app switching
- ✅ Back up handwritten notes to cloud storage
- ✅ Practice consistent grip to reduce hand fatigue
Frequently Asked Questions
Can I use my stylus with any iPad app?
Most modern iPadOS apps support stylus input, especially those designed for writing, drawing, or PDF handling. However, functionality varies—some apps ignore pressure sensitivity or lack palm rejection. Stick to trusted names like Microsoft OneNote, Autodesk SketchBook, or Zoom for meeting annotations.
Why does my stylus skip or lag sometimes?
Lag often results from low battery, Bluetooth interference, or background app overload. Restart your iPad, ensure the stylus is fully charged, and close unused apps. Also, check for iPadOS updates—performance improvements are frequent.
How do I prevent hand cramps during long sessions?
Use a tripod stand or case with adjustable angles to reduce wrist strain. Take breaks every 20–30 minutes, and consider a cushioned stylus grip for better ergonomics. Some users prefer shorter, thicker styluses for comfort over extended use.
Final Thoughts: Make the Stylus an Extension of You
True mastery of the stylus doesn’t come from owning the latest model or downloading every app—it comes from deliberate practice and thoughtful integration into your daily routines. Whether you’re capturing fleeting ideas, teaching remotely, or illustrating stories, the combination of iPad and stylus offers unmatched versatility.
Start small: pick one task this week—like digitizing your shopping list or sketching a mind map—and do it entirely with your stylus. Notice how the tactile feedback changes your engagement. Over time, these micro-improvements compound into a smoother, more expressive workflow.


 浙公网安备
33010002000092号
浙公网安备
33010002000092号 浙B2-20120091-4
Comments
No comments yet. Why don't you start the discussion?