
In an era where remote work, virtual learning, and digital collaboration dominate daily life, the quality of your web camera setup directly impacts how you're perceived. A shaky image, poor lighting, or muffled audio can undermine credibility, reduce engagement, and disrupt communication. Yet, many users treat their webcam as a plug-and-play accessory without considering optimization. Mastering your web camera isn’t just about having the latest hardware—it’s about understanding environment, settings, and habits that elevate your on-screen presence.
Whether you're leading a client meeting, attending a job interview, or recording educational content, small adjustments can make a significant difference. From positioning and lighting to software tweaks and maintenance, this guide delivers practical strategies to help you project confidence, clarity, and professionalism through every frame.
Optimize Your Camera Position and Angle
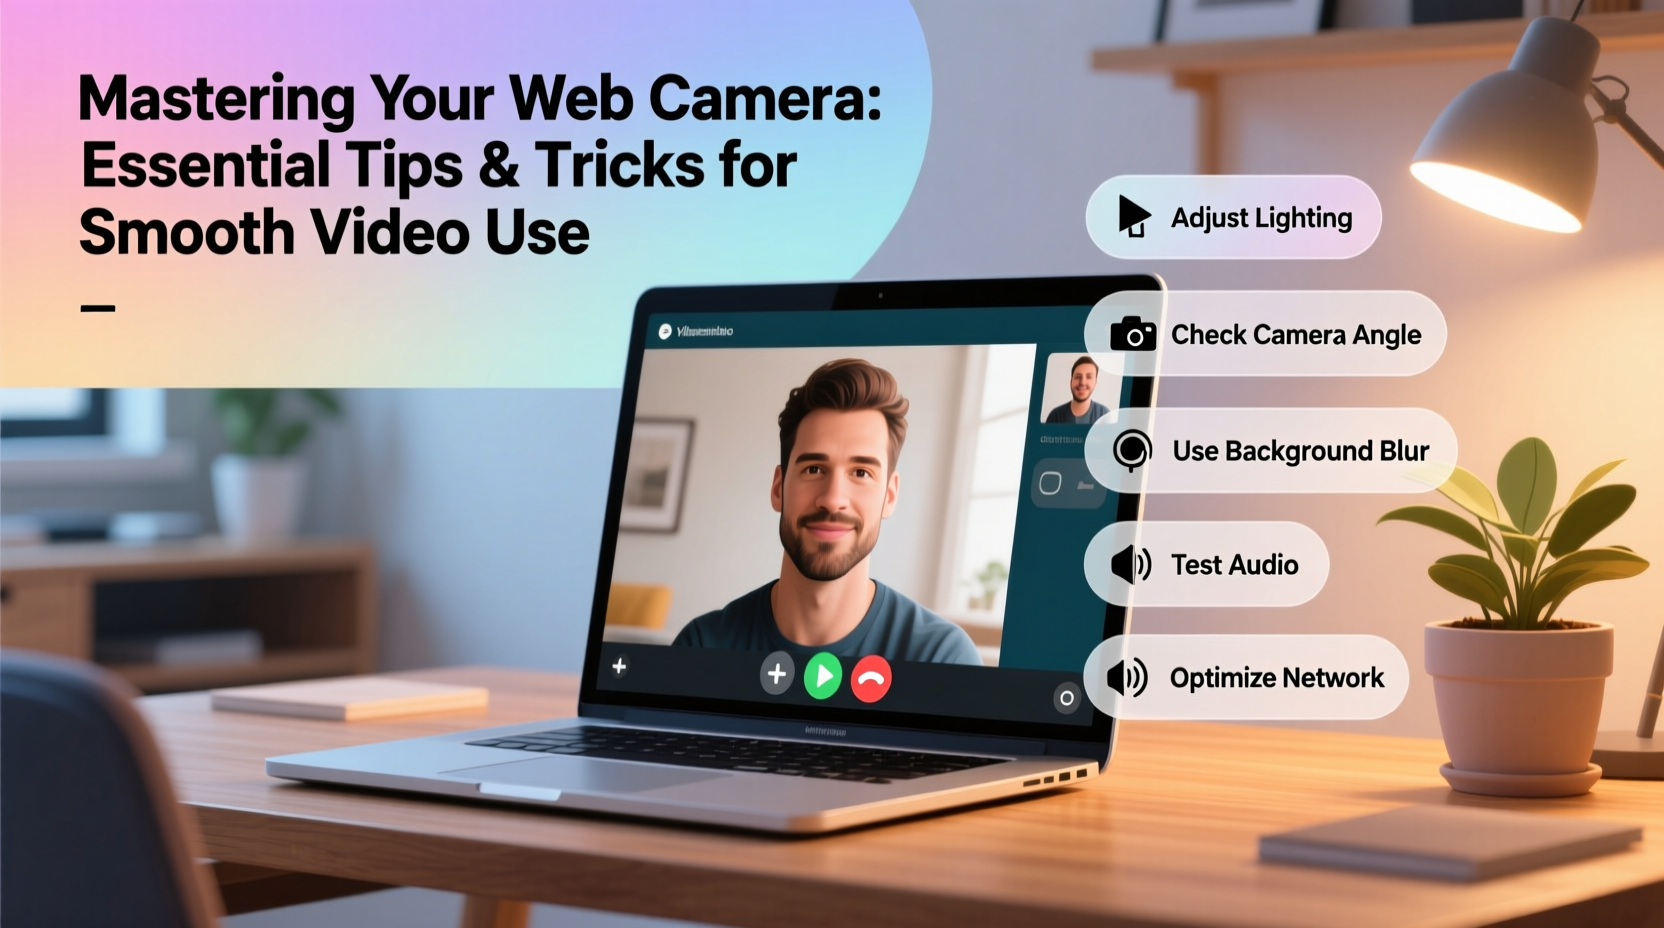
The physical placement of your webcam plays a crucial role in creating a natural and engaging visual presence. Most built-in laptop cameras sit too low, resulting in unflattering upward angles that emphasize nostrils and create a sense of imbalance.
Position your camera at or slightly above eye level. This creates a neutral, face-to-face perspective that mimics in-person interaction. If using a laptop, place it on a stack of books or a monitor stand and connect an external keyboard to maintain ergonomic typing posture.
Aim to keep your shoulders and upper torso visible. Too much background or excessive zoom can disengage viewers. Maintain a distance of about 2–3 feet from the camera unless you’re demonstrating something close-up.
Lighting: The Silent Game-Changer
No amount of software enhancement can compensate for bad lighting. Harsh shadows, backlighting, or dim environments wash out facial features and strain viewer attention.
Natural light is ideal—position yourself facing a window during daylight hours. Avoid sitting with your back to a bright window, which turns you into a silhouette. If natural light isn't available, invest in a soft LED ring light or desk lamp with adjustable color temperature (preferably between 4500K and 5500K for balanced skin tones).
| Lighting Setup | Pros | Cons |
|---|---|---|
| Front-facing natural light | Soft, even illumination; no additional cost | Unreliable after dark or on cloudy days |
| Ring light | Consistent brightness; flattering circular catchlight in eyes | Can appear artificial if overused |
| Two-point studio setup (key + fill) | Professional depth and dimension | Requires space and multiple fixtures |
Avoid overhead lighting, which casts harsh shadows under the eyes and nose. Instead, diffuse light sources using sheer curtains or bounce light off walls or ceilings for a softer effect.
Software Settings and Camera Calibration
Even high-resolution webcams often ship with default settings optimized for general use, not professional appearance. Adjusting brightness, contrast, white balance, and focus manually ensures consistency across sessions.
Most operating systems and conferencing platforms offer basic camera controls. On Windows, go to Settings > Apps > Camera > Camera Settings. On macOS, use the Camera app or third-party tools like CamTwist or OBS Studio for advanced calibration. In Zoom or Teams, click the arrow next to “Start Video” and select “Video Settings” to preview and tweak.
- Adjust exposure to prevent over-brightening in well-lit rooms.
- Set white balance manually to eliminate yellow or blue tints.
- Enable autofocus only if your model supports reliable tracking; otherwise, lock focus after initial setup.
- Disable digital zoom and noise reduction if they cause lag or unnatural smoothing.
For users with older or lower-end cameras, consider upgrading firmware via the manufacturer’s website. Some brands release updates that improve autofocus speed, low-light performance, and driver compatibility.
Maintaining Audio-Visual Synchronization
A sharp image means little if your voice lags behind your lips. Poor audio-video sync undermines professionalism and causes cognitive fatigue for viewers.
Use wired connections whenever possible. USB webcams typically deliver lower latency than wireless peripherals. Similarly, connect headphones via cable instead of Bluetooth to minimize audio delay. Close unnecessary background applications—especially those using bandwidth or GPU resources—that can interfere with real-time processing.
“Synchronization errors as small as 70 milliseconds become noticeable to human perception. Consistency matters more than raw specs.” — Dr. Lena Torres, UX Researcher at MediaSync Labs
If you frequently experience lag, reduce video resolution temporarily. Running at 720p instead of 1080p can ease system load and restore smooth performance. Prioritize frame rate: 30fps is acceptable, but 60fps provides noticeably smoother motion, especially when gesturing or presenting dynamic content.
Real-World Example: Transforming a Remote Educator’s Presence
Sarah, a university lecturer transitioning to hybrid teaching, struggled with student disengagement during live lectures. Her students reported difficulty focusing, citing her “dark, blurry image” and “echoey voice.” After assessing her setup, she made three key changes:
- Bought a $40 ring light and positioned it just above her monitor.
- Moved her desk to face a large window during morning classes.
- Switched from her laptop’s built-in mic and camera to a Logitech C920 with a wired headset.
Within two weeks, student feedback improved dramatically. Comments shifted to “You look so clear now” and “It feels like you’re right here.” Sarah also reported feeling more confident on camera, which positively influenced her delivery and pacing.
Essential Webcam Maintenance Checklist
To ensure long-term reliability and image quality, follow this monthly maintenance routine:
- Wipe lens gently with microfiber cloth to remove dust and smudges.
- Test camera feed in different lighting conditions.
- Update drivers and firmware through manufacturer software.
- Verify microphone and speaker levels are balanced.
- Clear browser cache if using web-based conferencing tools.
- Reassess background clutter and framing.
Dust buildup on the lens is one of the most common causes of fuzzy video output. Never use household cleaners or paper towels—these can scratch coatings. A quick breath and wipe is usually sufficient.
Frequently Asked Questions
Do I need an expensive webcam for professional results?
Not necessarily. While premium models like the Logitech Brio or Sony ZV-E10 offer superior dynamic range and AI features, mid-range options like the Logitech C920 or Razer Kiyo perform exceptionally well when paired with good lighting and proper settings. Environment and configuration often matter more than price.
Why does my camera fog up or show glare?
Fogging usually occurs due to rapid temperature changes—such as bringing a cold laptop into a warm room. Allow equipment to acclimate before use. Glare comes from reflective surfaces like glass lenses or nearby monitors. Clean the lens and adjust your angle slightly to avoid direct reflection.
Can I use a smartphone as a webcam?
Yes. Apps like DroidCam (Android) or EpocCam (iOS) turn smartphones into high-quality USB or Wi-Fi webcams. They often feature better sensors and stabilization than built-in laptop cameras. Just ensure stable mounting and consistent power supply during use.
Conclusion: Take Control of Your Digital Presence
Your web camera is more than a tool—it’s your visual ambassador in a digital world. With thoughtful adjustments to lighting, positioning, software, and maintenance, you can transform an ordinary video call into a polished, professional interaction. These improvements don’t require technical expertise or major investments; they demand only attention to detail and consistency.


 浙公网安备
33010002000092号
浙公网安备
33010002000092号 浙B2-20120091-4
Comments
No comments yet. Why don't you start the discussion?