
Small pantries present a unique challenge: how to store everything you need while keeping it accessible, visible, and organized. Without thoughtful planning, even the most frequently used items can vanish behind bulkier packages or get lost on high shelves. The solution lies in rethinking your storage approach—specifically, by leveraging vertical space. Unlike horizontal expansion, which is limited by floor footprint, vertical organization multiplies usable area without taking up more room. With smart shelving, strategic containers, and clever accessories, a compact pantry can become a model of efficiency.
Assess Your Current Pantry Layout
Before installing new organizers or rearranging shelves, take stock of what you have. Empty the pantry completely and clean each shelf. As you do, group items into categories: canned goods, baking supplies, snacks, grains, spices, oils, and so on. This inventory process reveals not only what you own but also how much space each category occupies.
Measure the height, width, and depth of your pantry, including clearance between shelves. Note any awkward gaps—especially above or below standard shelving—that could be optimized. Also consider door space, wall areas, and under-shelf zones, all of which are often overlooked. A thorough assessment sets the foundation for a functional redesign that works with your space, not against it.
Maximize Shelf Height with Adjustable Risers and Stackable Organizers
One of the biggest inefficiencies in small pantries is wasted vertical space between shelves. Items like cereal boxes, pasta jars, or spice bottles rarely fill the full shelf height, leaving unused airspace above them. Adjustable shelf risers and stackable bins eliminate this gap by creating layered storage within a single shelf.
For example, place a wire riser at the front of a shelf to elevate smaller items like snack bars or tea packets, allowing larger cans or bags to sit behind and beneath. Clear acrylic risers work well because they’re sturdy and let you see what’s stored underneath. Stackable bins made of BPA-free plastic can hold similar-sized items and be rearranged as needs change.
Another strategy is tiered shelf dividers, which function like mini-steps inside your pantry. They're ideal for holding spice jars, condiment bottles, or small packets, ensuring every item remains visible and reachable without constant shifting.
“Vertical layering isn’t just about stacking—it’s about creating intentional zones where every inch serves a purpose.” — Lena Torres, Home Organization Consultant
Install Pull-Out Drawers and Slide-Out Shelves
Deep pantries often suffer from the “black hole” effect: items pushed to the back disappear until they expire. Pull-out drawers and slide-out shelves solve this by bringing contents forward with a simple tug. These systems convert dead space into highly accessible storage.
Even in shallow pantries, narrow sliding baskets can be mounted between studs or attached to existing shelves. Use them for storing onions, potatoes, or frequently used canned goods. For taller units, install full-extension drawer glides that support up to 50 pounds, allowing heavy items like flour or pet food to be pulled out smoothly.
If custom cabinetry isn’t an option, consider retrofit kits designed for DIY installation. Many include brackets, rails, and baskets that fit standard pantry depths. Choose models with soft-close mechanisms to reduce noise and wear over time.
Step-by-Step Guide: Installing a Slide-Out Basket
- Measure the available width and depth of your pantry shelf or cavity.
- Select a slide-out basket kit compatible with those dimensions.
- Remove shelf contents and clear the area.
- Mark drill points using the manufacturer’s template.
- Attach mounting brackets to the sides of the pantry frame or shelf supports.
- Slide the basket onto the rails and test for smooth operation.
- Load with items and adjust positioning if needed.
Utilize Door and Wall Space Strategically
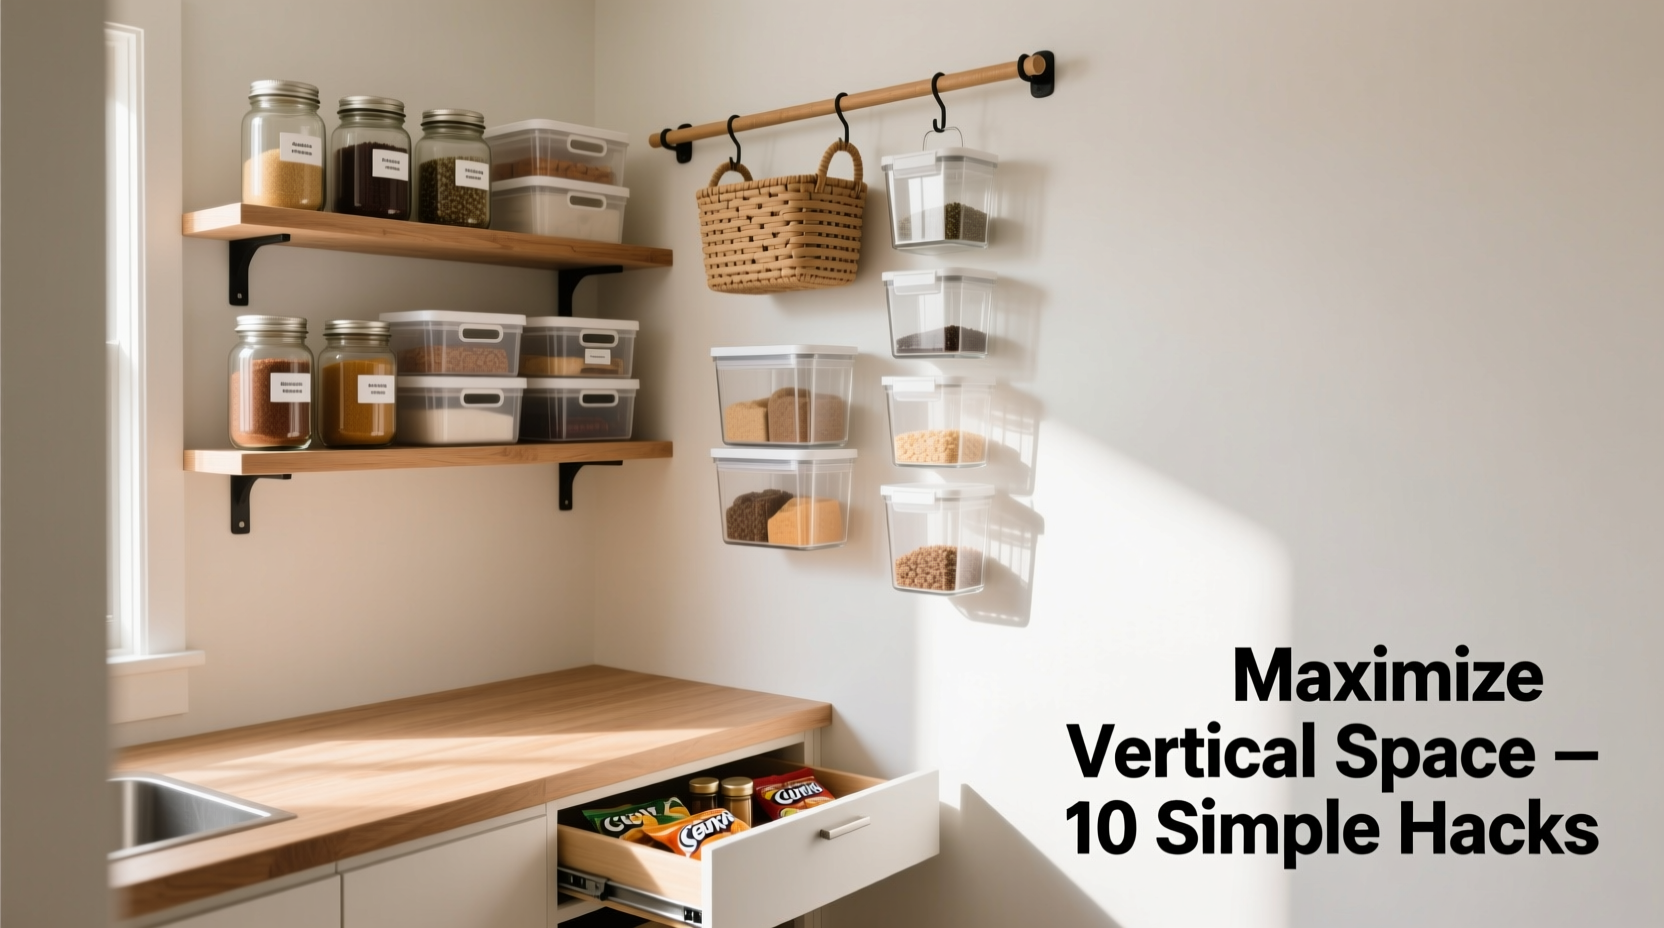
The inside of the pantry door and adjacent walls are prime real estate for lightweight, frequently used items. Over-the-door organizers with clear pockets can hold spice packets, seasoning blends, tea bags, or small sauces. Magnetic strips installed on the side wall allow metal spice tins or knife holders to be stored vertically, freeing up shelf space.
For heavier-duty solutions, add floating shelves or pegboards. Pegboards are especially versatile—you can customize hook placement to accommodate measuring cups, spray bottles, or reusable produce bags. Use labeled baskets or bins on these surfaces to maintain order.
Consider adhesive hooks for temporary or lightweight storage. They work well for hanging aprons, grocery lists, or reusable mesh bags. Just ensure the surface is clean and dry before application to maximize adhesion.
| Storage Area | Best For | Avoid Storing Here |
|---|---|---|
| Pantry Door | Spice packets, recipe cards, lightweight tools | Heavy jars, large appliances |
| Wall-mounted Pegboard | Utensils, measuring tools, cloth bags | Fragile items, open containers |
| Top Shelf (High Reach) | Infrequently used appliances, seasonal items | Daily-use spices, cooking oils |
| Under-Shelf Space | Rolls of foil, cling wrap, small bins | Bulky or irregularly shaped items |
Create Zones Based on Usage and Category
An efficient pantry doesn’t just hold items—it organizes them in a way that matches how you cook and eat. Create designated zones based on frequency of use and food type. Common zones include:
- Everyday Essentials: Cooking oils, salts, sugars, coffee, tea—items used daily should be at eye level and within easy reach.
- Baking Station: Flour, sugar, baking powder, chocolate chips, and measuring tools grouped together streamline dessert prep.
- Snack Zone: Ideal for families; keep kids’ favorites in low, accessible bins with labels.
- Emergency Staples: Canned beans, rice, pasta, and soups stored higher up or toward the back for long-term access.
- Spice & Condiment Row: Use turntables or tiered racks to keep bottles visible and prevent clutter.
Zoning reduces decision fatigue and speeds up meal prep. Label each zone clearly with removable tags or chalkboard stickers so adjustments remain flexible.
Mini Case Study: Transforming a 3-Shelf Closet Pantry
Sarah, a busy parent of two in Austin, Texas, struggled with a narrow walk-in pantry that measured just 3 feet wide and 5 feet tall. Shelves were fixed, and items constantly toppled when she reached for something in the back. After consulting a professional organizer, she implemented several vertical-space strategies:
- Installed two pull-out baskets on the middle shelf for canned vegetables and broths.
- Added shelf risers to create three-tiered sections for snacks, breakfast items, and baking supplies.
- Mounted a magnetic strip on the side wall for spice tins, replacing a cluttered drawer.
- Used over-the-door pockets for tea and instant soup packets.
- Labeled all zones with wipeable vinyl tags.
Within a weekend, Sarah regained 40% more usable space and cut her dinner prep time by locating ingredients faster. “I no longer have to move five things just to find olive oil,” she said. “It feels like I gained a whole extra pantry.”
Essential Checklist for Maximizing Vertical Pantry Space
Follow this checklist to systematically improve your small pantry’s vertical efficiency:
- Empty and clean all shelves and surfaces.
- Sort items into logical categories (e.g., grains, snacks, spices).
- Discard expired or unused products.
- Measure shelf heights and available vertical gaps.
- Install shelf risers or tiered dividers where space allows.
- Add pull-out baskets or sliding shelves for deep storage.
- Use the pantry door for lightweight, frequently accessed items.
- Mount wall organizers like pegboards or magnetic strips.
- Group items into functional zones (baking, snacks, etc.).
- Label all containers and zones for clarity and consistency.
Frequently Asked Questions
How do I prevent items from getting buried in stacked organizers?
Use clear bins and label both the front and top of containers. Rotate stock using the “first in, first out” rule—place newer items behind older ones to ensure nothing expires unnoticed.
Are pull-out shelves worth the investment in a small pantry?
Absolutely. Even a single slide-out basket can dramatically improve access to back-row items. For renters or budget-conscious homeowners, retrofit kits offer an affordable, non-permanent solution.
What’s the best way to store heavy items vertically?
Store heavy items like flour, sugar, or canned goods on lower shelves or in pull-out drawers to maintain stability and reduce strain when lifting. Avoid placing them on high shelves or unstable risers.
Conclusion: Turn Limitations into Opportunities
A small pantry doesn’t have to mean limited functionality. By shifting focus from floor space to vertical potential, you unlock layers of hidden storage that make everyday cooking easier and more enjoyable. From adjustable risers to door-mounted organizers, each upgrade compounds in impact, transforming chaos into calm efficiency. The key is intentionality—designing your pantry not just to hold items, but to support your lifestyle.


 浙公网安备
33010002000092号
浙公网安备
33010002000092号 浙B2-20120091-4
Comments
No comments yet. Why don't you start the discussion?