
Programmable LED snowflakes have transformed holiday décor from static displays into dynamic light art. With addressable LEDs like WS2812B or NeoPixels, a single snowflake can shimmer, pulse, chase, and react in real time. But unlocking their full potential requires more than plugging them in—it demands an understanding of layout, code structure, and pattern logic. This guide walks through the technical and creative aspects of designing custom animations for your LED snowflakes, whether you're building one for your porch or orchestrating a synchronized yard display.
Understanding Programmable LED Snowflake Anatomy
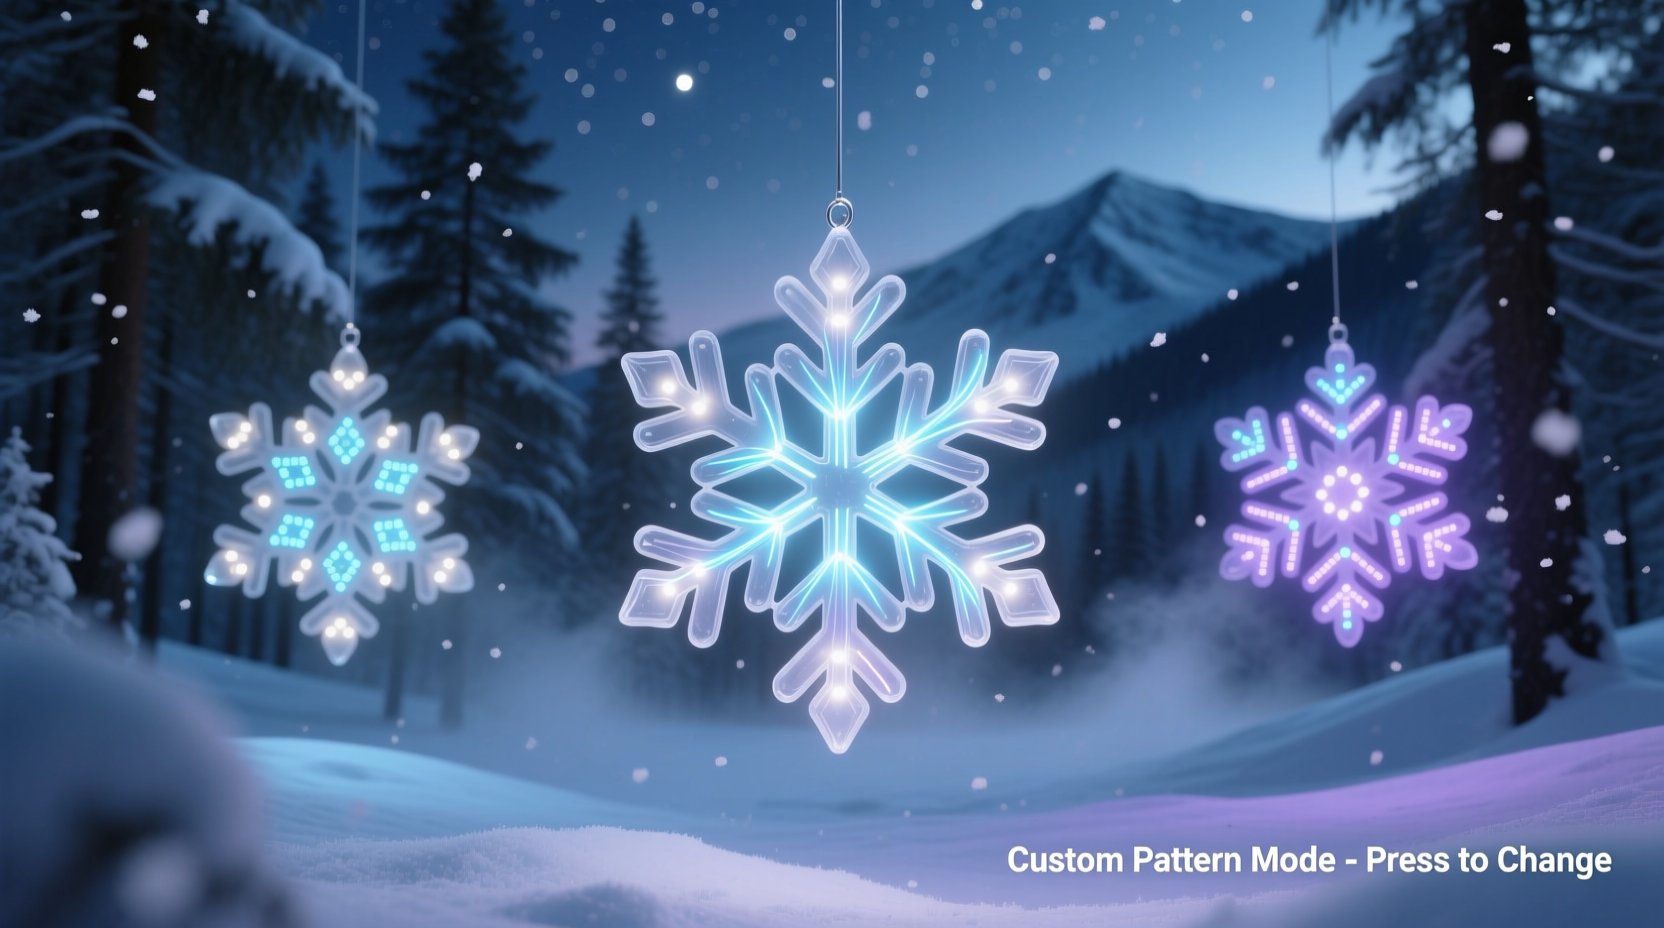
A programmable LED snowflake typically consists of a rigid frame—often laser-cut wood or acrylic—with multiple arms radiating outward, mimicking natural snowflake symmetry. Each arm is lined with individually addressable LEDs, all connected to a central microcontroller such as an Arduino, ESP32, or Raspberry Pi Pico. The most common LED type used is the WS2812B (also known as NeoPixel), which integrates red, green, and blue diodes with a built-in driver chip, allowing each LED to be controlled independently over a single data line.
The number of LEDs per arm determines resolution and animation smoothness. A typical 6-arm snowflake with 10 LEDs per arm uses 60 total LEDs. More LEDs allow for finer gradients and complex motion effects but require more processing power and careful timing in code.
Choosing the Right Controller and Software Platform
The microcontroller acts as the brain of your snowflake. Your choice affects available features, ease of programming, and expandability.
| Controller | Best For | Limits |
|---|---|---|
| Arduino Uno | Beginners, standalone projects | Limited memory; not ideal for large arrays or Wi-Fi control |
| ESP32 | Wi-Fi/Bluetooth integration, remote updates, network sync | Slightly steeper learning curve |
| Raspberry Pi Pico (RP2040) | Fast rendering, multi-core support | No built-in wireless (unless using Pico W) |
For software, the Arduino IDE remains the most accessible platform, especially when paired with the FastLED library. FastLED simplifies color manipulation, blending, and animation sequencing across hundreds of LEDs with minimal code overhead.
“FastLED reduces complex lighting math into intuitive functions—fadeToBlackBy, nblend, and blur1d make it easy to create organic motion.” — David Melvin, Embedded Lighting Developer
Step-by-Step: Creating a Custom Animation Pattern
Designing a custom pattern involves mapping physical LED locations to logical behavior in code. Follow this process to build your first unique animation.
- Map your LED layout. Determine how LEDs are numbered. Are they arranged radially (arm by arm) or spirally (consecutive around the ring)? Most designs use radial indexing: LED 0–9 on arm 1, 10–19 on arm 2, etc.
- Initialize the FastLED array. Define the number of LEDs and data pin:
#define NUM_LEDS 60
#define DATA_PIN 6
CRGB leds[NUM_LEDS];
- Create a base function structure. Use
setup()to initialize LEDs andloop()to run animations. - Write a pattern function. Start simple: a rotating wave across all arms.
void wavePattern() {
  static uint8_t hue = 0;
  for (int i = 0; i < NUM_LEDS; i++) {
    int armIndex = (i / 10) * 10; // Group by arm of 10 LEDs
    int posInArm = i % 10;
    uint8_t wave = sin8(posInArm * 15 + millis() / 20);
    leds[i] = CHSV(hue + (i * 2), 255, wave);
  }
  FastLED.show();
  hue++;
}
This function generates a sine wave that moves down each arm while cycling through hues. Adjust the multiplier in sin8() to change wave frequency and millis()/20 to control speed.
delay(20) at the end of your loop to cap frame rate and reduce flicker. Avoid blocking delays in complex animations—use
millis()-based timing instead.
Advanced Pattern Techniques for Realistic Effects
Once basic animations work, elevate your snowflake with behaviors that mimic nature or evoke emotion.
- Random Sparkle (Snowfall Effect): Randomly illuminate a few LEDs at low brightness to simulate falling snow.
- Center-Out Pulse: Trigger a ripple from the center outward, like a drop hitting water.
- Arm Sequencing: Light arms one after another in clockwise order, then reverse.
- Audio Reactivity: Add a microphone sensor (like MAX9814) to make brightness or speed respond to ambient sound.
For example, a “gentle blizzard” effect combines slow rotation with intermittent sparkles:
void blizzardEffect() {
  fadeToBlackBy(leds, NUM_LEDS, 20); // Dim all LEDs slightly

  // Add random sparkles
  if (random8() > 240) {
    int led = random16(NUM_LEDS);
    leds[led] = CRGB::White;
    leds[led].nscale8(180 + random8(75)); // Soft white
  }

  // Rotate a soft glow around arms
  uint8_t index = millis() / 50;
  for (int arm = 0; arm < 6; arm++) {
    int start = arm * 10;
    int pos = (index + arm * 10) % 10;
    leds[start + pos] = CHSV(180, 50, 255);
  }

  FastLED.show();
}
This blends randomness with rhythm, creating a lively yet calming winter scene.
Mini Case Study: Synchronized Yard Display
In Portland, Oregon, hobbyist Mark Teller installed six 60-LED snowflakes across his front yard, each powered by an ESP32. He wanted them to act independently during quiet hours but synchronize during music shows. Using FastLED with AsyncElegantOTA for over-the-air updates and ESP-NOW for peer-to-peer communication, he programmed a master-slave system.
One snowflake acted as the master, receiving audio beat data via MQTT from a central Raspberry Pi running xLights. On detecting a strong bass hit, it broadcasted a trigger signal. All other snowflakes responded within 10ms, flashing white in unison. During non-show times, each ran a unique slow-drift animation to avoid visual monotony.
The result? A dynamic blend of autonomy and coordination that impressed neighbors and reduced Wi-Fi congestion compared to relying solely on a router.
Checklist: Building a Reliable, Maintainable LED Snowflake
- ✅ Use weatherproof enclosures for controllers and connections
- ✅ Seal wire joints with silicone or heat-shrink tubing
- ✅ Label each snowflake’s data line and power source
- ✅ Test animations indoors before outdoor installation
- ✅ Implement automatic brightness reduction at night (e.g., lower intensity after 10 PM)
- ✅ Include a failsafe mode (solid white or off) if signal is lost
- ✅ Document LED numbering scheme for future reference
This checklist ensures longevity and simplifies troubleshooting during the season.
Do’s and Don’ts of Custom Pattern Design
| Do | Don't |
|---|---|
| Start with small changes to existing FastLED examples | Try to write complex animations from scratch immediately |
| Use HSV color space for smooth transitions | Hard-code RGB values for moving gradients |
| Break animations into reusable functions | Mix animation logic with hardware setup in one block |
| Simulate patterns on a laptop first using GLEDiator or Jinx! | Debug entirely on hardware under cold conditions |
| Add user controls (buttons or web interface) for mode switching | Require reprogramming every time you want a new look |
Adhering to these principles saves time and prevents frustration when scaling to multiple units.
Frequently Asked Questions
Can I run multiple patterns on one snowflake?
Yes—use a state machine in your code to switch between patterns based on time, input, or external signals. For example, a button press or MQTT message can increment a currentPattern variable, which selects the active function in the loop.
How do I prevent my snowflake from overheating outdoors?
Overheating is rarely an issue with LEDs at typical holiday brightness levels. However, always use appropriate current limiting (e.g., a 470Ω resistor on the data line) and ensure power supplies are rated for continuous duty. Mount controllers in ventilated enclosures, and avoid direct afternoon sun exposure.
Is it possible to sync LED snowflakes without Wi-Fi?
Absolutely. Protocols like ESP-NOW, DMX, or even infrared pulses allow local synchronization without internet dependency. These methods are faster and more reliable in areas with poor connectivity.
Conclusion: Bring Winter Magic to Life with Code
Programmable LED snowflakes are more than holiday decorations—they’re canvases for digital artistry. By mastering the interplay between hardware, code, and creativity, you can craft experiences that captivate viewers and evolve nightly. Whether you're animating a single window piece or leading a neighborhood light symphony, the tools and techniques outlined here empower meaningful customization.
Start small. Modify a rainbow cycle. Then introduce motion, randomness, and interaction. Share your creations online, contribute to open-source lighting projects, or teach others how to code their own winter wonder. The only limit is imagination—let your lights express it.


 浙公网安备
33010002000092号
浙公网安备
33010002000092号 浙B2-20120091-4
Comments
No comments yet. Why don't you start the discussion?