
Diatomite bath mats have gained popularity for their natural moisture-wicking properties, eco-friendly composition, and sleek minimalist design. Made from fossilized algae, these lightweight yet highly absorbent mats dry quickly and resist mold and mildew when properly maintained. However, one common complaint among users is slippage—especially on smooth tile or vinyl flooring. A shifting or unstable mat not only diminishes its effectiveness but also poses a serious safety risk. Fortunately, with the right techniques, you can ensure your diatomite bath mat stays firmly in place while delivering optimal performance.
Understanding Why Diatomite Mats Slip
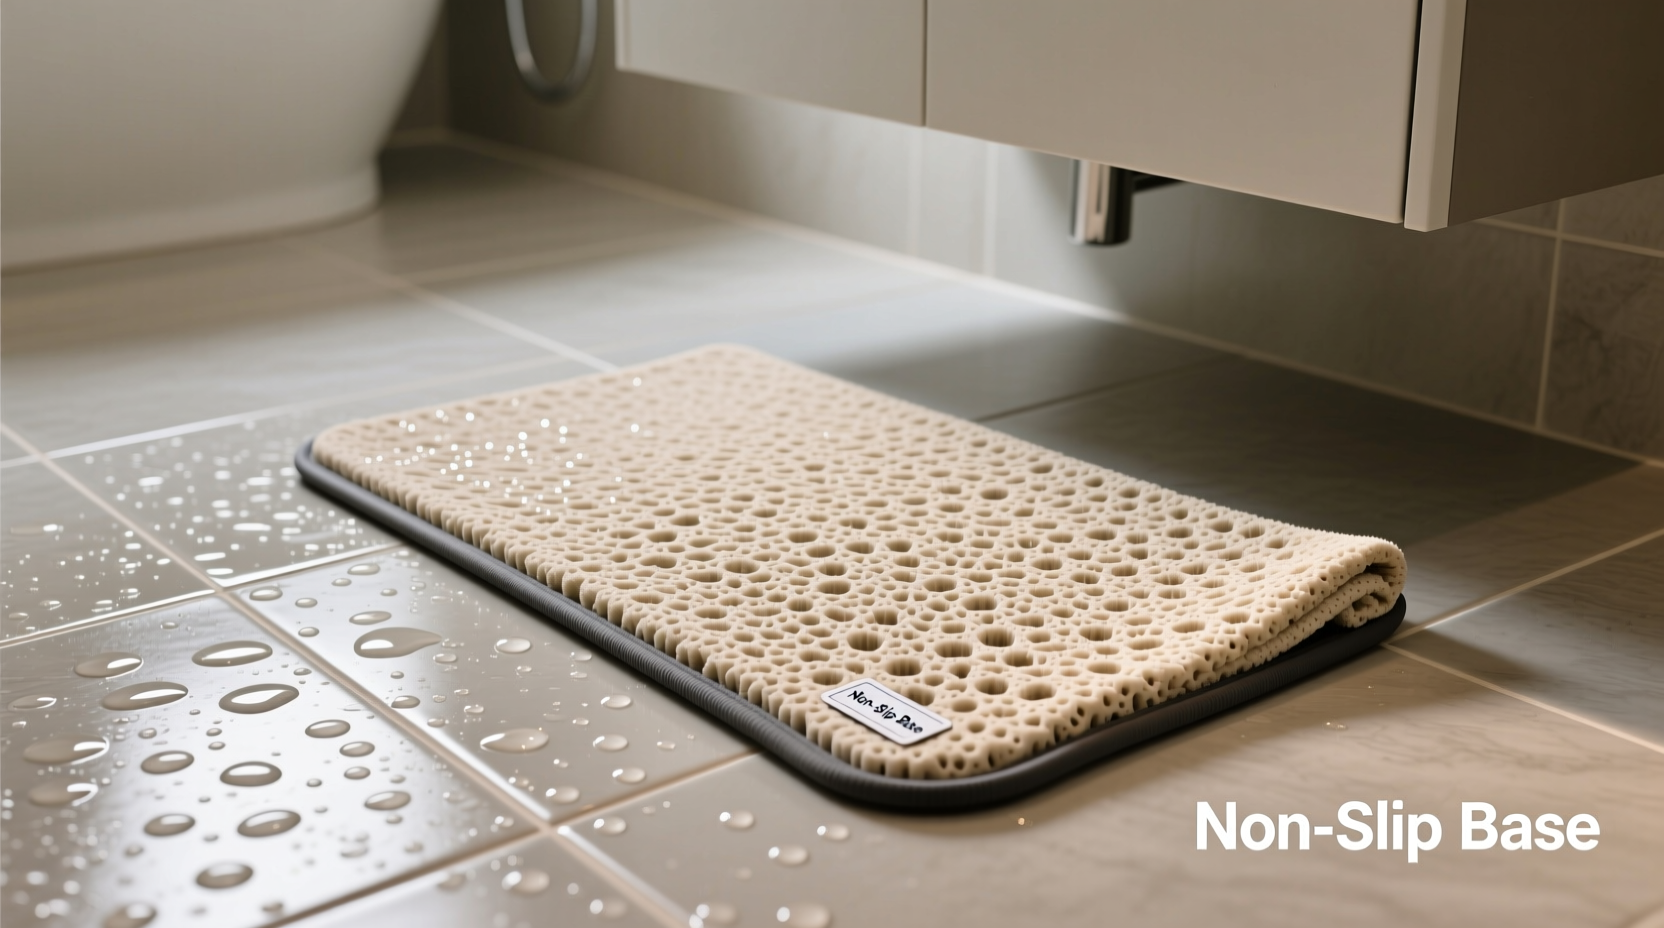
Diatomite mats are naturally porous and lightweight, which makes them excellent at absorbing water but less inherently grippy than rubber-backed alternatives. Unlike traditional bathroom rugs with synthetic non-slip undersides, diatomite relies on surface friction and proper placement for stability. When wet, the bottom of the mat can become slick, particularly on polished surfaces like ceramic, porcelain, or marble. Additionally, improper installation or lack of anchoring increases movement during use.
According to Dr. Lena Torres, a materials engineer specializing in household safety products, “The very properties that make diatomite effective—its porosity and low density—also reduce its coefficient of friction on wet surfaces. Without additional grip mechanisms, it’s prone to displacement.” This insight underscores the importance of combining smart placement with physical stabilization methods.
Step-by-Step Guide to Securing Your Diatomite Mat
Ensuring long-term stability requires more than just setting the mat down. Follow this six-step process to maximize security and safety:
- Clean the Floor Surface: Use a degreasing cleaner to remove soap scum, oils, or residue from tiles. A contaminant-free floor improves adhesion for any grip aid.
- Dry Thoroughly: Wipe the area completely dry. Moisture between the floor and mat reduces traction significantly.
- Position Strategically: Place the mat where feet typically land after stepping out of the tub or shower—not too close to direct water spray, but within immediate reach.
- Add Non-Slip Underlayment: Cut a piece of non-slip rug pad (preferably PVC-free and waterproof) to fit beneath the mat. Avoid thick padding; opt for thin mesh-style grips designed for wet environments.
- Use Double-Sided Tape (Optional): For permanent placement, apply waterproof double-sided tape at all four corners underneath the underlayment. Ensure it's rated for bathroom humidity.
- Test and Adjust: Step on the mat barefoot with normal force. If movement occurs, re-evaluate positioning or add extra grip points.
Best Practices for Long-Term Stability and Maintenance
Even with proper installation, ongoing care plays a crucial role in preventing slippage. Over time, dust, mineral deposits, and biofilm buildup can compromise both the mat’s texture and its contact with the floor.
- Shake or tap the mat outside daily to dislodge loose particles.
- Rinse monthly under running water to flush out absorbed debris.
- Air-dry vertically (on edge) for 24–48 hours every few weeks to prevent internal moisture retention.
- Never machine wash or submerge for extended periods—this weakens structural integrity.
- Inspect the underside regularly for wear or smooth spots that reduce grip.
“Regular drying and occasional deep-cleaning preserve not just hygiene but also the tactile roughness essential for grip,” says Miriam Chen, sustainable home goods curator at EcoLiving Journal.
Do’s and Don’ts: Table of Installation & Care Guidelines
| Do’s | Don’ts |
|---|---|
| Place on a flat, dry, textured tile surface | Install over warped or uneven flooring |
| Use a breathable non-slip pad underneath | Use thick foam pads that trap moisture |
| Air-dry upright between uses | Leave lying flat when damp for days |
| Secure edges with bathroom-safe adhesive tape if needed | Glue the entire mat directly to the floor |
| Rotate position weekly to even out wear | Expose to direct sunlight for prolonged periods |
Real-World Example: Preventing Slips in a High-Traffic Bathroom
The Rivera family installed two diatomite mats in their shared master bathroom—one near the shower, another beside the freestanding tub. Within a week, the children reported the mat slipping during morning routines. After reviewing their setup, they realized the tile had a high-gloss finish and the mat was placed directly on the surface without any backing.
They implemented a solution: cutting a custom-sized anti-slip mesh liner from a kitchen drawer grip sheet (water-resistant and latex-free), placing it under the mat, and anchoring the corners with small dabs of removable, waterproof mounting dots. They also established a habit of standing the mat upright against the wall after each use. Over the next three months, no further incidents occurred. The mat remained stable, dried faster, and showed less discoloration due to improved airflow.
Checklist: Ensuring Your Diatomite Mat Stays Safe and Stable
Use this checklist monthly to maintain peak performance:
- ✅ Clean floor surface before repositioning
- ✅ Confirm mat is fully dry before reuse
- ✅ Check non-slip pad for wear or mold
- ✅ Inspect corners for chipping or lifting
- ✅ Verify placement isn’t in direct splash zone
- ✅ Rotate or flip mat to distribute wear evenly
- ✅ Deep-clean and air-dry completely every 4–6 weeks
Frequently Asked Questions
Can I glue my diatomite mat to the floor?
No. Gluing the entire mat restricts natural expansion and contraction due to moisture absorption and may cause cracking. If necessary, use only small, removable adhesive dots at the corners to allow flexibility and future removal.
Why does my diatomite mat feel smoother underneath now?
Over time, constant foot traffic and exposure to water can erode the micro-textured surface. This smoothing reduces grip. To restore some texture, gently scrub the underside with a soft brush and baking soda paste, then rinse and dry thoroughly.
Are there specific types of floors where diatomite mats shouldn’t be used?
Yes. Highly polished stone, sealed concrete, or glossy vinyl offer minimal traction. If using on these surfaces, always pair the mat with a textured, non-slip underlay specifically designed for wet areas.
Final Thoughts: Safety Meets Sustainability
Diatomite bath mats represent a thoughtful blend of function, aesthetics, and environmental responsibility. Their ability to absorb moisture rapidly and inhibit bacterial growth makes them ideal for modern bathrooms. But their full potential is only realized when they remain securely in place. By understanding the science behind slippage, applying practical anchoring techniques, and maintaining consistent care habits, you transform a simple accessory into a reliable part of your daily routine.
Safety doesn’t require sacrificing style or sustainability. With a few intentional steps, your diatomite mat can deliver peace of mind alongside performance—keeping your bathroom dry, elegant, and hazard-free.


 浙公网安备
33010002000092号
浙公网安备
33010002000092号 浙B2-20120091-4
Comments
No comments yet. Why don't you start the discussion?