
Creating your own silicone molds at home is a cost-effective and creative way to replicate intricate designs for crafts, candles, soap, resin art, or even small concrete projects. When done correctly, these molds can last for hundreds of uses. The key lies not just in the materials used but in the precision of the process. From selecting the right silicone to mastering curing conditions, every detail impacts durability. This guide walks through professional-grade methods that ensure your homemade molds are flexible, detailed, and built to last.
Selecting the Right Silicone Compound
The foundation of a durable mold is the silicone itself. Not all silicones are created equal—especially when it comes to casting applications. For home use, platinum-cure silicone is widely recommended over tin-cure due to its superior strength, minimal shrinkage, and resistance to tearing.
Platinum-cure silicones offer excellent detail reproduction and are less prone to degradation over time. They do, however, require careful handling, as certain materials like sulfur-based clays can inhibit curing. Always check compatibility with your original model before starting.
Types of Silicone Compared
| Type | Shore Hardness | Lifespan (Uses) | Best For |
|---|---|---|---|
| Platinum-Cure | 10–30A | 50–200+ | Intricate details, resin, food-safe items* |
| Tin-Cure | 15–25A | 20–50 | Budget projects, low-detail casts |
| RTV-1 (Sealant Grade) | 20–40A | 5–15 | Rough prototypes, non-food items |
*Only if certified food-safe after full cure
Preparing Your Master Model
The quality of your final mold depends entirely on the master—the object you're replicating. It must be clean, dry, and free of grease or dust. Any imperfection will be mirrored in the mold and transferred to every cast.
For best results, use materials that don’t absorb moisture or react with silicone. Resin, ceramic, metal, and properly sealed wood work well. Avoid uncured clay or porous stone unless sealed with a compatible barrier like shellac or polyurethane.
“Even a fingerprint oil can cause surface defects in high-detail molds. Always wear gloves and degrease thoroughly.” — Marcus Lin, Mold Engineering Consultant
If your model has undercuts—areas where the cured silicone might lock in place—consider whether a two-part mold is necessary. Single-piece molds work best for objects with simple shapes and no deep recesses.
Degreasing Checklist
- Wash with mild dish soap and water
- Dry completely with lint-free cloth
- Wipe down with isopropyl alcohol (70% or higher)
- Let air-dry for 10 minutes before molding
Building a Mold Box or Frame
To contain the liquid silicone during curing, construct a rigid frame around your master model. This prevents leaks and ensures consistent thickness across the mold.
Use smooth, non-porous materials like acrylic, glass, or dense plastic. Wood can be used if lined with cling film or wax paper to prevent absorption. The frame should extend at least ½ inch above the tallest point of your model to allow room for silicone flow.
Secure seams with hot glue or silicone caulk to prevent leakage. Place the master securely in the center using modeling clay or putty to hold it in position from below. Ensure it does not float when silicone is poured.
Step-by-Step Guide to Pouring and Curing
Precision during mixing and pouring determines both the lifespan and fidelity of your mold. Follow this timeline for optimal results:
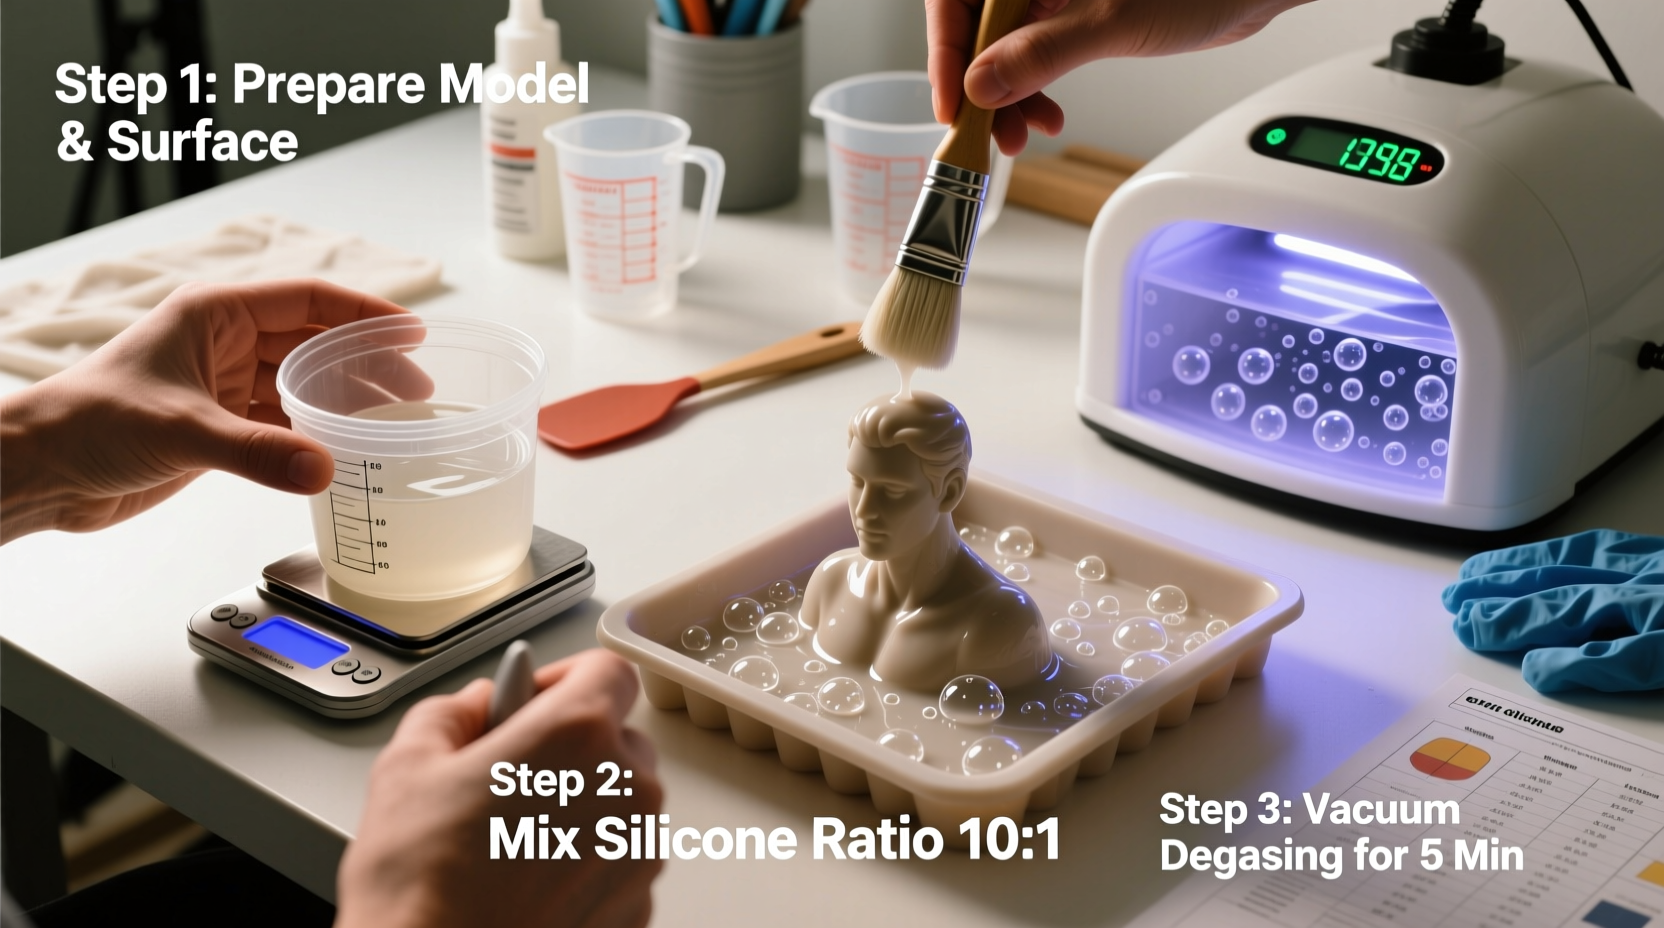
- Measure Accurately: Use digital scales to mix base and catalyst in exact manufacturer ratios (commonly 10:1 or 1:1). Inaccurate ratios lead to sticky spots or premature breakdown.
- Mix Slowly: Stir for 3–5 minutes, scraping sides and bottom. Rapid mixing introduces bubbles. Use a stir stick, not a drill mixer, unless equipped with a planetary blade.
- Debubble (Optional): For critical detail, place mixed silicone in a vacuum chamber for 2–3 minutes until bubbles rise and pop.
- Pour Gradually: Start from one edge of the model and let silicone flow underneath to displace air. Avoid pouring directly onto delicate features.
- Cure Undisturbed: Leave in a dust-free area at room temperature (70–75°F) for 12–24 hours. Do not move or touch during cure.
- Demold Gently: Flex edges slowly. Never pull sharply. Trim excess flash with a sharp blade.
Avoid curing in humid environments—moisture interferes with platinum-cure reactions. If you live in a tropical climate, consider using a dehumidified space or sealed container with silica gel packs.
Extending Mold Longevity: Usage & Storage
Even the best-made mold will degrade prematurely without proper care. Here’s how to maximize its life:
- Release Agents: Use a light mist of commercial mold release or diluted dish soap for resin or concrete pours. Never use abrasive cleaners.
- Cleaning: After each use, rinse with lukewarm water and mild soap. Avoid hot water, which weakens silicone over time.
- Drying: Air-dry flat or hung vertically. Do not wring or fold.
- Storage: Keep in a cool, dark drawer away from ozone sources (like motors or UV light). Store flat or loosely rolled—never compressed.
“Every time you stretch a mold beyond 15% strain, you accelerate fatigue. Gentle脱模 (demolding) is the number one habit of professionals.” — Dr. Lena Cho, Polymer Materials Scientist
Do’s and Don’ts of Mold Maintenance
| Do | Don't |
|---|---|
| Use soft brushes for cleaning | Scrub with steel wool or stiff bristles |
| Apply mold release for sticky materials | Re-use dirty molds without washing |
| Store away from direct sunlight | Leave near windows or heaters |
| Inspect regularly for tears | Continue using damaged molds |
Real Example: Candle Maker's Breakthrough
Sophie Rivera, a home candle artisan from Portland, struggled with her silicone molds cracking after just ten uses. She was using hardware-store RTV silicone and pouring paraffin wax at high temperatures. After switching to a platinum-cure silicone rated for 400°F and introducing a preheating step (warming the mold to 100°F before pouring), her molds lasted over 120 cycles. She also began coating them with a thin layer of cornstarch before each pour to reduce adhesion stress. Her change in technique saved her $300 annually in replacement costs and improved product consistency.
Frequently Asked Questions
Can I make a silicone mold without a mold box?
Yes, for flat-backed objects. You can apply silicone directly to a stable surface and build up layers. However, a box improves edge integrity and makes handling easier during demolding.
Why is my mold still tacky after 24 hours?
This usually indicates incorrect mixing ratio, contamination (e.g., oils or sulfur), or high humidity. Some silicones take up to 72 hours to fully cure. Test a small area first and verify environmental conditions.
How many times can a homemade silicone mold be reused?
A well-made platinum-cure mold can last 50 to 200+ uses depending on material cast and handling. Tin-cure or DIY sealant molds typically last fewer than 20 uses.
Final Thoughts
Durable silicone molds aren’t reserved for industrial workshops. With attention to material selection, precise mixing, and thoughtful maintenance, anyone can produce professional-grade tools at home. The upfront effort pays off in consistent results and long-term savings. Whether you're crafting gifts, selling handmade goods, or experimenting with new mediums, mastering mold-making unlocks endless creative potential.


 浙公网安备
33010002000092号
浙公网安备
33010002000092号 浙B2-20120091-4
Comments
No comments yet. Why don't you start the discussion?