
Casio digital touch watches are known for their durability, precision, and sleek design. Models like the G-Shock or Wave Ceptor series offer advanced features such as world time, alarms, stopwatch, and automatic time calibration. However, even the most intuitive devices can seem confusing when you're trying to adjust something as essential as the time. Whether you've just purchased a new watch, traveled across time zones, or noticed your display is off, knowing how to update the time correctly ensures your device remains accurate and functional.
This guide walks you through every step of changing the time on your Casio digital touch watch—without guesswork or frustration. From entering setup mode to confirming adjustments, we cover the full process with clarity and precision.
Understanding Your Casio Digital Touch Interface
Unlike traditional watches with physical crowns, Casio digital touch models use sensor-based navigation. Instead of turning a knob, you tap designated zones on the screen or press hidden sensors located around the bezel. These watches rely on capacitive touch technology similar to smartphones, meaning they respond to light fingertip contact rather than mechanical buttons.
The primary touch areas typically include:
- Top-left: Mode selection
- Top-right: Scroll forward / confirm
- Bottom-left: Return / scroll back
- Bottom-right: Enter settings / toggle options
Before making any changes, ensure your fingers are clean and dry. Moisture or dirt can interfere with touch sensitivity, leading to missed inputs or accidental selections.
Step-by-Step Guide to Changing the Time
Follow this sequence carefully. While exact behavior may vary slightly between models (e.g., GBA-800 vs. GWM5600), the overall logic remains consistent across Casio’s digital touch lineup.
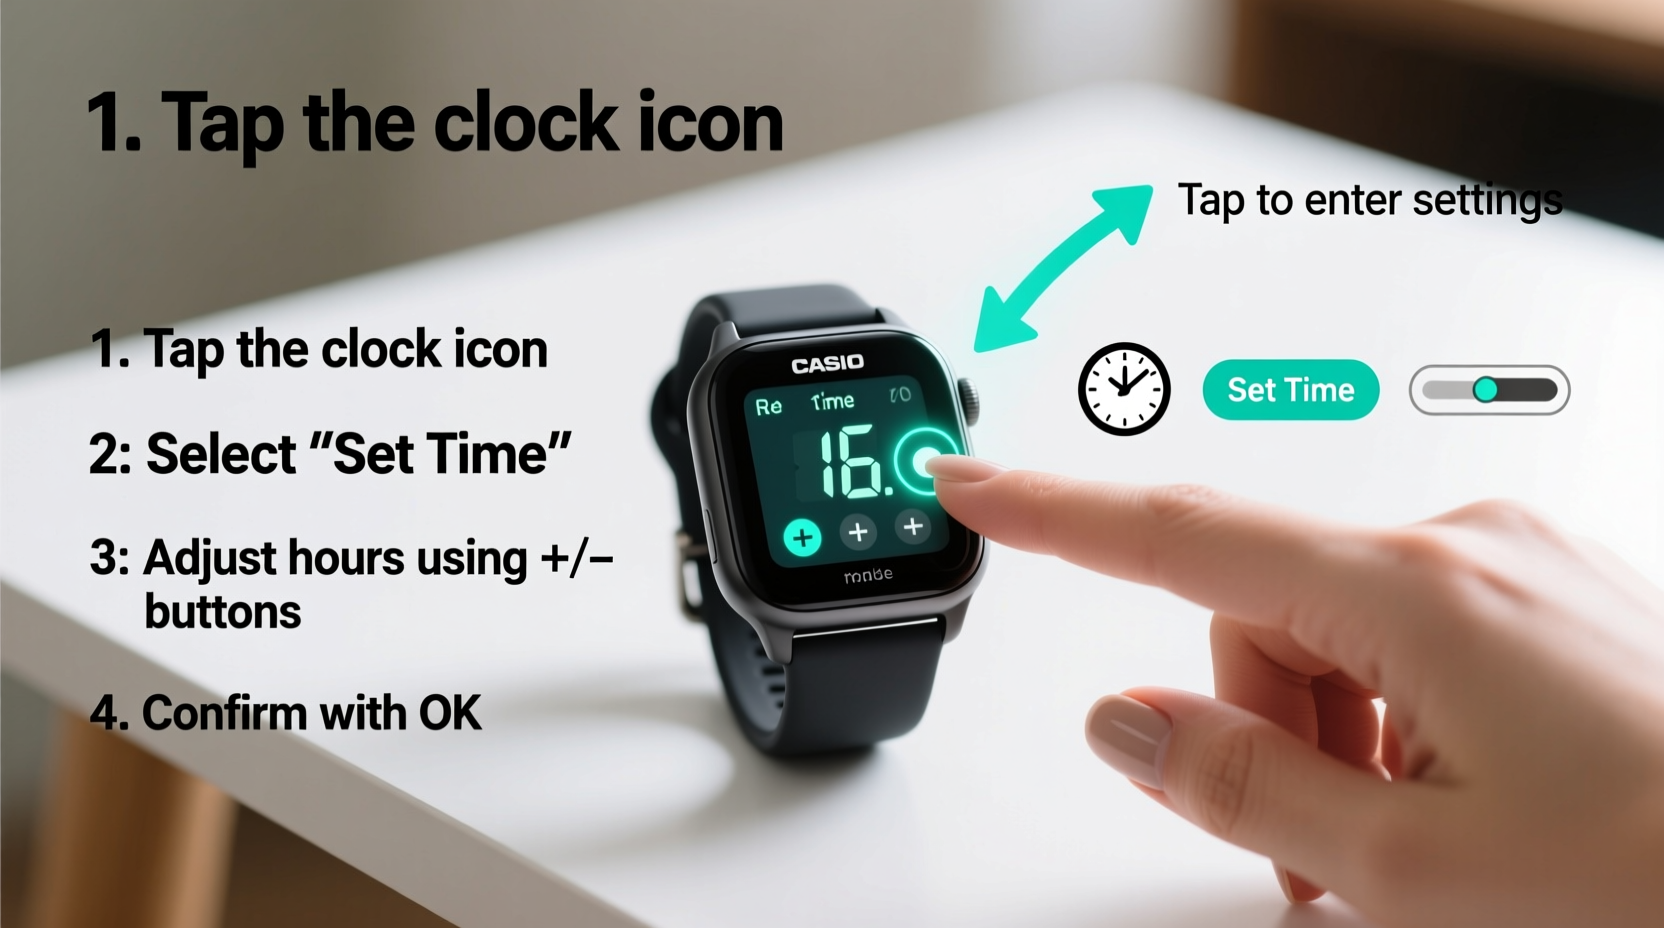
- Enter Time-Setting Mode
Press and hold the bottom-right sensor until the seconds begin to flash. This indicates you’ve entered edit mode. The hour and minute digits will also start blinking. - Select What to Adjust
Tap the top-left sensor to cycle through adjustable fields: seconds → minutes → hours → month → date → day → time format (12H/24H). When the field you want to change starts flashing, stop tapping. - Modify the Value
Use the top-right sensor to increase the value. For example, if setting the hour, each tap advances the number by one. To reduce values, continue tapping past 23 (or 12) until you loop backward to the desired number. - Confirm Each Setting
Once the correct value is displayed, tap the bottom-right sensor to lock it in. The next field in the sequence will begin flashing automatically. - Set Time Format (Optional)
When the 12H/24H indicator flashes, tap the top-right sensor to switch between formats. Choose based on your preference or regional standard. - Exit Setup Mode
After adjusting all necessary fields, wait 5–10 seconds without touching the screen, or press and hold the bottom-right sensor again. The display will stabilize, and the time will resume normal operation.
“Digital touch interfaces eliminate moving parts, increasing water resistance and longevity—but users must learn the rhythm of taps and holds.” — Hiroshi Tanaka, Senior Product Designer at Casio Computer Co.
Tips for Accurate and Efficient Time Adjustment
Even small mistakes during setup can lead to incorrect timekeeping or confusion later. Apply these best practices for reliable results.
Synchronize with World Time Zones (If Applicable)
If your model supports multiple cities (e.g., London, Tokyo, New York), follow these steps after setting local time:
- Hold the top-left sensor to enter “World Time” mode.
- Select your home city using the top-right tap.
- Ensure DST (Daylight Saving Time) is enabled if applicable under settings.
- Your watch will now auto-adjust for daylight saving changes.
Common Mistakes and How to Avoid Them
Missteps are common, especially for first-time users. Below is a summary of typical errors and their solutions.
| Mistake | Consequence | Solution |
|---|---|---|
| Tapping too lightly or too fast | No response from the watch | Use deliberate, half-second touches with fingertip pads |
| Not exiting setup mode properly | Time continues flashing; settings may revert | Wait 10 seconds or re-hold bottom-right sensor |
| Skipping seconds adjustment | Watch appears off by a second or two | Manually set seconds to zero for precise sync |
| Incorrect 12H/24H format | Confusion in AM/PM interpretation | Double-check before finalizing settings |
Frequently Asked Questions
Why won’t my Casio touch watch respond to taps?
The sensors may be unresponsive due to moisture, grease, or low battery. Wipe the screen and case thoroughly with a soft cloth. If the issue persists, charge the watch (if solar-powered) or replace the battery. Also, make sure you're not wearing gloves or using nails—only bare fingertips work reliably.
Does changing the time affect other functions like alarms or timers?
No. Alarms and countdown timers remain stored in memory. However, they will trigger based on the newly set time. For instance, if you move the clock forward two hours, an alarm set for 7:00 AM will now sound at what previously was 5:00 AM. Review your saved alerts after adjusting the time.
Can I automate time updates instead of doing this manually?
Yes—if your model has Multi-Band 6 or Bluetooth connectivity (e.g., GBA-800), it can receive atomic time signals or sync via smartphone. Enable “Auto-Receive” in settings for nightly synchronization. Note: Manual override temporarily disables auto-updates until the next successful signal reception.
Mini Case Study: Traveler Resets Watch Across Time Zones
Sarah, a marketing consultant based in Chicago, flew to Berlin for a week-long conference. Upon landing, she noticed her Casio GWM5600 displayed 8:00 AM when local time was actually 2:00 PM—a six-hour difference.
Instead of guessing the controls, she followed the steps outlined here. She held the bottom-right sensor until the seconds blinked, cycled through to the hour field, increased it six times, confirmed each change, and exited setup. Within 90 seconds, her watch matched Central European Time perfectly. Later, she enabled the Berlin city code in World Time mode so she could track both local and home times simultaneously.
By understanding the interface logic, Sarah avoided confusion during meetings and maintained accurate scheduling throughout her trip.
Final Checklist Before You Finish
After adjusting the time, verify everything works as expected. Run through this quick checklist:
- ✅ Time display matches a reliable source (e.g., time.gov)
- ✅ Date and day of the week are correct
- ✅ 12H/24H format aligns with your preference
- ✅ Alarms and reminders still exist and reflect updated timing
- ✅ No fields are flashing (indicates incomplete exit)
Conclusion
Changing the time on your Casio digital touch watch doesn’t need to be complicated. With a clear understanding of the touch zones, a logical sequence of taps, and attention to detail, you can keep your watch perfectly synchronized no matter where you are. These devices are built for reliability and ease once you master their interface.


 浙公网安备
33010002000092号
浙公网安备
33010002000092号 浙B2-20120091-4
Comments
No comments yet. Why don't you start the discussion?