
Replacing the battery in your Qilive smartphone doesn’t require a trip to a repair shop. With the right tools, preparation, and attention to detail, you can perform this task at home safely and effectively. Over time, lithium-ion batteries degrade, leading to shorter usage times, unexpected shutdowns, or swelling. Rather than replacing the entire device, a DIY battery swap can extend your phone’s life significantly—often at a fraction of the cost.
This guide walks you through every phase: from identifying when a battery needs replacement, gathering necessary tools, disassembling the phone, installing the new battery, and ensuring everything functions correctly post-replacement. Follow these steps carefully to avoid damaging internal components or compromising safety.
When Should You Replace Your Qilive Phone Battery?
Lithium-ion batteries typically last between 300 and 500 charge cycles before capacity drops below 80%. Common signs that your Qilive phone needs a new battery include:
- Drains from 100% to under 20% within a few hours of light use
- Frequent random reboots, especially under moderate load
- Battery swelling (visible bulge in screen or back panel)
- Failure to charge past a certain percentage
- Overheating during normal operation
“Battery health is often the hidden culprit behind poor phone performance. A simple replacement can restore responsiveness and reliability.” — Daniel Reeves, Mobile Hardware Technician with 12 years of experience
Essential Tools and Materials
Attempting a battery replacement without proper tools increases the risk of damage. Here's what you’ll need:
| Tool/Material | Purpose | Alternative (if unavailable) |
|---|---|---|
| Pentalobe or Phillips #00 Screwdriver | Remove outer casing screws | Mini precision screwdriver set |
| Plastic opening tool (spudger) | Safely pry apart glued seams | Thin guitar pick or credit card edge |
| Suction cup | Lift screen gently from frame | Small sticky tape pad |
| Tweezers (non-metallic preferred) | Handle small connectors | Toothpick (carefully) |
| Heat gun or hairdryer | Softens adhesive securing battery | Warm cloth after short heating |
| New OEM-compatible Qilive battery | Replacement part | Avoid third-party no-name brands |
| Dual-thickness adhesive strips | Reattach battery securely | Pre-cut tape from repair kit |
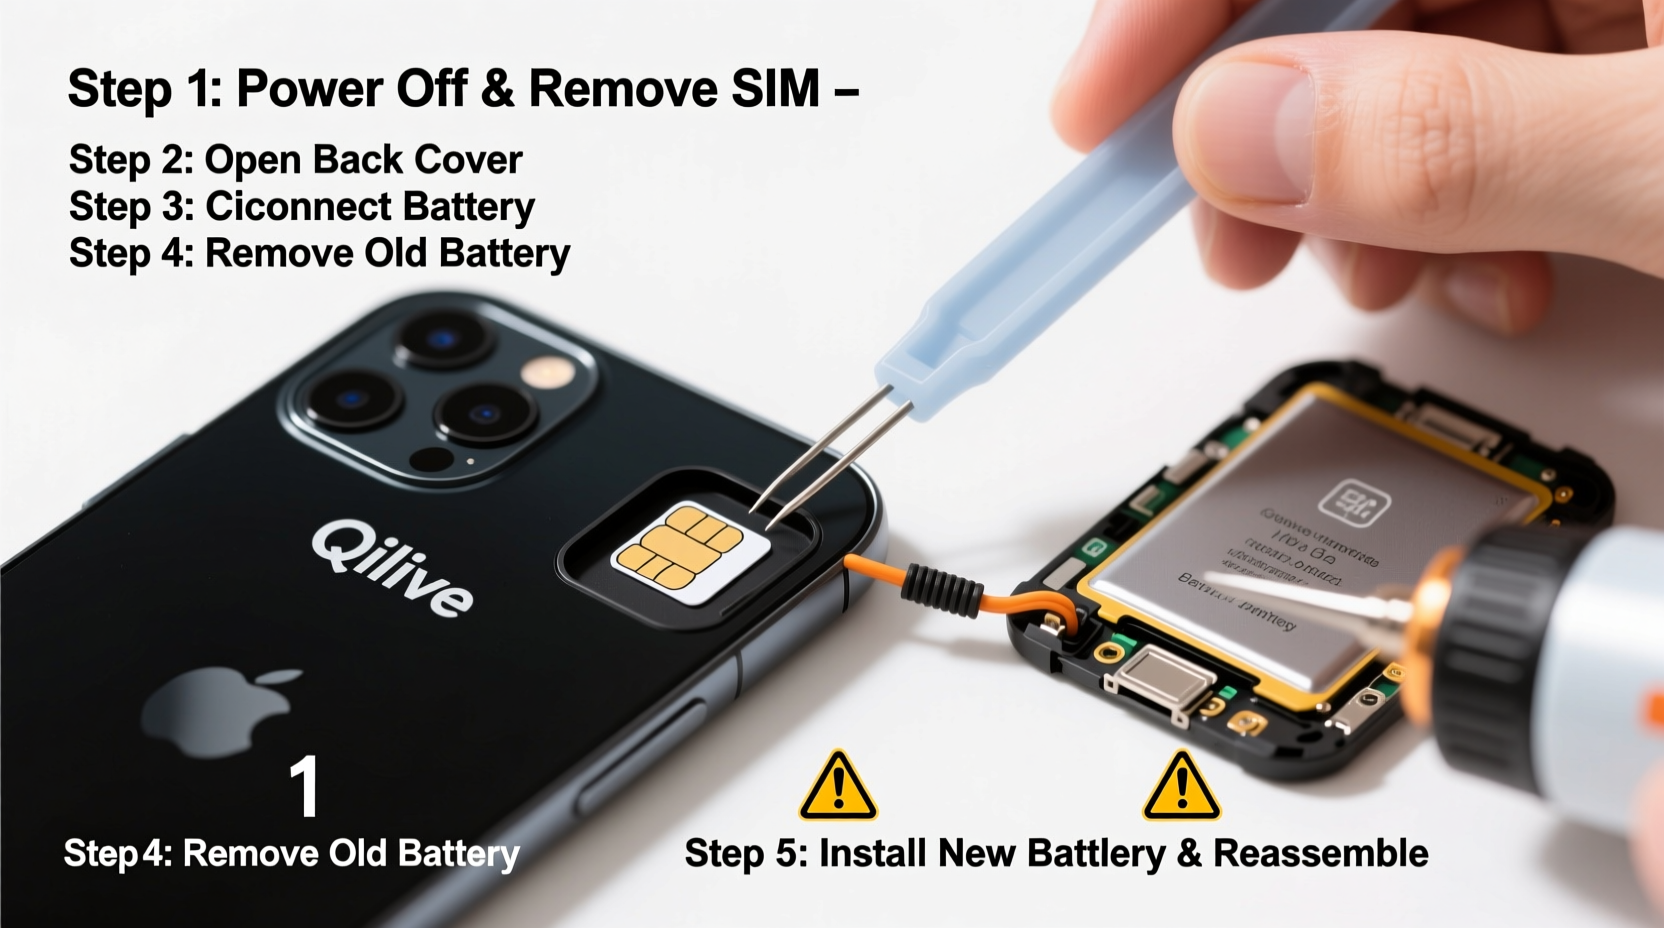
Step-by-Step Battery Replacement Process
- Power off your phone completely. Hold the power button until the shutdown slider appears, then confirm. Wait 30 seconds after the screen goes black.
- Apply heat to the lower edge of the phone. Use a hairdryer on low setting, keeping it 5–10 cm away. Heat for about 1–2 minutes to soften the adhesive around the display.
- Attach the suction cup just above the home button (or bottom bezel). Pull upward gently while inserting the plastic tool into the seam. Work slowly around the perimeter to separate the front panel.
- Remove visible screws securing internal shields. Most Qilive models have small screws near the charging port and camera module. Place them on a labeled mat or container to avoid loss.
- Carefully disconnect the battery connector first. Use the spudger to gently lift the battery’s flex cable from its socket on the motherboard. This prevents accidental short-circuiting during other disconnections.
- Disconnect the display and other ribbon cables. These are usually held by small metal brackets. Remove the bracket and use tweezers to slide out each connector.
- Expose the battery compartment. Once the logic board shield is removed, the battery will be visible—typically centered or slightly offset toward the bottom.
- Loosen the battery adhesive. Slide thin floss or dental tape underneath the battery, moving it back and forth like a saw. Apply more heat if resistance is high. Never use metal tools directly under the battery.
- Lift the old battery out gently. If it resists, continue working the adhesive strip until it releases. Damaging the battery casing could lead to leakage or fire.
- Insert the new battery. Align it exactly as the original was positioned. Reconnect the battery flex cable to the motherboard socket first.
- Reconnect display and other cables. Replace any shielding plates and secure screws. Double-check that all connectors are seated properly.
- Test before sealing. Power on the phone. Verify that the screen works, touch responds, and the battery charges. If issues arise, reopen and inspect connections.
- Reapply adhesive and close the case. Use pre-cut adhesive strips to secure the display. Press firmly along the edges for 30 seconds to ensure bonding.
Common Mistakes and How to Avoid Them
Even experienced DIYers make errors when replacing phone batteries. Awareness helps prevent costly damage.
- Using excessive force: Modern phones rely on precise tolerances. Forcing open panels can crack housings or tear ribbons.
- Skipping the battery disconnect step: Working near circuits with the battery connected risks shorting components.
- Reusing old adhesive: Degraded glue won’t hold the new battery securely, increasing risk of movement or overheating.
- Mixing up screw lengths: Some screws are uniquely sized. Installing the wrong one can puncture internal parts.
“Nine out of ten failed DIY repairs stem from rushing the process. Take your time—each minute spent planning saves an hour of troubleshooting.” — Lena Cho, Independent Electronics Repair Consultant
Mini Case Study: Recovering a Lagging Qilive X10
Rohan, a university student in Bangalore, noticed his Qilive X10 shutting down at 30% charge despite showing full health in settings. After two weeks of frustration, he decided to replace the battery himself. He ordered a compatible replacement kit online for ₹799 and followed a video tutorial alongside this guide.
The process took him 45 minutes due to cautious handling. Upon reassembly, the phone booted normally. Within days, he observed consistent battery behavior: lasting a full day with moderate use and charging efficiently. Rohan saved over ₹2,500 compared to official service center pricing—and gained confidence in managing future hardware fixes.
Post-Replacement Best Practices
After successfully installing the new battery, follow these practices to maximize longevity:
- Charge the phone to 100% and discharge it twice to help calibrate the battery meter.
- Avoid using fast chargers for the first five cycles to promote stable cell conditioning.
- Keep software updated—some updates include battery optimization patches.
- Store the phone between 20°C and 25°C; extreme temperatures accelerate degradation.
FAQ
Can I damage my phone permanently while changing the battery?
Yes, if improper tools or techniques are used—such as puncturing the battery, forcing connectors, or misplacing screws. However, careful adherence to instructions minimizes risk significantly.
Is it safe to use non-OEM batteries?
Some third-party batteries meet OEM standards, but many lack proper quality control. Look for brands with certifications (CE, RoHS) and positive user reviews. When in doubt, choose OEM-specified replacements.
Will replacing the battery void my warranty?
If your device is still under manufacturer warranty, opening it may void coverage. Check warranty terms first. For out-of-warranty devices, DIY repair is both legal and economical.
Final Checklist Before You Begin
📋 DIY Battery Replacement Checklist- ✅ Backed up all important data
- ✅ Gathered all necessary tools
- ✅ Purchased correct battery model for your Qilive phone
- ✅ Chose a clean, well-lit workspace
- ✅ Turned off the phone completely
- ✅ Allocated at least 45–60 minutes without interruptions
Conclusion
Changing your Qilive mobile phone battery at home is a practical, cost-effective solution to revive aging performance. With patience, precision, and the right resources, you gain not only a longer-lasting device but also valuable technical insight. Millions of functional phones are discarded each year due to easily replaceable batteries—don’t let yours be one of them.


 浙公网安备
33010002000092号
浙公网安备
33010002000092号 浙B2-20120091-4
Comments
No comments yet. Why don't you start the discussion?