
Upgrading your desktop with a solid-state drive (SSD) is one of the most effective ways to breathe new life into your system. Whether you're dealing with slow boot times, laggy applications, or just want a more responsive computing experience, replacing or supplementing your traditional hard disk drive (HDD) with an SSD can deliver dramatic improvements. Unlike HDDs, SSDs have no moving parts, which means faster data access, greater durability, and lower power consumption. This guide walks you through every phase—from choosing the right SSD to final optimization—ensuring you get the most out of your upgrade.
Why Upgrade to an SSD?
The performance gap between SSDs and HDDs is significant. An average 7200 RPM HDD offers read speeds around 100–150 MB/s, while even entry-level SATA SSDs can reach 500 MB/s. NVMe drives, which connect via the PCIe interface, routinely exceed 3,000 MB/s. The real-world impact includes:
- Nearly instant operating system boot (often under 10 seconds)
- Applications launching in a fraction of the time
- Reduced file transfer delays
- Improved system responsiveness during multitasking
“Adding an SSD is the single most impactful hardware upgrade for general computing performance.” — David Liu, Senior Hardware Analyst at TechInsight Labs
Choosing the Right SSD for Your System
Not all SSDs are compatible with every desktop. Before purchasing, verify your motherboard’s supported interfaces. The three main types are:
| Type | Interface | Speed Range | Compatibility Check |
|---|---|---|---|
| SATA III | 2.5-inch or mSATA | 400–550 MB/s | Most motherboards since 2009 |
| NVMe M.2 | M.2 slot (PCIe) | 1,500–7,000 MB/s | Check for M.2 slot and PCIe/NVMe support |
| PCIe Add-in Card | PCIe x4/x16 slot | 2,000–5,000 MB/s | Available in most modern boards |
To determine compatibility:
- Consult your motherboard manual or manufacturer’s website.
- Look for labels like “M.2_1,” “SATA6G,” or “PCIe x4” near slots.
- Use tools like CPU-Z or HWiNFO to identify current storage configuration.
For most users, a 500GB to 1TB SATA or NVMe SSD provides the best balance of cost, speed, and capacity. Brands like Samsung, Crucial, WD, and SK Hynix consistently rank high in reliability and performance benchmarks.
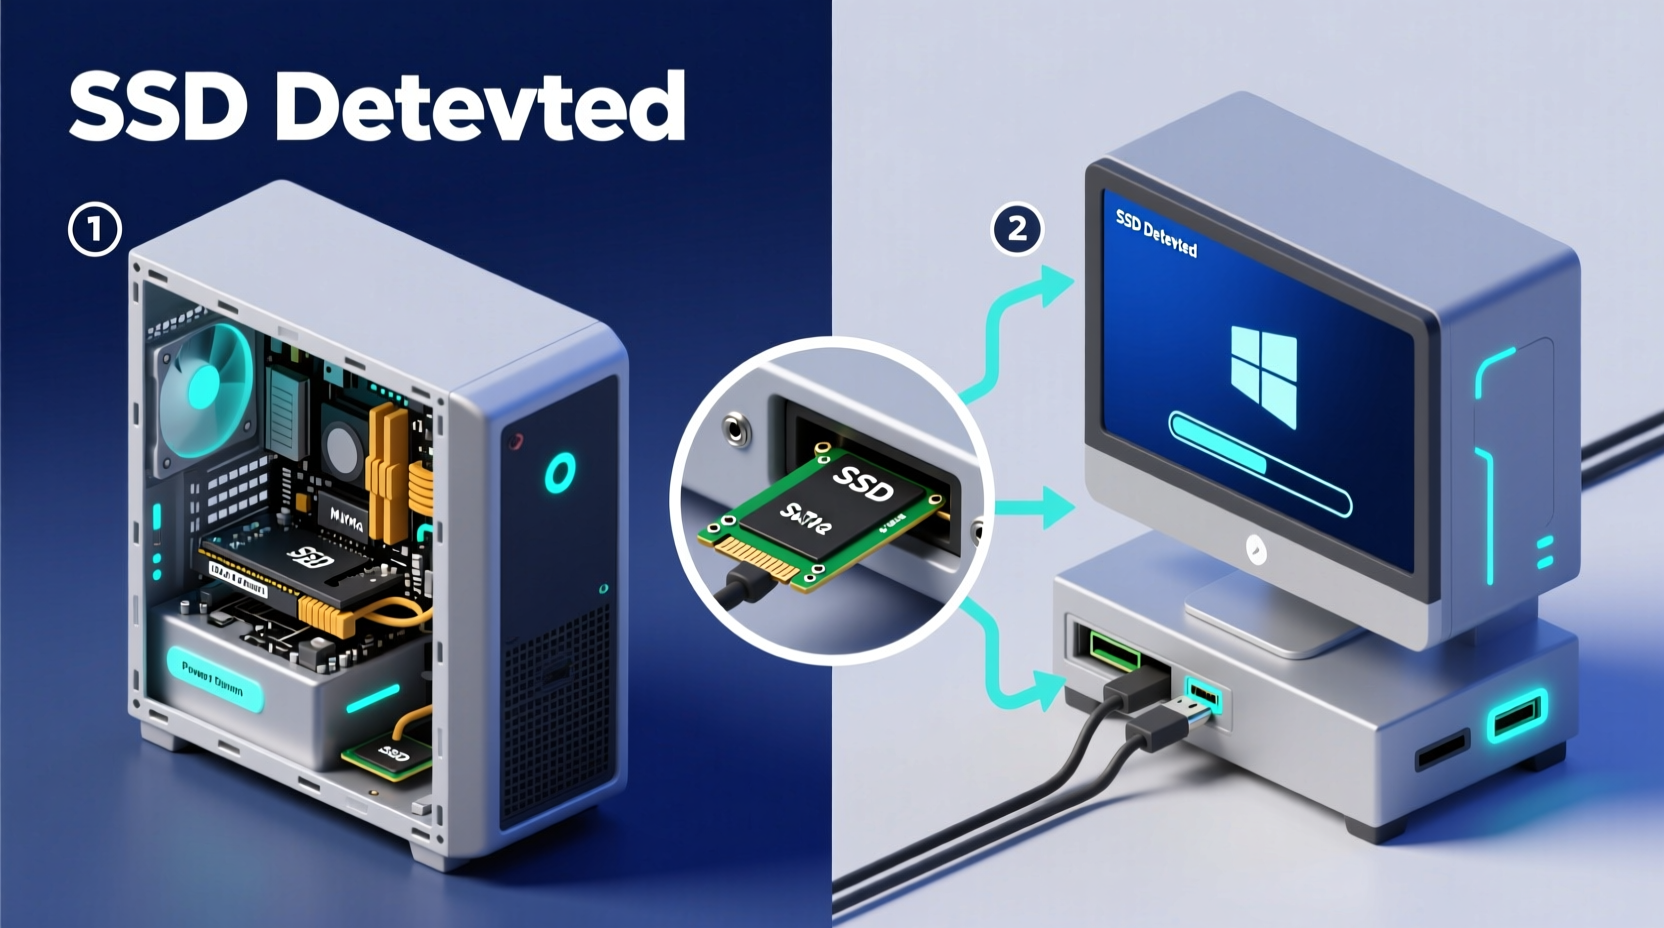
Step-by-Step Installation Guide
Follow these steps carefully to install your SSD safely and effectively.
- Power down and unplug your desktop. Shut down Windows completely, then disconnect the power cable and any peripherals.
- Open the case. Remove the side panel—usually secured by two thumbscrews at the rear. Place the tower on a non-conductive surface.
- Ground yourself. Touch the metal chassis to discharge static electricity. For added safety, use an anti-static wrist strap.
- Install the SSD:
- For 2.5-inch SATA SSD: Mount it in a drive bay using screws or a tool-less bracket. Connect the SATA data cable to the motherboard and the power cable from the PSU.
- For M.2 NVMe SSD: Locate the M.2 slot, remove the retention screw, insert the SSD at a 30-degree angle, then press down and secure with the screw.
- For PCIe SSD: Insert into an available PCIe x4 or x16 slot and fasten with a screw.
- Double-check connections. Ensure all cables are firmly seated and the SSD is stable.
- Reassemble and reconnect. Replace the side panel, plug in the power cord, and turn on the system.
Data Migration and OS Setup
Now that the SSD is physically installed, decide how to use it:
- Clean Install: Wipe the SSD and perform a fresh OS installation. This yields the cleanest, fastest system but requires reinstalling apps and reconfiguring settings.
- Clone Existing Drive: Use cloning software like Macrium Reflect Free, Acronis True Image, or Samsung Data Migration to copy your current drive to the SSD. Ideal for preserving your setup.
To clone successfully:
- Download and install cloning software on your current system.
- Launch the tool and select “Clone Disk.” Choose your old drive as the source and the new SSD as the destination.
- Ensure the SSD is equal or larger in capacity. Adjust partition sizes if needed.
- Start the clone process. This may take 30 minutes to several hours depending on data volume.
- After completion, enter BIOS and set the SSD as the primary boot device.
“Cloning saves hours of setup time, but always back up critical data first—drive failures during migration, though rare, can happen.” — Lena Torres, IT Infrastructure Consultant
Post-Installation Optimization
Your SSD is now operational, but a few tweaks ensure peak performance and longevity.
Enable TRIM
TRIM helps the SSD manage deleted data efficiently, maintaining write speeds over time. In Windows:
- Open Command Prompt as Administrator.
- Type
fsutil behavior query DisableDeleteNotify. - If the result is “0,” TRIM is enabled. If “1,” enable it with:
fsutil behavior set DisableDeleteNotify 0.
Disable Defragmentation
Unlike HDDs, SSDs don’t benefit from defragmentation and can be worn down by it. In Windows:
- Go to “Defragment and Optimize Drives.”
- Select your SSD and click “Optimize.”
- Windows will run a TRIM operation instead—perfectly safe.
Update Firmware
Manufacturers release firmware updates to fix bugs and improve performance. Visit your SSD brand’s website and use their utility (e.g., Samsung Magician, Crucial Storage Executive) to check for updates.
Avoid Overfilling
Keep at least 10–15% of the SSD’s capacity free. Full drives suffer performance degradation due to reduced space for wear leveling and garbage collection.
Real-World Example: John’s Productivity Leap
John, a freelance video editor, struggled with a five-year-old desktop. His system took nearly three minutes to boot, and Adobe Premiere would freeze during timeline scrubbing. After installing a 1TB NVMe SSD and cloning his old 2TB HDD, his boot time dropped to 8 seconds. Project load times decreased by 70%, and overall system responsiveness improved so much he delayed plans to buy a new PC. He kept the HDD for media storage, using the SSD exclusively for OS, apps, and active projects—a hybrid setup that maximized both speed and capacity.
Essential Upgrade Checklist
- ✅ Confirm SSD compatibility with your motherboard
- ✅ Back up important data before starting
- ✅ Power off and ground yourself before opening the case
- ✅ Securely mount and connect the SSD
- ✅ Clone or perform a clean OS install
- ✅ Set SSD as primary boot device in BIOS
- ✅ Enable TRIM and disable defragmentation
- ✅ Update SSD firmware using manufacturer tools
Frequently Asked Questions
Can I use an SSD alongside my existing HDD?
Absolutely. Many users install an SSD for the operating system and frequently used programs, while keeping the HDD for bulk storage like photos, videos, and documents. This approach combines speed with cost-effective capacity.
Do I need to reinstall Windows after installing an SSD?
Not necessarily. You can clone your current drive to the SSD and continue using your existing setup. However, a clean Windows installation often results in better long-term performance and fewer software conflicts.
How long do SSDs last?
Modern SSDs are rated for hundreds of terabytes written (TBW). For typical home use, this translates to 5–10 years or more. Wear leveling and over-provisioning technologies help extend lifespan. Most come with 3–5 year warranties.
Maximize Your Desktop’s Potential Today
Adding an SSD to your desktop is not just an upgrade—it’s a transformation. From near-instant startups to seamless multitasking, the benefits are immediate and lasting. With the right preparation and attention to detail, the entire process can be completed in under an hour. Whether you’re revitalizing an aging machine or fine-tuning a powerful rig, an SSD delivers unmatched value per dollar. Take the leap, follow this guide, and experience what modern storage can truly do for your productivity and enjoyment.


 浙公网安备
33010002000092号
浙公网安备
33010002000092号 浙B2-20120091-4
Comments
No comments yet. Why don't you start the discussion?