
Creating your own shoes at home may seem like a task reserved for master cobblers, but with the right tools, materials, and patience, it’s entirely achievable. Hand-assembled footwear offers unmatched customization—perfect fit, unique design, and superior durability. Whether you're repairing an old pair or building new ones from scratch, understanding the fundamentals of shoe assembly ensures professional results. This guide walks you through each stage of the process, from selecting materials to final finishing, so you can craft shoes that are both comfortable and built to last.
Understanding Shoe Anatomy: What Holds a Shoe Together
Before assembling a shoe, it's essential to understand its core components. Each part plays a functional role in comfort, structure, and longevity:
- Upper: The top portion covering the foot, typically made of leather, canvas, or synthetic fabric.
- Insole: The inner base where your foot rests; can be removable or fixed.
- Midsole: Provides cushioning and support between the insole and outsole.
- Outsole: The bottom layer that contacts the ground; usually rubber or leather.
- Shank: A supportive insert (often steel or fiberglass) between the insole and outsole for arch stability.
- Last: A foot-shaped mold used during construction to shape the shoe accurately.
Knowing how these elements interact allows you to troubleshoot fit issues and reinforce weak points before they fail.
Step-by-Step Guide to Assembling Shoes at Home
Follow this structured approach to build a durable, well-fitted shoe from raw components. While full shoemaking involves pattern drafting and cutting, this guide focuses on the assembly phase for those using pre-cut kits or recycled parts.
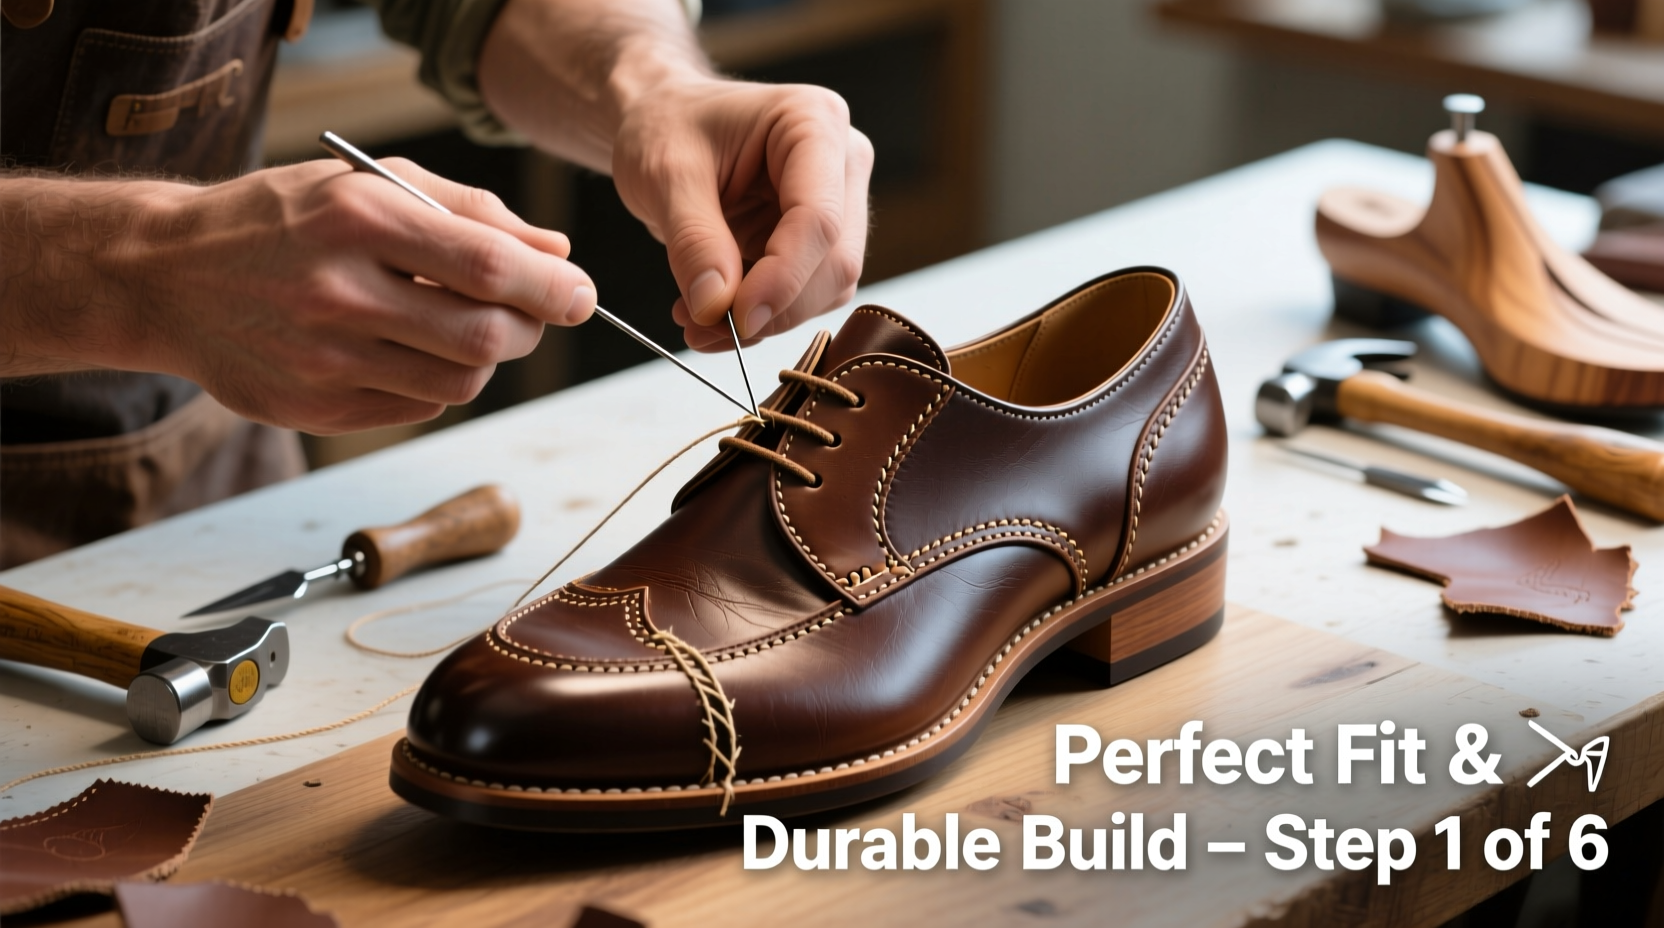
- Prepare Your Workspace: Clear a flat surface with good lighting. Gather tools: waxed thread, curved needles, stitching awl, hammer, pincers, adhesive (contact cement), lasts, clamps, and a knife or trimmer.
- Mount the Upper on the Last: Slide the upper onto the last. Secure it temporarily with rubber bands or tacks around the heel and toe to maintain shape while working.
- Attach the Insole: If not already attached, glue the insole to the interior of the upper. Press firmly and clamp if needed. Let dry completely (at least 2 hours).
- Stitch the Insole to the Upper (Blake or Goodyear Method): Using a saddle stitch with waxed thread, sew the insole edge to the upper’s margin. For durability, use a lockstitch machine or hand-stitch with double needles.
- Add the Midsole (if applicable): Glue a midsole layer over the insole for added cushioning. Clamp until set.
- Attach the Outsole: Position the outsole precisely. Apply contact cement to both the midsole/insole and outsole surfaces. Wait 10–15 minutes until tacky, then press together firmly. Start from the center and work outward to avoid bubbles.
- Sew the Sole (Optional for Reinforcement): For maximum durability, stitch the outsole using a welt (Goodyear method) or direct Blake stitch. This prevents sole separation under stress.
- Finish the Edges: Trim excess material and sand edges smooth. Apply edge paint or buff for a clean look.
- Remove from the Last: Once all adhesives are fully cured (overnight recommended), remove tacks or bands and gently tap the shoe off the last.
- Insert Footbed & Final Inspection: Add a removable insole or cushion pad. Check for loose threads, uneven seams, or pressure points.
Tips for Precision During Assembly
Ensuring a Perfect Fit: Customization Techniques
A hand-built shoe should conform exactly to your foot. Off-the-shelf sizes often compromise comfort due to generic molds. Here’s how to personalize fit:
- Trace Your Foot: Stand on paper and trace around both feet in socks. Measure length, width, and arch position. Use this as a template for insole adjustments.
- Adjust the Last: Some wooden lasts can be sanded slightly at the ball or heel area to accommodate bunions or high arches.
- Use Moldable Insoles: Insert thermo-formable insoles and heat them (per manufacturer instructions) while wearing the shoe to create a custom impression.
- Allow for Stretch: Leather uppers stretch over time. Design snug—but not tight—fit initially, especially across the instep.
“Handmade shoes aren’t just about aesthetics—they’re biomechanical tools. A properly constructed shoe supports natural gait and reduces joint strain.” — Daniel Reyes, Orthopedic Footwear Designer
Durability Checklist: Building Shoes That Last
To maximize lifespan, follow these proven practices during assembly:
- ✔ Use water-resistant contact cement for sole attachment
- ✔ Double-stitch high-movement areas (toe box, heel seam)
- ✔ Reinforce heel counters with stiffener boards
- ✔ Seal leather edges with finisher to prevent fraying
- ✔ Allow 24-hour cure time before first wear
Common Mistakes and How to Avoid Them
Even experienced hobbyists make errors that compromise fit or strength. Refer to this table to sidestep frequent pitfalls:
| Mistake | Consequence | Prevention |
|---|---|---|
| Rushing glue drying time | Sole delamination within weeks | Wait minimum 12 hours before stress-testing |
| Uneven tension in stitching | Wrinkled upper or weak seams | Use consistent pull force; practice saddle stitch first |
| Ignoring grain direction in leather | Distorted shape or cracking | Cut pieces parallel to natural fiber alignment |
| Over-tightening lasts | Permanent stretching or creasing | Secure gently; use padding on sensitive zones |
Real Example: Building Work Boots from Salvaged Materials
Tom, a DIY enthusiast from Oregon, wanted rugged winter boots without spending $300. He sourced used leather uppers from a cobbler’s surplus bin, paired them with Vibram outsoles, and used his own foot tracings to modify the insoles. After following the Goodyear welting method outlined above, he created a pair that lasted three winters. “The key,” Tom says, “was taking my time with the sole bonding. I clamped every inch and waited two full days before walking on them. They outlasted store-bought versions.”
Frequently Asked Questions
Can I assemble shoes at home without industrial machines?
Yes. While machines speed up stitching and skiving, most steps can be done manually with hand tools. Use a stitching pony for consistent hand-sewing and rotary cutters for precise trimming.
How do I know if the sole is properly bonded?
After curing, run your finger along the seam. There should be no gaps or soft spots. Tap lightly—the sound should be uniform. Any hollow noise indicates poor adhesion.
What type of leather is best for beginners?
Full-grain vegetable-tanned leather is ideal. It’s firm enough to hold shape, easy to glue, and ages beautifully. Avoid nubuck or suede until you gain experience.
Final Thoughts: Craftsmanship Starts at Home
Assembling shoes at home isn’t just a cost-saving measure—it’s a return to mindful creation. Each decision, from thread choice to sole thickness, influences how your footwear feels and performs. With attention to detail, proper technique, and respect for materials, you can produce shoes that rival commercial craftsmanship. The result isn’t merely a wearable item but a personal artifact built for your life, stride, and story.


 浙公网安备
33010002000092号
浙公网安备
33010002000092号 浙B2-20120091-4
Comments
No comments yet. Why don't you start the discussion?