
Building toys are more than just playthings—they spark imagination, improve fine motor skills, and create lasting memories. Among the most beloved themes is Disney’s Frozen, especially its iconic character Elsa. Assembling Frozen Elsa building blocks offers children and collectors alike a chance to recreate scenes from the films while engaging in hands-on problem-solving. This comprehensive guide walks you through every phase of the process, ensuring a smooth, enjoyable, and truly magical build.
Why Building Blocks Matter Beyond Playtime
Construction sets featuring characters like Elsa aren’t just about entertainment. They encourage cognitive development, spatial reasoning, and patience. According to Dr. Laura Simmons, child development specialist at the National Learning Institute, “When children engage with structured building kits, they’re not only following instructions—they’re learning sequencing, pattern recognition, and resilience when things don’t fit right away.”
Frozen-themed sets often include intricate details like Elsa’s ice castle elements, glowing accessories, or movable joints, making them both visually appealing and educationally valuable. The sense of accomplishment after completing a model boosts confidence and fuels creative storytelling afterward.
“Children who regularly engage with construction toys show improved focus and better performance in early STEM subjects.” — Dr. Laura Simmons, Child Development Specialist
Preparation: Setting the Stage for Success
Before opening the box, take time to prepare your workspace. A well-organized environment prevents lost pieces and frustration later on. Choose a flat, well-lit surface large enough to accommodate all components and instruction manuals.
Empty the contents carefully. Most Frozen Elsa building block sets come with multiple sealed bags labeled numerically (e.g., Bag 1, Bag 2). These correspond directly to assembly stages in the manual. Do not open all bags at once—this helps prevent confusion and loss of parts.
Lay out the instruction booklet and ensure it's the correct version for your set number. Misplaced or incorrect guides can lead to mismatched builds. Keep tweezers or a small piece-puller tool nearby if working with tiny connectors—especially helpful for younger builders.
Step-by-Step Assembly Process
Follow this structured timeline to assemble your Frozen Elsa building block set efficiently and enjoyably.
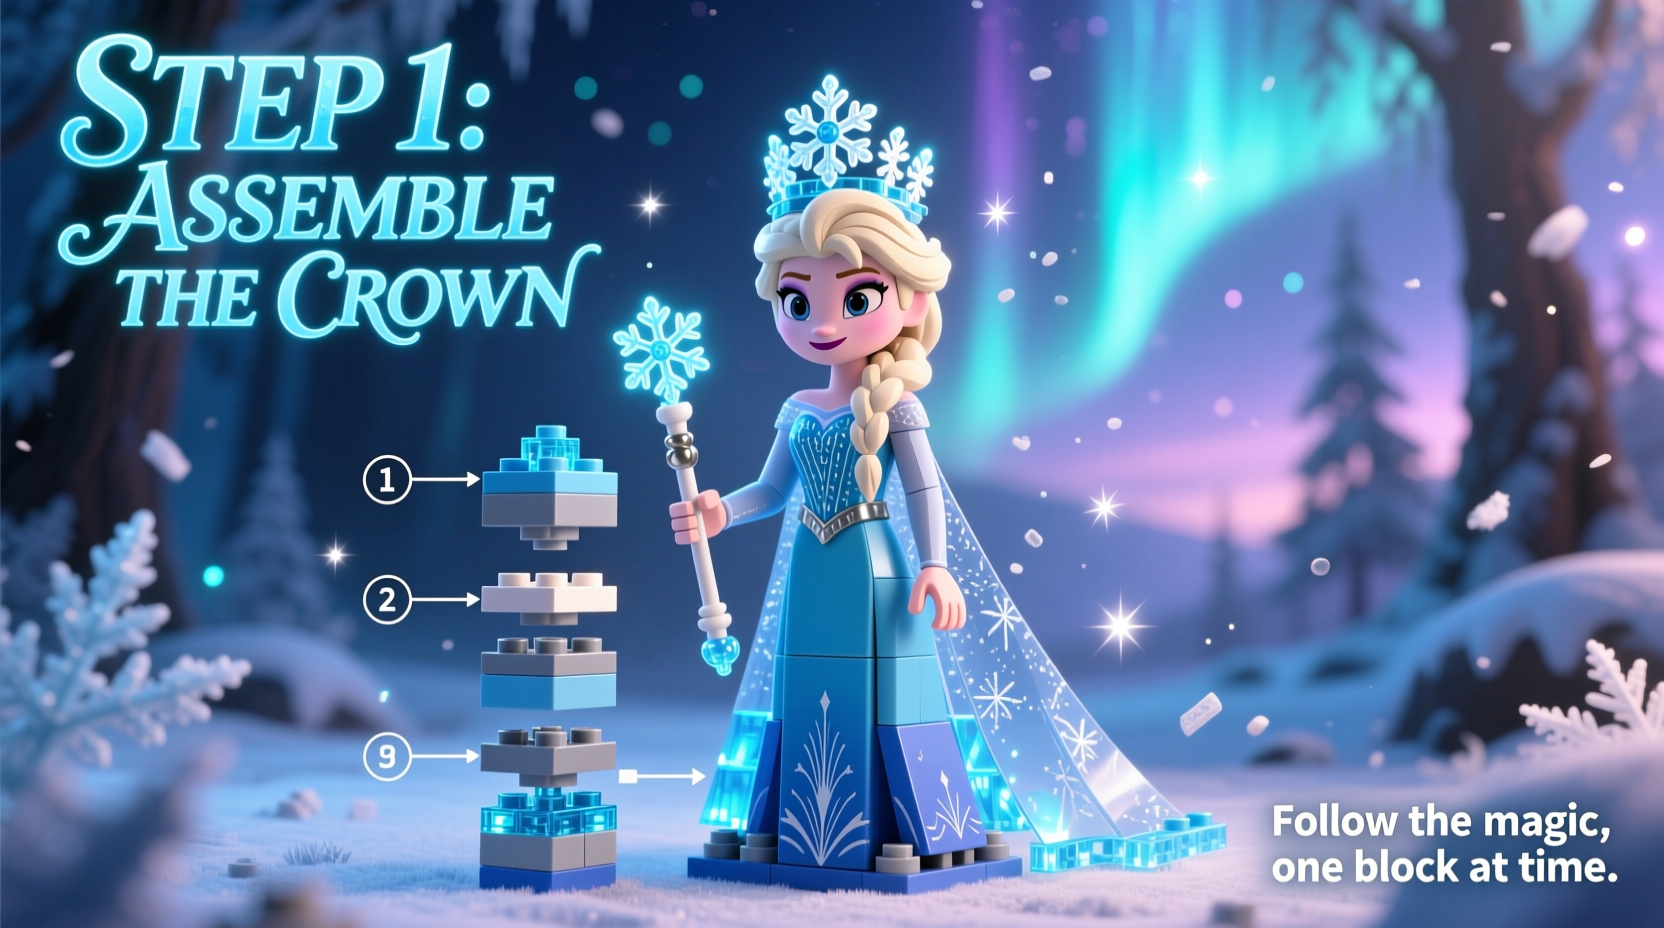
- Step 1: Identify All Components
Spread out each bag’s contents separately. Match pieces to the visual index in the manual. Note unique elements such as translucent blue \"ice\" bricks, Elsa’s molded hairpiece, or the snowflake emblem. - Step 2: Begin With the Base Structure
Most sets start with foundational elements—Elsa’s platform, throne, or section of the ice palace. Attach baseplates securely using corner supports. Double-check orientation; misaligned bases cause issues down the line. - Step 3: Build Upward Gradually
Proceed bag by bag. Focus on one module at a time—arms, torso, or decorative walls. Interlock bricks firmly but gently. Avoid forcing connections, which may damage pegs. - Step 4: Integrate Moving or Functional Parts
If your set includes rotating turrets, sliding doors, or light-up features, install these mid-way through, as directed. Test functionality before enclosing mechanisms. - Step 5: Add Character Details
Attach Elsa’s head, arms, and accessories. Her cape usually clips onto back connectors. Ensure her expression matches the joyful or regal look intended by the design. - Step 6: Final Decorations and Display
Place finishing touches: snowflakes, crystal formations, Olaf mini-figures, or Anna companions. Position the completed model where it catches light—translucent pieces shimmer beautifully under lamps or near windows.
Common Challenges and How to Overcome Them
Even experienced builders encounter hiccups. Here’s how to handle frequent issues:
| Issue | Cause | Solution |
|---|---|---|
| Pieces won’t connect | Different brick tolerances or debris | Clean studs with a dry toothbrush; align precisely before pressing |
| Missing small parts | Overlooked during sorting | Check inside packaging creases or contact manufacturer support |
| Model feels unstable | Loose connections or incomplete framing | Reinforce internal beams; verify all connection points are snapped fully |
| Wrong piece used | Similar-looking bricks (e.g., 2x4 vs 2x3) | Refer to zoomed-in diagrams; remove gently with a brick separator |
Mini Case Study: Emma’s First Big Build
Seven-year-old Emma received the 318-piece “Elsa’s Enchanted Ice Castle” set for her birthday. Excited but overwhelmed, she dumped all pieces onto the floor. After struggling to find specific slopes and losing two micro-clear rods, her dad suggested starting over with a new approach. They sorted bags by number, used muffin tins to separate colors, and built one section per evening. By day four, Emma proudly displayed her finished castle on a bookshelf, complete with working drawbridge and glowing lantern. She now helps her younger brother with his sets using the same methodical strategy.
Pro Tips for an Enhanced Building Experience
- Work in short sessions: Especially for young builders, 20–30 minute intervals maintain focus without fatigue.
- Use official apps: Some brands offer augmented reality guides via mobile apps that show 3D rotations of each step.
- Customize creatively: Once assembled, swap accessories or add stickers to personalize your Elsa figure.
- Involve siblings: Assign roles—someone manages parts, another follows instructions, a third documents progress.
Checklist: Before You Begin Building
- Clear, stable workspace available
- All bags accounted for and unopened
- Instruction manual present and legible
- Small tools ready (tweezers, brick separator)
- Storage trays or containers prepared
- Natural or bright lighting ensured
Frequently Asked Questions
Can I wash Frozen Elsa building blocks?
Yes, but carefully. Use lukewarm water and mild soap. Avoid submerging electronic components. Air-dry completely before rebuilding. Never use a dishwasher or harsh chemicals.
What should I do if a piece breaks?
Contact the manufacturer’s customer service with the set number and part ID (found in the manual). Most companies offer free replacement parts upon request.
Are these sets safe for children under 6?
Many Frozen Elsa building sets are designed for ages 6 and up due to small parts. Always check age recommendations on the box. For younger children, consider larger junior blocks with simplified designs and chunkier pieces.
Preserving the Magic: Storage and Long-Term Enjoyment
Once assembled, how you store your model affects its longevity. Dust accumulation dulls vibrant colors, and accidental knocks can break delicate spires. Consider placing the completed build under a clear display case or glass dome. If space is limited, disassemble thoughtfully and store bricks in labeled containers by color or function.
For collectors, documenting your creation adds sentimental value. Snap high-quality photos or record a short video tour of the model. Share online with hashtags like #FrozenBuild or #ElsaCastleChallenge to join a global community of fans.
Conclusion: Bring the Magic Home, One Brick at a Time
Assembling Frozen Elsa building blocks is more than a craft—it’s a journey into creativity, patience, and storytelling. Whether you're building alongside a child or indulging in nostalgic fun yourself, each snap of a brick brings you closer to a personalized piece of Arendelle. Follow these steps, embrace the process, and let the spirit of “Let It Go” inspire your next project.


 浙公网安备
33010002000092号
浙公网安备
33010002000092号 浙B2-20120091-4
Comments
No comments yet. Why don't you start the discussion?