
In smaller homes or apartments, closet space is often limited—or nonexistent. But with thoughtful planning and basic carpentry skills, you can build a custom closet system that not only organizes your wardrobe but enhances the room’s aesthetic. Unlike prefabricated units, a homemade closet allows full control over dimensions, materials, and layout. This guide walks through the entire process—from measuring your space to adding stylish finishing touches—ensuring maximum functionality and visual appeal.
1. Assess Your Space and Needs
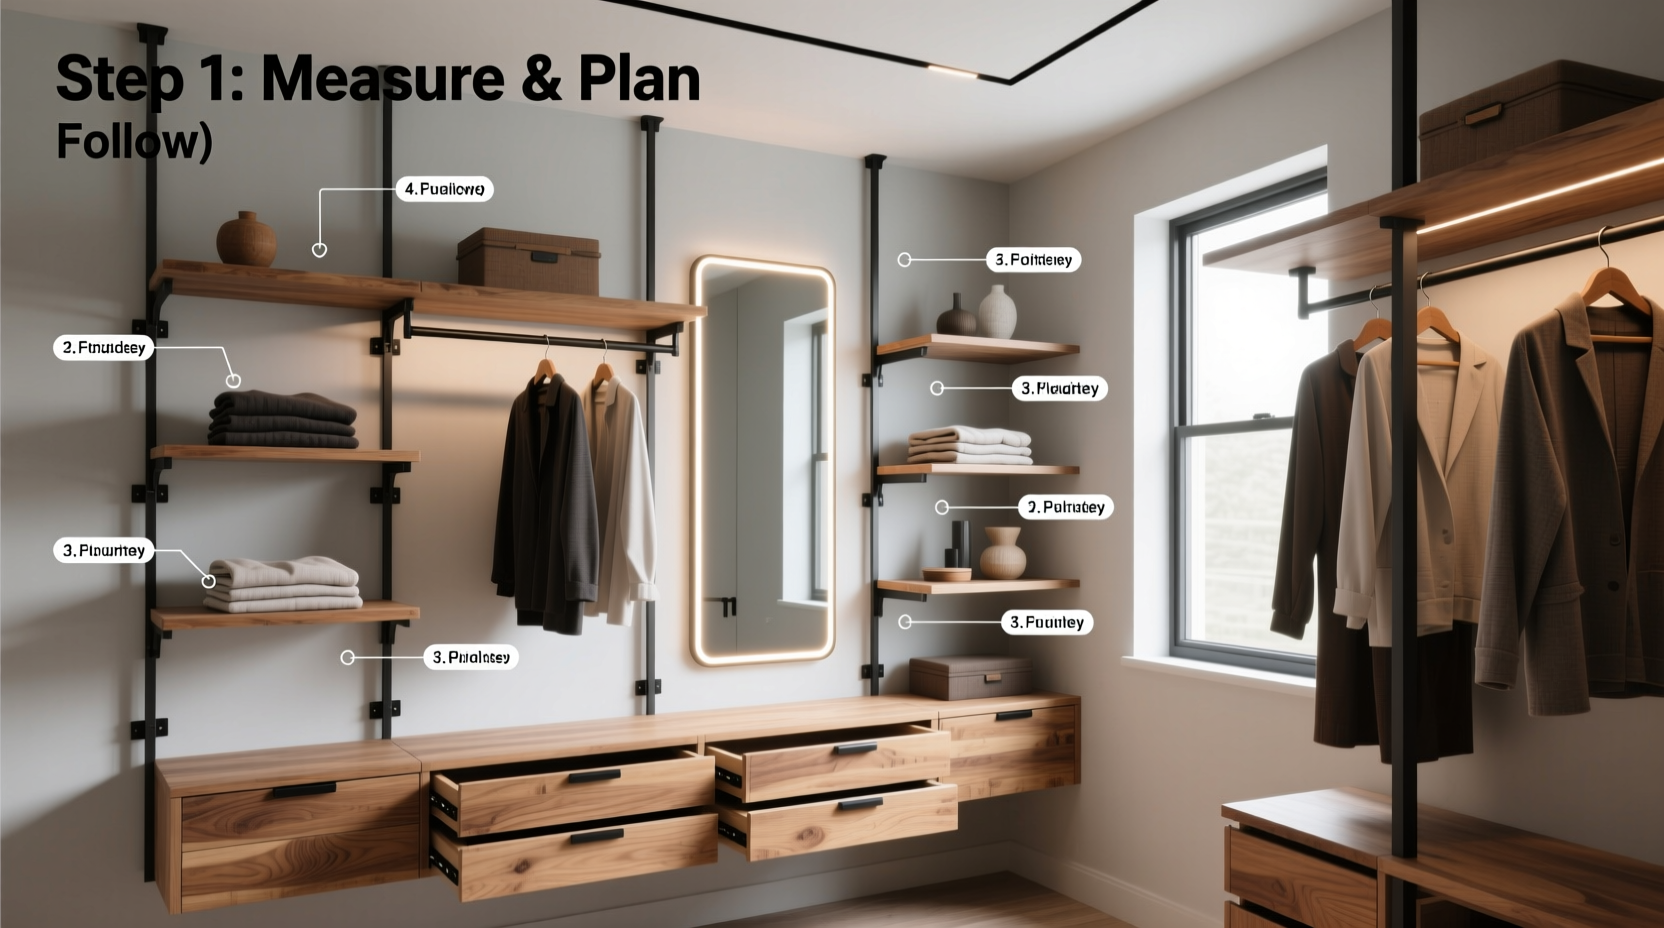
The foundation of an effective homemade closet begins with understanding your available space and clothing storage requirements. Start by measuring the height, width, and depth of the area designated for the closet. Note any obstructions such as vents, outlets, or baseboards that may influence shelf placement.
Next, evaluate your wardrobe. Tally how many shirts, pants, shoes, and accessories you own. This helps determine the ideal mix of hanging rods, shelves, drawers, and cubbies. For example:
- Hanging space should accommodate at least 60% of your garments if you wear blouses, dresses, or suits regularly.
- Shelving is ideal for folded items like sweaters, jeans, and handbags.
- Deep drawers or pull-out bins work well for undergarments and seasonal storage.
Consider User Habits
A closet isn’t just about storage—it’s about accessibility. If you dress in the dark, consider open shelving or front-facing baskets. If you prefer a minimalist look, concealed drawers and closed cabinets create clean lines. Tailor the design to your daily routine.
2. Design a Functional Layout
Before cutting any wood, sketch a detailed plan. You don’t need professional CAD software—a simple grid paper layout works. Include all components: hanging rods, shelves, shoe racks, and lighting.
Popular configurations include:
- L-shaped closets: Ideal for corner spaces, maximizing two walls.
- Reach-in closets: Single-wall designs perfect for narrow rooms.
- Walk-in setups: Best when you have 6+ feet of depth; allow for island units or double-hanging tiers.
| Component | Recommended Height (inches) | Notes |
|---|---|---|
| Single hanging rod | 60–66 | Ideal for shirts, skirts, and lightweight jackets |
| Double hanging rods | Upper: 80, Lower: 40 | Maximizes vertical space; lower tier for pants |
| Shelving (folded items) | 12–14 per shelf | Leave 16” between shelves for bulky sweaters |
| Top shelf (storage bins) | 72–84 | Use for off-season clothing or luggage |
| Drawers | 6–8 height | Best for socks, ties, underwear |
“Customization is the key to efficiency. A closet built around your habits saves time and reduces clutter.” — Dana Reyes, Interior Organizer & Sustainable Design Consultant
3. Choose Materials and Assemble Components
Select durable, cost-effective materials based on your budget and desired finish. Plywood (¾”) is a popular choice for shelves and frames due to its strength and smooth surface. Pine boards work well for visible trim, while melamine-coated panels resist moisture and require minimal maintenance.
Basic tools needed:
- Circular saw or table saw
- Drill/driver
- Level and tape measure
- Stud finder
- Screw assortment (2.5” wood screws, drywall anchors)
Assembly Steps:
- Cut side panels, top, bottom, and shelves to size using your blueprint.
- Attach vertical supports to wall studs for stability—never rely solely on drywall.
- Secure horizontal cleats (support strips) along the back and sides to hold shelves.
- Install hanging rods using metal brackets or wooden dowels anchored into side panels.
- Add drawer slides or basket glides before mounting fronts.
- Sand all edges and prime/paint or stain for a polished look.
4. Optimize Storage with Smart Add-Ons
Even a well-built closet can fall short without smart organizational accessories. These upgrades dramatically improve usability:
- Adjustable shelving: Use shelf pins so you can reconfigure heights as needs change.
- Pull-out trays: Install on lower rails for easy access to shoes or workout gear.
- Door-mounted organizers: Hang scarves, belts, or jewelry on slim racks attached to the back of sliding doors.
- LED strip lighting: Mount under shelves or along the top rail to illuminate dark corners.
Mini Case Study: The Brooklyn Studio Apartment Makeover
Maria, a graphic designer in a 400-square-foot Brooklyn apartment, lacked a proper closet. She used a freestanding wardrobe that took up valuable floor space. Over one weekend, she built a wall-mounted closet in a 3-foot alcove using birch plywood and matte black hardware. By incorporating double-hang rods, a fold-down ironing board, and recessed LED lights, she created a functional dressing zone. The total cost was $220, less than half the price of a modular system. “It feels luxurious,” she said. “And I finally see everything I own.”
5. Finishing Touches That Elevate Style
A homemade closet doesn’t have to look DIY. With a few design choices, it becomes a focal point of the room.
- Paint: Match the closet color to your walls for a seamless look, or use contrasting tones for drama.
- Hardware: Upgrade knobs and pulls to brushed brass, matte black, or ceramic styles for elegance.
- Back panels: Line the rear wall with peel-and-stick wallpaper or fabric-covered board for visual interest.
- Floor protection: Add a small rug or felt pads under shoe racks to prevent scuffing.
Checklist: Building Your Homemade Closet
- Measure available space and mark obstructions
- Inventory clothing types and storage needs
- Create a scaled layout with dimensions
- Select materials and purchase supplies
- Cut and pre-finish all wood components
- Anchor frame securely to wall studs
- Install shelves, rods, and drawers
- Add lighting and organizational accessories
- Style and organize clothing by category
FAQ
Can I build a sturdy closet without anchoring to studs?
Not recommended. Walls made of drywall alone cannot support the weight of clothing, shelves, and hardware. Always locate and screw into wall studs for safety and durability. If studs don’t align, install a continuous back panel across multiple points for distributed support.
How do I prevent wood shelves from sagging over time?
Use ¾-inch plywood or solid wood for spans over 24 inches. For longer shelves, add a front edge rail or mid-span support bracket. Avoid particleboard in high-load areas—it compresses under prolonged weight.
Is it possible to make a closet modular for future changes?
Yes. Design with adjustable shelf pins and standardized spacing. Use compatible rail systems so you can later add new baskets or dividers. Modular thinking extends the life of your build.
Conclusion
A homemade closet is more than a storage solution—it’s a personalized system that reflects your lifestyle and taste. With careful planning, quality materials, and attention to detail, you can transform an empty wall into a highly functional and visually pleasing wardrobe space. Whether you live in a studio, spare bedroom, or basement nook, maximizing both space and style is within reach. Start measuring, sketch your vision, and take the first cut. Your perfectly organized closet is waiting to be built.


 浙公网安备
33010002000092号
浙公网安备
33010002000092号 浙B2-20120091-4
Comments
No comments yet. Why don't you start the discussion?