
Replacing a worn or outdated sink faucet doesn’t require a plumbing license. With the right tools, a bit of patience, and clear guidance, you can upgrade your kitchen or bathroom fixture in under two hours. A new faucet improves water flow, enhances aesthetics, and prevents leaks that waste hundreds of gallons annually. This comprehensive guide walks you through every phase—from shutting off the water to final testing—so you complete the job confidently and correctly.
Assess Your Current Faucet Setup
Before purchasing a replacement, examine your existing faucet’s configuration. Not all faucets are interchangeable. Count the number of mounting holes in your sink: three-hole setups typically accommodate separate hot and cold handles with a center spout, while single-hole models use a single lever. Measure the distance between holes if applicable. Also, note whether your faucet includes a built-in sprayer or soap dispenser, as these affect compatibility.
Check the supply line connections underneath the sink. Most modern faucets use 3/8-inch compression fittings, but older models may differ. Take photos of the current setup to reference at the hardware store. Bring the old aerator or cartridge if possible—this helps match threading and flow specifications.
Tools and Materials Checklist
Gather everything before starting to avoid mid-job delays. Working with disconnected water lines means efficiency is key.
- Adjustable wrench or basin wrench
- Plumber’s tape (Teflon tape)
- Screwdrivers (flathead and Phillips)
- Bucket or towel (for residual water)
- Flashlight (for tight spaces)
- New faucet kit (includes gaskets, mounting hardware)
- Plumber’s putty or silicone sealant (if required)
- Flexible supply lines (if not included with faucet)
Some faucet kits include their own supply lines and mounting nuts. Verify what’s included to avoid redundancy. If replacing an old sprayer, ensure the new faucet supports one or buy a compatible add-on.
Shut Off Water and Relieve Pressure
Safety starts here. Locate the shutoff valves beneath the sink—usually two knobs, one for hot and one for cold. Turn them clockwise until snug. If valves are stiff or leaking, replace them before proceeding. In rare cases where no local shutoffs exist, turn off the main water supply to the house.
Turn on the existing faucet to drain remaining water and release pressure. Let it run until drops stop. Close the faucet once flow ceases. Place a bucket under the supply lines to catch any drips during disconnection.
“Never assume shutoff valves are functional. Test them first. Failed valves cause messy surprises.” — James Lark, Master Plumber with 22 years in residential service
Remove the Old Faucet
Use an adjustable wrench to disconnect the supply lines from the shutoff valves. Keep a towel handy—residual water often spills. If lines are corroded, apply penetrating oil and wait five minutes before loosening.
Next, remove the mounting nuts securing the faucet to the sink. These are located beneath the sink deck and may be tight. A basin wrench—designed for confined spaces—makes removal easier. Once nuts are off, push the old faucet up from below and remove any old putty or debris from the sink surface.
Clean the mounting area thoroughly. Residue can prevent a proper seal on the new unit. Inspect the sink for cracks or corrosion around the holes—if damage exists, consider repair before installing the new faucet.
Install the New Faucet: Step-by-Step
- Prepare the gasket: Most faucets come with a rubber or foam gasket. Place it over the base of the faucet’s tailpiece. For extra security, apply a thin bead of plumber’s putty just above the gasket on the underside of the mounting flange.
- Insert the faucet: Lower the faucet into the mounting hole(s) from above. Align handles and spout in your preferred orientation. Push down gently to compress the gasket.
- Secure from below: Under the sink, thread the mounting nut onto the tailpiece and tighten with a wrench. Avoid over-tightening, which can crack porcelain sinks or deform plastic components.
- Connect supply lines: Attach the new flexible lines (or reuse existing if in good condition) to the shutoff valves. Hand-tighten first, then give a quarter-turn with a wrench. Wrap threads with Teflon tape for leak prevention.
- Attach sprayer (if applicable): Feed the sprayer hose through the designated hole, connect to the faucet base, and secure with the provided nut.
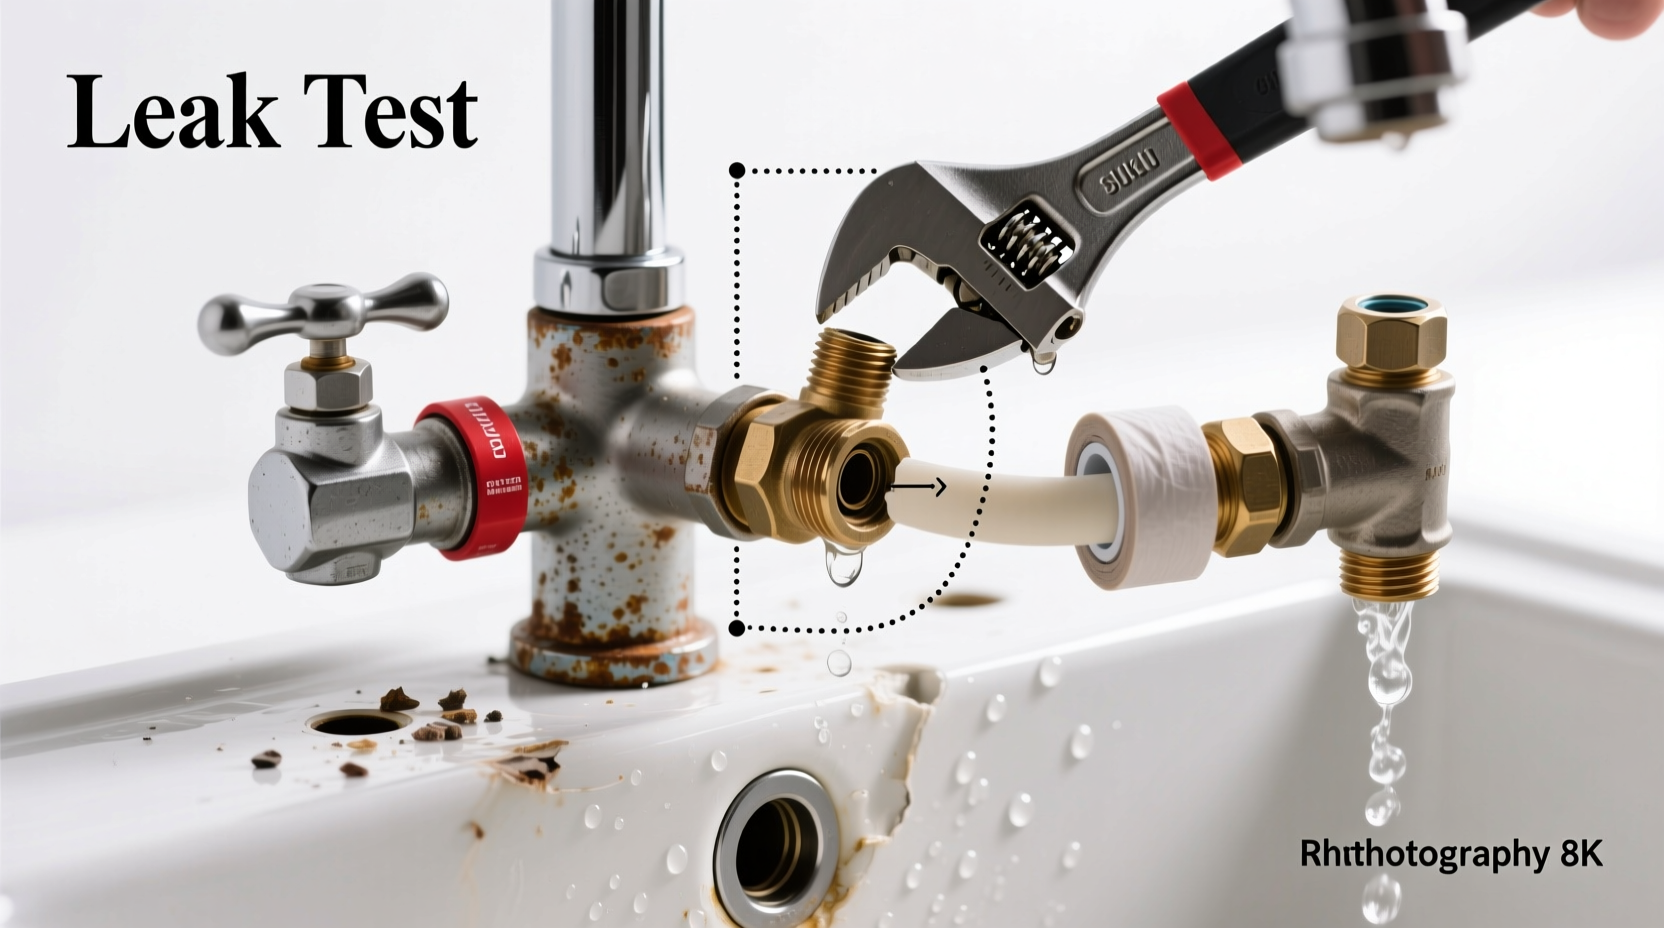
Test for Leaks and Functionality
Slowly reopen the shutoff valves. Check all connections for drips—especially at the supply line joints and base of the faucet. Wipe each joint dry first so seepage is visible. If a drip appears, tighten slightly or reapply Teflon tape.
Turn on the new faucet and let water run for one minute. This clears air from the lines. Observe both flow rate and spray pattern. If water sputters, air is still being purged. Check the aerator for debris after initial use.
Operate both hot and cold sides. Verify temperature control is smooth and mixing works properly. For pull-down sprayers, test the lock mechanism and hose retraction.
Do’s and Don’ts of Faucet Installation
| Do’s | Don’ts |
|---|---|
| Double-check faucet compatibility with your sink | Don’t skip turning off the water supply |
| Use Teflon tape on threaded connections | Don’t overtighten mounting or supply nuts |
| Inspect old supply lines for wear before reuse | Don’t ignore small leaks—they worsen over time |
| Test full operation before final cleanup | Don’t leave tools or debris under the sink |
Real-World Example: Homeowner Saves $250
Sarah Thompson, a homeowner in Portland, replaced her 15-year-old kitchen faucet after noticing persistent dripping. She initially called a plumber for a quote: $320 including labor and materials. Instead, she bought a $98 Moen single-handle model and followed a method similar to this guide. Using tools borrowed from a neighbor, she completed the swap in 90 minutes. No leaks occurred after installation, and she upgraded to a pull-down sprayer she’d wanted for years. “I wish I hadn’t waited so long,” she said. “It was way easier than I thought.”
Frequently Asked Questions
How long does it take to change a sink faucet?
For a beginner, expect 1.5 to 3 hours, including prep and cleanup. Experienced DIYers often finish in under 90 minutes. The timeline depends on accessibility under the sink and whether old parts are corroded.
Can I use my old supply lines with a new faucet?
You can—if they’re in good condition, the correct length, and have compatible connectors. However, most experts recommend replacing them. Flexible stainless steel braided lines degrade over time and may fail shortly after a new faucet is installed.
Why is my new faucet leaking at the base?
This usually indicates an improper seal. Ensure the gasket is seated correctly and that plumber’s putty or silicone was applied if required. Over-tightening can also distort the gasket, causing gaps. Loosen slightly, realign, and retighten with moderate force.
Final Steps and Confidence Check
Once everything runs smoothly and no leaks appear, wipe down the sink and dispose of old parts responsibly. Keep the instruction manual and warranty information in a home maintenance folder. Many manufacturers offer lifetime warranties on cartridges and finishes when registered online.
A successful faucet replacement boosts your home’s functionality and gives a sense of accomplishment. More importantly, it reduces water waste and prepares you for future DIY plumbing tasks—like fixing a garbage disposal or unclogging a drain.


 浙公网安备
33010002000092号
浙公网安备
33010002000092号 浙B2-20120091-4
Comments
No comments yet. Why don't you start the discussion?