
Apple Pay on Apple Watch transforms your wrist into a secure, convenient payment terminal. Whether you're grabbing coffee, hopping on public transit, or checking out at a retail store, you can leave your wallet behind. The integration between Apple Watch and Apple Pay is seamless—but only if set up correctly. This guide walks you through every essential step, from initial setup to daily usage, troubleshooting, and security best practices.
Prerequisites: What You Need Before Getting Started
Before adding Apple Pay to your Apple Watch, ensure your devices meet the necessary requirements. Compatibility and proper configuration are critical to avoid delays during setup.
- An Apple Watch Series 3 or later (any model with watchOS 6 or newer)
- An iPhone 6s or later running iOS 14 or higher
- Two-factor authentication enabled on your Apple ID
- A supported bank or credit card issuer
- Wallet app access with permission to add payment cards
Ensure your Apple Watch is charged and within Bluetooth range of your iPhone. Both devices must be connected to the same Wi-Fi network or have cellular service active (for cellular models).
Step-by-Step Setup: Adding Apple Pay to Your Apple Watch
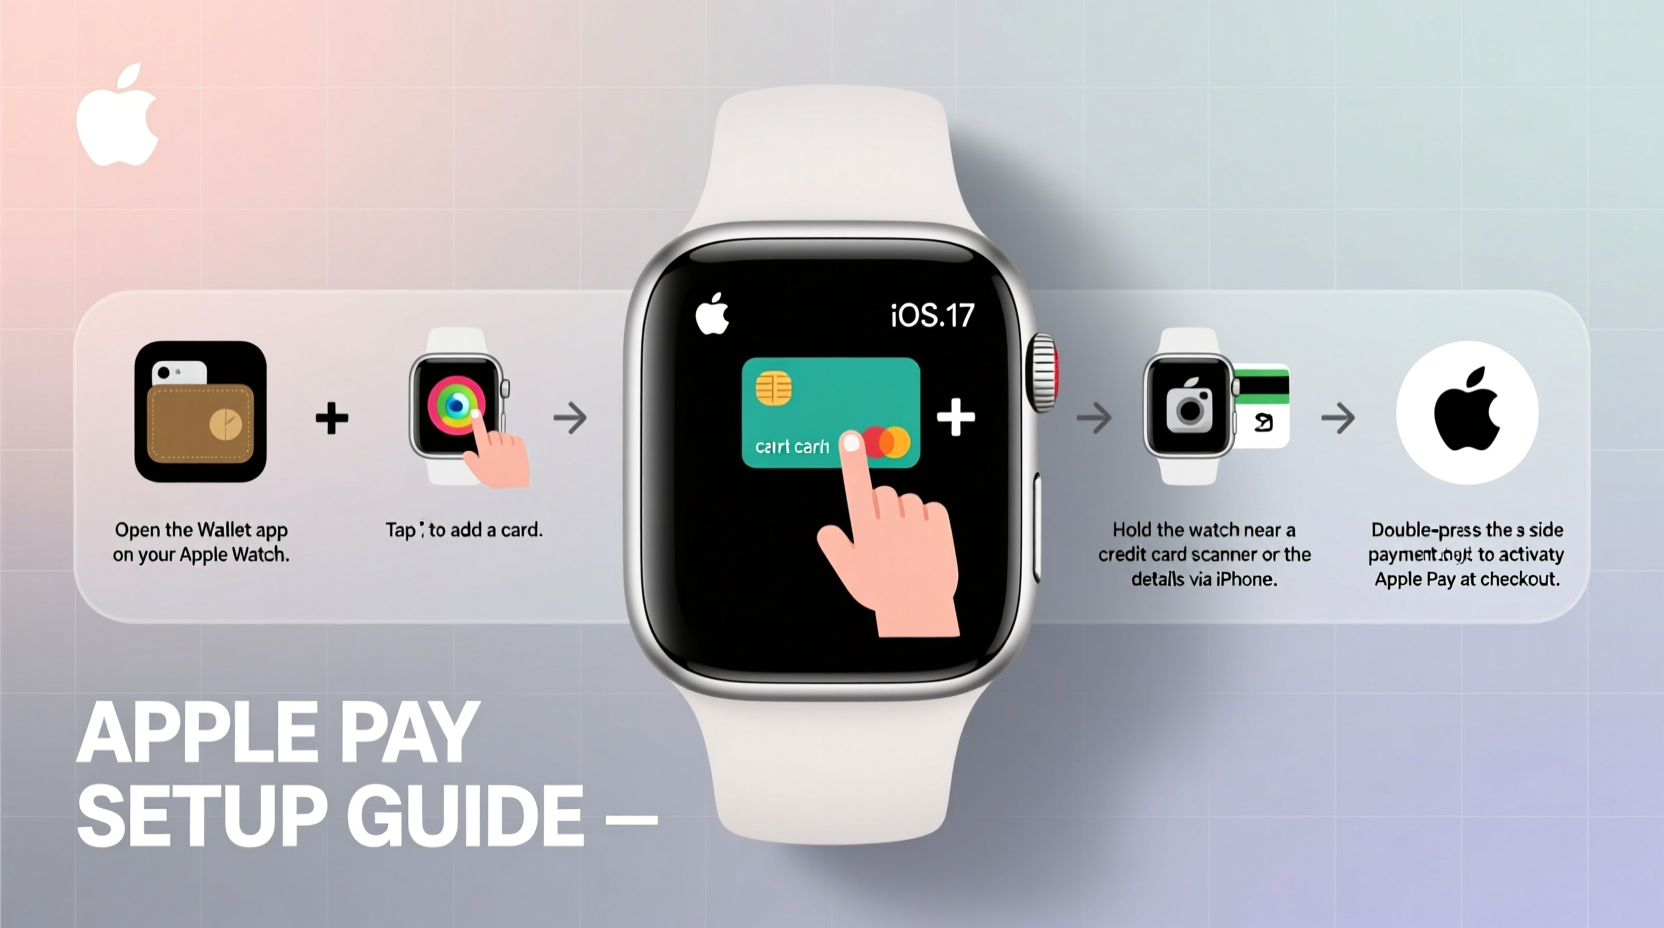
Follow this precise sequence to securely add your credit or debit card to Apple Pay via your Apple Watch.
- Open the Apple Watch app on your iPhone. Tap the \"My Watch\" tab at the bottom.
- Navigate to Wallet & Apple Pay and tap \"Add Card.\"
- Select \"Continue\" when prompted to add a new card.
- Use your iPhone’s camera to scan your physical card or enter the details manually.
- Verify your card with your bank. This may involve receiving a text message, email, or phone call. Some banks allow instant verification via their mobile app.
- Agree to the card terms issued by Apple and your financial institution.
- Wait for activation. Once approved, your card will appear in the Apple Watch app under Wallet & Apple Pay.
- Set your default card by tapping \"Default Card\" and selecting your preferred payment method.
After completion, your card is synced to your Apple Watch. No further action is required to begin using it.
How to Use Apple Pay on Apple Watch in Daily Life
Using Apple Pay on your Apple Watch is designed to be fast and intuitive. Here's how to make purchases in different scenarios:
In Stores
Double-click the side button below the Digital Crown. Hold the display near the contactless reader until you feel a gentle tap vibration and hear a beep. The transaction completes instantly. For purchases over $50 (varies by region), you may need to enter your passcode on the watch face.
On Public Transit
In cities like New York, London, or Tokyo, simply double-click the side button and tap your watch on the transit gate reader. No passcode needed. Your fare is deducted automatically, and balance updates are reflected in the Wallet app.
Within Apps and Websites
When shopping in apps or Safari, select Apple Pay at checkout. Confirm with Face ID, Touch ID, or your device passcode. Your Apple Watch does not need to be involved here—this uses the same card linked to your iCloud account.
| Scenario | Action Required | Authentication Needed? |
|---|---|---|
| In-store purchase | Double-click side button + hold near reader | Only for high-value transactions |
| Transit tap-in/tap-out | Double-click + tap on reader | No |
| Online checkout | Select Apple Pay at payment screen | Yes (via iPhone) |
Security and Privacy: How Apple Protects Your Data
One of the most trusted aspects of Apple Pay is its robust security framework. Unlike traditional cards, Apple never shares your actual card number with merchants or stores it on the device.
Instead, a unique Device Account Number is created and encrypted on your watch. This token is used for all transactions. Even if intercepted, it cannot be traced back to your real card. Every payment requires authentication via your passcode, and biometric data (like Face ID confirmation on iPhone) adds another layer.
“Apple Pay doesn’t store your card number on the device or servers. Each transaction uses dynamic encryption, making it more secure than swiping a physical card.” — Kevin Lee, Senior Security Analyst at Consumer Tech Review
If your Apple Watch is lost or stolen, use Find My to mark it as lost. This immediately disables Apple Pay without affecting other devices. You can also remove cards remotely via iCloud.com.
Troubleshooting Common Issues
Even with flawless design, users occasionally encounter hiccups. Here are common problems and how to fix them:
- Apple Pay not appearing on watch: Ensure the card was successfully added in the Watch app. Reboot both devices and re-add the card if needed.
- Payment declined despite correct setup: Contact your bank. Some institutions block digital wallet transactions by default.
- Vibration but no payment: Move the watch closer to the center of the reader. Avoid placing it near metal objects or other NFC devices.
- Watch asks for passcode repeatedly: Check that Wrist Detection is enabled. Go to Settings > Passcode on your watch and ensure \"Wrist Detection\" is turned on.
Quick Checklist: Verify Your Apple Pay Setup
- ✅ Apple Watch and iPhone are updated to latest OS versions
- ✅ Card is verified and active in Wallet
- ✅ Default card is selected in Watch app
- ✅ Wrist Detection and Passcode are enabled
- ✅ Watch is charged above 20%
Frequently Asked Questions
Can I add multiple cards to Apple Pay on my Apple Watch?
Yes. You can add up to eight cards depending on your region and bank policies. Switch between them during payment by scrolling on the watch face after double-clicking the side button.
Does Apple Pay work without my iPhone nearby?
Absolutely. Once a card is added, Apple Watch operates independently—even when your iPhone is off or out of range. Cellular models can even receive verification codes if needed.
Is there a spending limit with Apple Watch Apple Pay?
There is no fixed limit set by Apple. However, individual merchants or banks may impose transaction caps. High-value purchases typically require passcode confirmation.
Real-World Example: A Commuter’s Experience
Sophie, a graphic designer in Chicago, uses her Apple Watch Series 8 daily for transit and lunch runs. “I used to fumble for my wallet while holding coffee and my tote,” she says. “Now, I double-click and tap—done in two seconds. Last week, my phone died midday, but I still paid for dinner and took the train home using just my watch.”
Her only hiccup occurred when her bank temporarily flagged her Apple Pay activity as suspicious. She resolved it in minutes using her bank’s app to verify the device. Since then, no issues.
Final Thoughts and Next Steps
Setting up Apple Pay on your Apple Watch takes less than ten minutes but delivers years of convenience. From morning commutes to weekend errands, it streamlines payments while enhancing security. The technology works quietly in the background, requiring minimal maintenance once configured.
Now that your watch is ready to pay, explore additional features: set up Express Transit mode for faster rides, enable transaction notifications, or link rewards cards for automatic point accrual.


 浙公网安备
33010002000092号
浙公网安备
33010002000092号 浙B2-20120091-4
Comments
No comments yet. Why don't you start the discussion?