
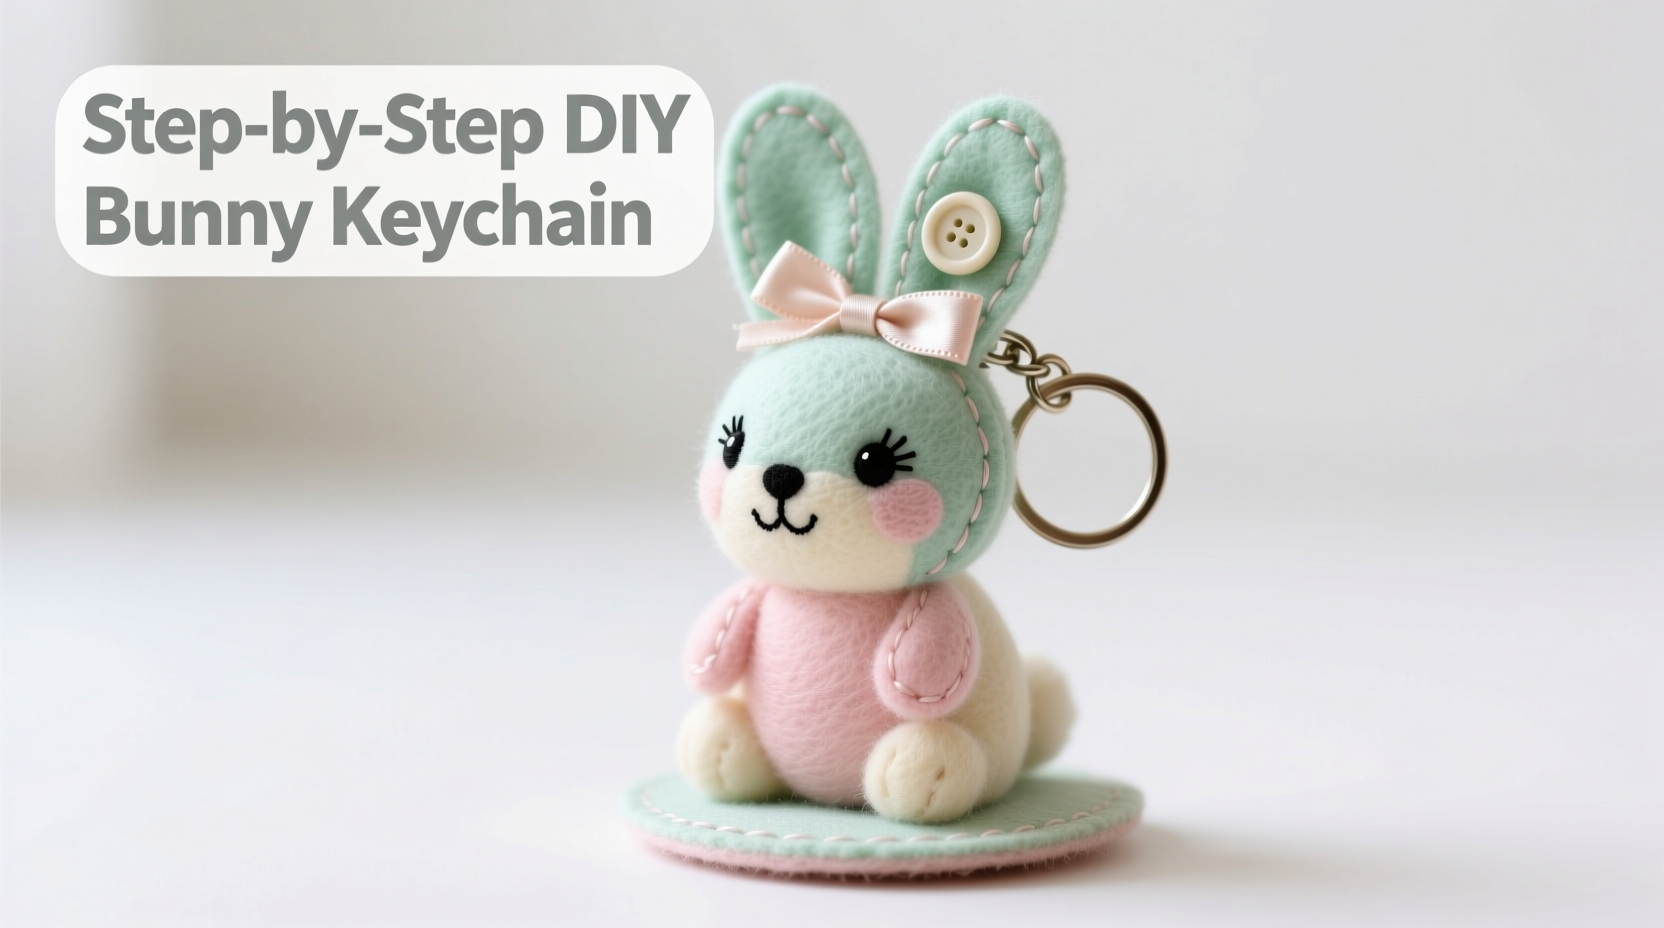
Crafting your own accessories adds a personal touch to everyday items while offering a relaxing creative outlet. A DIY bunny keychain is not only adorable but also beginner-friendly, requiring minimal materials and no prior experience in sewing or crafting. With soft textures, floppy ears, and a compact size, this little handmade charm brings joy every time you reach for your keys. Whether you're making one for yourself or as a thoughtful handmade gift, this guide walks you through each stage with clarity and precision.
Gathering Your Materials
Before starting any craft project, preparation ensures smooth progress. For a bunny keychain, you’ll need basic supplies that are easy to find at craft stores or online. The materials are affordable and reusable for future projects, making this an economical entry into the world of handmade accessories.
- Felt fabric (two colors: one for the body, another for inner ears)
- Embroidery thread (black and pink)
- Needle (sharp, small eye)
- Scissors (small, precision type preferred)
- Fiberfill stuffing
- Keychain ring (metal or plastic, about 1 inch in diameter)
- Pins or clips (to hold fabric layers together)
- Hot glue gun (optional, for securing the keyring)
- Chalk or fabric marker (for tracing patterns)
Design and Pattern Preparation
The charm of a bunny keychain lies in its simplicity and exaggerated features—large ears, a round face, and subtle facial details. Begin by sketching or printing a simple bunny head pattern. You can draw it freehand or download a printable template online. The ideal size is about 2.5 inches tall, ensuring it’s noticeable without being bulky.
Cut two identical pieces from your main felt color (e.g., white) for the front and back of the bunny head. Then, cut two smaller oval shapes from a contrasting color (e.g., pink) for the inner ears. These will be layered onto the ear sections for added dimension.
| Component | Quantity | Fabric Color |
|---|---|---|
| Bunny Head (main shape) | 2 | White |
| Inner Ear Lining | 2 | Pink |
| Nose Detail (optional) | 1 small piece | Pink |
Stitching the Bunny Head
Now comes the core of the project: assembling and stitching. Lay the two white felt pieces flat, placing them with the “right” sides facing each other. Pin the edges to keep them aligned during sewing. Starting near the base of the chin, use a whip stitch or backstitch with embroidery thread to sew around the entire perimeter, leaving a 1.5-inch gap at the bottom for turning and stuffing.
Next, attach the inner ear pieces. Place each pink oval on top of the ear area of one white piece before sewing. Align the edges carefully and secure them with a few hidden stitches along the outer edge. This creates a clean layered effect once completed.
“Hand-sewing with felt gives beginners immediate results because the fabric doesn’t fray. It’s forgiving and perfect for learning basic techniques.” — Lena Ruiz, Craft Educator & Designer
Once the main structure is stitched and the inner ears are attached, turn the piece right side out using a pencil or chopstick to gently push out the ears and cheeks. Be careful not to tear the felt.
Stuffing and Closing
After turning, lightly stuff the bunny head with fiberfill. Use small amounts at a time, focusing on evenly distributing the filling—especially in the ears. Overstuffing can distort the shape, while too little makes the keychain feel flat.
When satisfied with the fullness, hand-stitch the opening closed using a ladder stitch (also known as invisible stitch). This technique pulls the edges together seamlessly, hiding the closure within the seam line. Knot securely and trim excess thread.
Adding Facial Features
This is where your bunny comes to life. Using black embroidery thread, create three small French knots for the nose and eyes. Start with the nose centered just above the opening, then place the eyes slightly above and to either side. Keep the spacing symmetrical for a balanced expression.
For extra charm, add delicate whisker lines with light gray thread or use a fine fabric pen. Avoid heavy detailing—minimalism enhances the cute factor.
To finish, attach the keychain ring. Slide it between the two layers at the top of the head before closing the final seam, or secure it afterward with a strong loop of thread or a dab of hot glue. Ensure it's firmly anchored so it won't detach with daily use.
Mini Case Study: Sarah’s First Craft Fair Success
Sarah, a college student with no prior crafting experience, followed this method to make five bunny keychains in an afternoon. She used mismatched pastel colors and added tiny embroidered flowers beside each bunny’s ear. Encouraged by friends’ compliments, she sold all of them at a campus craft fair for $5 each. Her most common feedback? “It feels handmade in the best way—unique and full of personality.” This project became her gateway into selling handmade goods online.
Common Pitfalls and How to Avoid Them
Even simple crafts come with learning curves. Here are frequent issues beginners encounter and how to resolve them:
| Issue | Do | Don’t |
|---|---|---|
| Lopsided stitching | Pin fabric layers thoroughly before sewing | Rush the process without securing alignment |
| Too much stuffing | Add fiberfill gradually and shape as you go | Overpack to make it “fluffier” |
| Loose keyring attachment | Sew through the ring multiple times or reinforce with glue | Attach loosely with a single knot |
Checklist: Crafting Your Bunny Keychain
- Collect all materials: felt, thread, needle, scissors, stuffing, keyring
- Trace and cut two bunny head shapes and two inner ear ovals
- Pin main pieces together with right sides facing
- Sew around the edge, leaving a gap at the bottom
- Attach inner ear pieces before or during sewing
- Turn right side out and stuff lightly
- Close the opening with a ladder stitch
- Embroider facial features (eyes, nose, optional whiskers)
- Securely attach the keychain ring
- Inspect for loose threads and trim if needed
Frequently Asked Questions
Can I wash my bunny keychain?
Felt is sensitive to water and agitation. Spot clean only with a damp cloth. Avoid soaking or machine washing, as this may cause shrinking or distortion.
What if I don’t have embroidery thread?
You can use regular cotton thread doubled up for thickness. However, embroidery thread is recommended for durability and vibrant color.
How long does it take to make one keychain?
For a beginner, expect 30–45 minutes per keychain. Speed increases with practice, especially when cutting and stitching become routine.
Final Thoughts and Next Steps
Creating a DIY bunny keychain isn’t just about making a functional item—it’s about embracing creativity, mindfulness, and the satisfaction of making something tangible with your hands. Once mastered, this technique can be adapted into different animals, seasonal themes, or personalized variations with names and charms.
Consider gifting a handmade bunny keychain to someone special, or start a small collection for different occasions. Each one carries the warmth of handmade effort, far beyond what store-bought accessories can offer.


 浙公网安备
33010002000092号
浙公网安备
33010002000092号 浙B2-20120091-4
Comments
No comments yet. Why don't you start the discussion?