
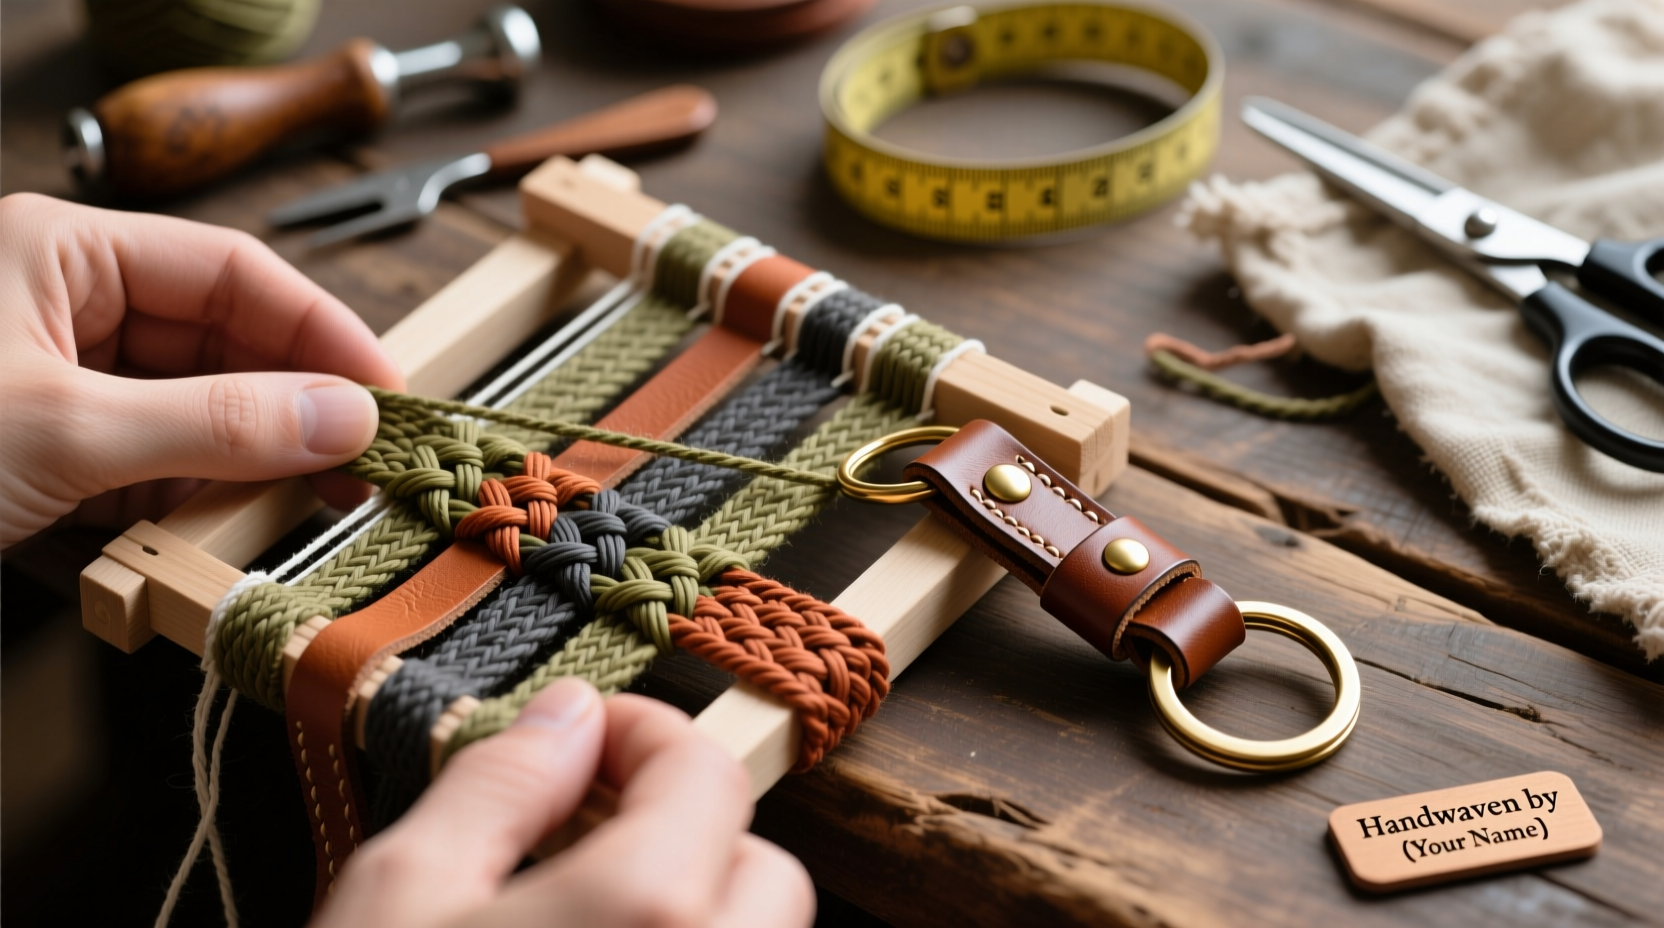
Crafting a leather keychain is more than just a practical project—it’s an opportunity to express personal style through texture, color, and technique. While many tutorials focus on basic loops or stamped tags, mastering the art of woven leather elevates your accessory into a refined handmade piece. This guide dives deep into the process of creating a sleek, durable keychain using braided and woven leather strips, with attention to material selection, tool use, and finishing details that ensure longevity and elegance.
Selecting the Right Materials and Tools
The foundation of any quality leathercraft project lies in choosing appropriate materials. For a woven keychain, you need supple yet strong leather that holds shape without fraying. Vegetable-tanned leather is ideal because it’s firm enough to maintain structure but soft enough to manipulate by hand. Opt for 2–3 oz (0.8–1.2 mm) thickness—thin enough to weave comfortably, thick enough to last.
Weaving requires multiple narrow strips. Cut four pieces measuring 18 inches long and 1/4 inch wide for a standard braid. Use a rotary cutter or sharp utility knife with a metal ruler for precision. Pair these with a keyring (preferably brass or stainless steel, 25mm diameter), a hole punch, edge beveler, leather wax, and needles if stitching is involved.
Preparing the Leather Strips
Before weaving begins, prepare each strip properly. Trim the ends at a slight angle to make threading easier. Smooth rough edges using an edge slicker or burnisher to prevent fraying. If desired, dye or stain the leather now; doing so before assembly ensures even color coverage, especially in crevices formed during weaving.
Condition the strips lightly with neatsfoot oil or beeswax-based conditioner. Avoid over-saturating, as excess moisture weakens fibers over time. Allow them to dry completely—usually 1–2 hours—before proceeding. Proper conditioning enhances durability and gives the final product a subtle luster.
Weaving Technique: The Four-Strand Diamond Braid
The four-strand diamond braid offers a sophisticated look with symmetrical patterns resembling a rope twist. It's beginner-friendly once the sequence is memorized and creates a dense, compact weave perfect for daily wear.
- Lay all four strips parallel, aligned at one end. Secure this end under a heavy object or clamp to a table edge.
- Divide the strands into two pairs: left pair (Strands 1 & 2), right pair (Strands 3 & 4).
- Cross the right outer strand (4) over its neighbor (3), then pass it across to the left side, inserting it between Strands 1 and 2 from underneath.
- Repeat symmetrically: take the left outer strand (1), cross it over Strand 2, and pass it under Strands 3 and 4 on the right.
- Continue alternating sides, always crossing the outermost strand inward and feeding it beneath the center pair.
- Maintain consistent tension—too loose results in gaps; too tight causes distortion.
After about 3–4 inches of braiding, the pattern will stabilize into a repeating X-shape along the length. Work slowly until the rhythm becomes intuitive. Stop when approximately 1 inch remains unbraided—this section will anchor the keyring.
| Tool | Purpose | Recommended Type |
|---|---|---|
| Hole Punch | Create clean holes for attachment | Rotary or prong punch |
| Edge Beveler | Smooth cut edges | Half-round double-ended |
| Leather Wax | Seal ends and condition | Beeswax blend |
| Needle & Thread | Secure starting knot | Harness needle with linen thread |
Securing the Keyring and Finishing Ends
To attach the keyring, gather the unbraided tail ends and flatten them together. Mark a hole slightly larger than the ring’s thickness, centered about 3/8 inch from the end. Punch cleanly through all layers. Open the keyring, thread it through the hole, then close securely.
Now address the starting end—the secured base where weaving began. To prevent unraveling, apply a small drop of contact cement or use a whip stitch with waxed thread around the bundle just below the braid start. Trim excess, then seal the cut ends with melted beeswax or fray check solution. Burnish the tip gently with a smooth tool to create a polished finish.
“Precision in termination points defines professional craftsmanship. A messy end undermines even the tightest braid.” — Rafael Mendez, Artisan Leatherworker & Instructor
Troubleshooting Common Issues
Even experienced crafters encounter hiccups. Twisted strands, uneven tension, or misaligned crossings can disrupt symmetry. Here’s how to fix frequent problems:
- Twisting occurs when strands rotate during handling. Prevent this by keeping hands flat and guiding each crossover deliberately.
- Gaps appear due to inconsistent pulling. Practice uniform pressure—pull only until snug, not taut.
- Braids loosen after completion. Apply light tension while cooling; some artisans briefly steam-set the braid for memory retention.
Mini Case Study: From Beginner to Boutique Seller
Jamie Chen started making leather keychains as stress-relief hobbies during graduate school. Using scrap leather and YouTube videos, she mastered the four-strand braid within weeks. Her breakthrough came when she customized a set with contrasting thread stitching and personalized stamping for friends’ birthdays. Encouraged by demand, she launched a small Etsy shop. Within six months, her woven designs—especially those combining dark brown leather with turquoise nylon cord accents—became bestsellers. Today, she teaches workshops emphasizing consistency in tension and thoughtful finishing.
Design Variations and Customization Ideas
Once comfortable with the basic braid, experiment with aesthetics:
- Incorporate colored paracord for contrast and added strength.
- Use metallic-finished leather strips for modern flair.
- Add a small charm or spacer bead midway through the weave.
- Try a tapered effect by gradually narrowing strip width using a skiving knife.
For gifting, consider engraving initials on a metal cap or adding a discreet leather tag with a date or message. These touches transform functional items into meaningful keepsakes.
Checklist: Crafting Your First Woven Leather Keychain
- ✓ Choose vegetable-tanned leather (2–3 oz)
- ✓ Cut four 18” x ¼” strips with clean edges
- ✓ Condition and prep strips (dye if desired)
- ✓ Secure starting end and begin four-strand diamond braid
- ✓ Maintain even tension throughout
- ✓ Attach keyring with punched hole in tail end
- ✓ Secure beginning with whip stitch or adhesive
- ✓ Seal and burnish both ends
- ✓ Inspect for symmetry and durability
Frequently Asked Questions
Can I wash a leather keychain?
Avoid submerging leather in water. Instead, wipe with a slightly damp cloth and dry immediately. Prolonged exposure to moisture leads to stiffness and discoloration.
How long should a woven keychain be?
Ideal length ranges from 4 to 6 inches after braiding. This provides enough bulk for visual impact without being cumbersome on a keyring.
Is glue sufficient instead of stitching?
Contact cement works for temporary fixes, but a tight whip stitch with waxed thread offers superior long-term security, especially at stress points.
Final Thoughts
A handwoven leather keychain reflects patience, precision, and personal expression. Beyond function, it serves as a tactile reminder of craftsmanship in an age of mass production. Whether made for yourself or gifted to someone special, each braid carries intention. With practice, what begins as a simple project evolves into a signature style—one knot at a time.


 浙公网安备
33010002000092号
浙公网安备
33010002000092号 浙B2-20120091-4
Comments
No comments yet. Why don't you start the discussion?