
A V shape haircut—also known as a taper fade with a pointed neckline—is one of the most popular men’s styles due to its sharp, clean lines and modern aesthetic. While many visit barbers for this precision cut, it's entirely possible to achieve a professional-looking V shape at home with the right tools, technique, and patience. This comprehensive guide walks you through every phase: from preparation to finishing touches, ensuring crisp definition and symmetry.
Understanding the V Shape Haircut
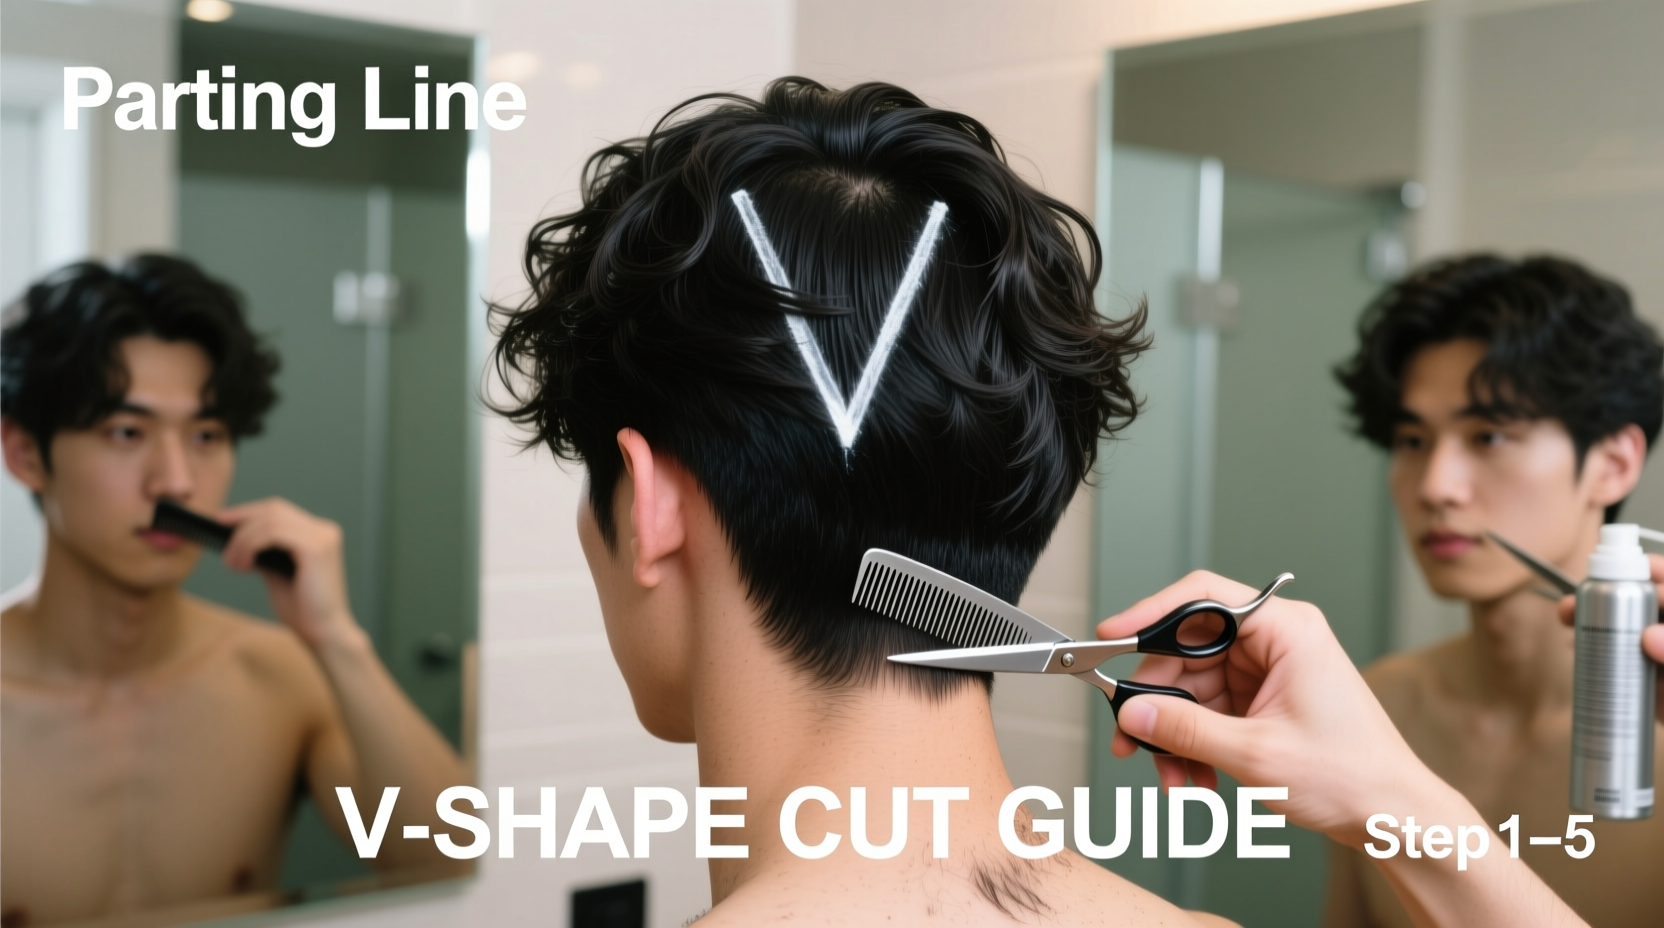
The V shape haircut is defined by a tapered back and sides that converge into a distinct \"V\" at the nape of the neck. It’s often paired with a fade or undercut on the sides and longer hair on top. The key to a flawless result lies in the precision of the neckline and the seamless blend between lengths.
This style works well for various hair types—straight, wavy, or slightly curly—and complements both short and medium-length tops. Whether you’re going for a high fade, low taper, or skin fade with a V back, mastering the fundamentals ensures consistent results.
“Precision in the neckline defines the entire look. A clean V elevates even a simple cut.” — Marcus Reed, Master Barber & Educator
Essential Tools and Preparation
Attempting a V shape without the proper tools leads to uneven lines and frustration. Gather everything before starting to maintain focus and workflow.
What You’ll Need:
- Quality hair clippers with multiple guard attachments (preferably cordless for mobility)
- Fine-tooth comb and sectioning clips
- Neck trimmer or detail shaver (for crisp edges)
- Mirror (ideally two—one wall mirror and a handheld for back-of-head visibility)
- Spray bottle with water
- Cape or towel to catch loose hair
- Styling product (optional, for post-cut finish)
Pre-Cut Prep Steps:
- Wash and towel-dry your hair so it’s damp but not dripping—this allows for better control and visibility.
- Comb through thoroughly to remove tangles.
- Drape a towel around your shoulders or use a barber cape to contain fallout.
- Position your mirrors so you can clearly see the back of your head.
Step-by-Step Guide to Creating the V Shape
Follow this sequence carefully. Rushing any step compromises symmetry and line sharpness.
Step 1: Establish the Neckline Base
Start by outlining the general neckline just above the natural hairline at the back. Use your finger as a guide—place it horizontally across the occipital bone (the bump at the base of your skull). This is where the V will begin.
With your trimmer or clippers (no guard), carefully define a straight horizontal line across the back. Keep movements small and controlled. This line should follow the natural curve of your head, not be perfectly flat.
Step 2: Create the Center Point of the V
Find the center of your neck. From the middle of the horizontal line you just made, draw a vertical guideline down about 1–1.5 inches using the trimmer. This will be the tip of your V.
Step 3: Form the Diagonal Sides of the V
From each end of the horizontal line, angle the clipper diagonally inward toward the center point. Move slowly, maintaining consistent pressure. The goal is a smooth, symmetrical triangle.
If using a guard, start with a longer one (e.g., #1) for the lower part of the taper and switch to shorter guards or bare blade near the tip for a sharper fade effect.
Step 4: Blend the Sides into the Top
Move to the sides of your head. Choose your desired fade level—low, mid, or high. Begin clipping upward from the sideburn area using progressively shorter guards as you move up the head.
Use the “overlap method”: each higher section should slightly overlap the previous one to avoid harsh lines. For example:
- Bottom: Guard #3
- Middle: Guard #2
- Upper side: Guard #1
- Temples: No guard (skin fade)
Step 5: Refine and Define
Go over the V outline again with the trimmer to sharpen the edges. Wipe away stray hairs with a damp cloth to see the shape clearly. Check symmetry by comparing both sides in the mirror.
For extra polish, outline the perimeter of your hairline around the ears and forehead using the trimmer for a clean, finished look.
Do’s and Don’ts: Common Mistakes to Avoid
| Do’s | Don’ts |
|---|---|
| Work slowly and check progress frequently | Rush the process, especially around the neckline |
| Use a handheld mirror to inspect the back | Assume the first pass is perfect—always double-check |
| Blend gradually between clipper guards | Jump from a #4 to a bare blade without tapering |
| Keep hair damp during cutting | Cut dry hair—it’s harder to control and measure |
| Trim the V shape conservatively first, then go shorter | Start too short—you can’t add hair back |
Real Example: First-Time Success Story
James, a 28-year-old software developer, had always relied on barbers for his weekly fades. When lockdowns disrupted his routine, he decided to try a V shape at home. After watching several tutorials and gathering proper tools, he followed a structured approach: prepping damp hair, setting up dual mirrors, and using a #2 guard at the bottom fading to skin near the top.
He started conservative with the V, only carving a slight point. After reviewing in the mirror, he extended it slightly deeper for more definition. The result? A clean, balanced taper with a subtle but noticeable V. His coworkers assumed he’d visited a high-end barbershop. James now cuts his own hair every three weeks, saving time and money while gaining confidence in his technique.
Pro Checklist for a Flawless V Cut
- ✅ Wash and dampen hair
- ✅ Set up dual mirrors
- ✅ Charge and oil clippers
- ✅ Define horizontal neckline
- ✅ Mark center point of V
- ✅ Connect ends to center with diagonal lines
- ✅ Fade sides with overlapping guard transitions
- ✅ Clean up edges with trimmer
- ✅ Rinse and inspect final shape
- ✅ Style and assess under natural light
Frequently Asked Questions
How short should I make the V?
It depends on preference and hair density. Start with a shallow V using a guard (like #1), then deepen it if desired. A deeper V creates more contrast but requires more maintenance. Most find a 1–1.5 inch depth ideal for balance.
Can I do a V shape with curly hair?
Absolutely. Curly hair actually enhances the definition of the V due to tighter texture. However, cut it slightly longer than you would straight hair, since curls shrink when dry. Always cut curly hair damp and recheck the shape once fully dry for final touch-ups.
What if I mess up the symmetry?
Minor imbalances can be corrected by trimming the longer side slightly. If the error is significant, consider letting the hair grow a bit and trying again. Remember, practice improves precision. Even professionals make small errors—refinement comes with experience.
Final Tips for Long-Term Mastery
Perfecting the V shape haircut isn’t achieved in one attempt. Each session builds muscle memory and spatial awareness. Take photos after each cut to track progress and identify areas for improvement.
Over time, you’ll develop a rhythm: how much pressure to apply, which angles work best for your head shape, and how quickly to transition between guards. Consistency beats perfection—regular practice yields better results than occasional flawless cuts.
Conclusion: Take Control of Your Look
Creating a perfect V shape haircut at home is a skill within reach. With the right tools, attention to detail, and a methodical approach, you can achieve a salon-quality finish without stepping into a barbershop. This guide gives you the foundation—now it’s time to put it into action.


 浙公网安备
33010002000092号
浙公网安备
33010002000092号 浙B2-20120091-4
Comments
No comments yet. Why don't you start the discussion?