
Minecraft Bedrock Edition offers a powerful and accessible way to customize gameplay through add-ons—modular packages that alter or extend the behavior of blocks, items, mobs, and even world mechanics. Unlike mods in Java Edition, Bedrock add-ons don’t require code compilation or third-party launchers. Instead, they use JSON files and resource definitions that can be edited with standard tools. Whether you want to create a new mob with unique AI, design a custom dimension, or tweak existing game rules, this guide walks you through every stage of building functional, shareable add-ons.
Understanding Add-Ons: What They Are and What They Can Do
Add-ons in Minecraft Bedrock are collections of JSON files that define changes to the game’s behavior (behavior packs) or appearance (resource packs). While resource packs handle textures, sounds, and models, behavior packs control how entities act, how items function, and how the world responds to player actions. Most custom add-ons combine both to deliver a cohesive experience.
Key capabilities include:
- Creating new mobs or modifying existing ones (e.g., zombies that sprint or sheep that explode)
- Defining custom items with unique properties
- Adding new achievements, loot tables, and spawn rules
- Changing game mechanics like health regeneration or mob spawning frequency
- Introducing custom dimensions or biomes (with limitations)
Because add-ons work at the data level, they are safe, reversible, and compatible across devices—making them ideal for creators targeting mobile, console, or Windows 10/11 players.
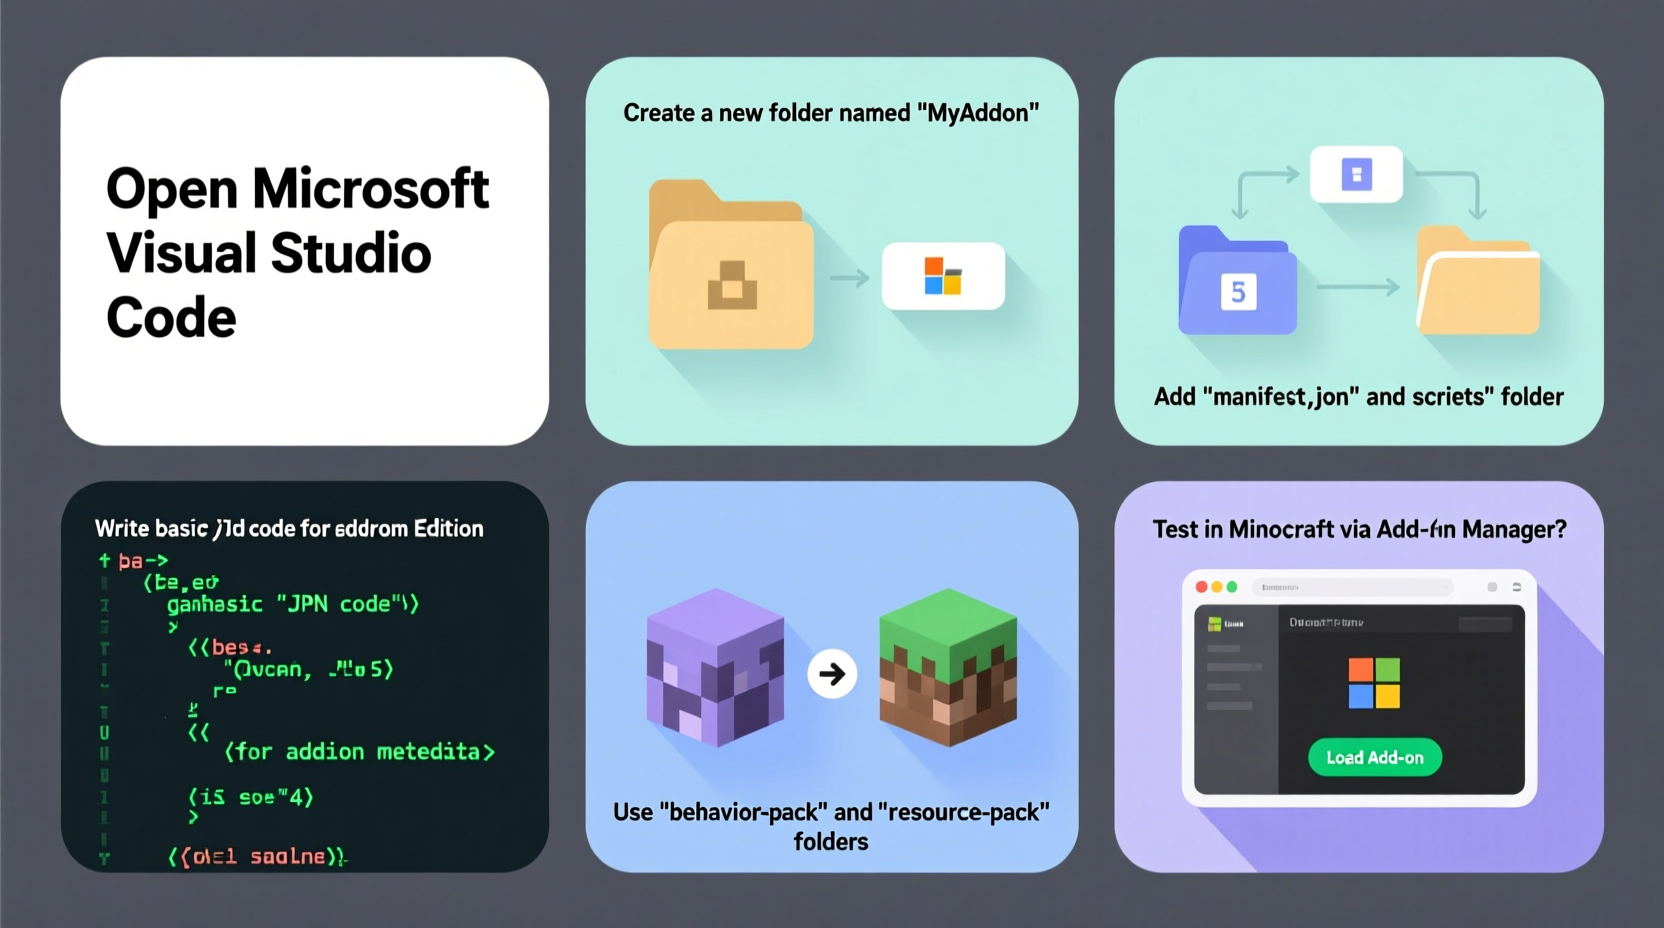
Setting Up Your Development Environment
Before writing any code, prepare a clean workspace. You’ll need:
- A text editor (Visual Studio Code, Notepad++, or Sublime Text recommended)
- Minecraft Bedrock Edition installed on your device
- File explorer access (enable \"Show Hidden Items\" if needed)
- Basic understanding of folder navigation and file types
On Windows, locate the Minecraft “development” folder:
C:\\Users\\[YourUsername]\\AppData\\Local\\Packages\\Microsoft.MinecraftUWP_8wekyb3d8bbwe\\LocalState\\games\\com.mojang
If the development_behavior_packs or development_resource_packs folders don’t exist, create them manually. These are where you’ll build and test your add-ons before packaging.
Naming Convention and Folder Structure
Create a new folder inside development_behavior_packs, e.g., MyFirstAddOn. Inside it, include these core files:
manifest.json– Required. Identifies the pack and version.pack_icon.png– Optional. A 128x128px image for the in-game menu.blocks/,entities/,items/,functions/– Folders for specific definitions.
The manifest.json must include:
{
  \"format_version\": 2,
  \"header\": {
    \"name\": \"My First Add-On\",
    \"description\": \"A simple behavior pack to learn add-on creation.\",
    \"uuid\": \"a1b2c3d4-e5f6-7890-g1h2-i3j4k5l6m7n8\",
    \"version\": [1, 0, 0],
    \"min_engine_version\": [1, 16, 0]
  },
  \"modules\": [
    {
      \"type\": \"data\",
      \"uuid\": \"z9y8x7w6-v5u4-3210-t9s8-r7q6p5o4n3m2\",
      \"version\": [1, 0, 0]
    }
  ]
}
Generate unique UUIDs using an online generator—each must be different per pack and module.
Step-by-Step Guide to Creating a Custom Mob
This section builds a basic zombie variant called “Decayed Zombie” that moves faster and deals more damage.
- Create the entity definition: In your add-on folder, make an
entitiessubfolder. Add a file nameddecayed_zombie.json. - Define the entity: Paste the following structure:
{
  \"format_version\": \"1.16.0\",
  \"minecraft:entity\": {
    \"description\": {
      \"identifier\": \"myaddon:decayed_zombie\",
      \"is_spawnable\": true,
      \"is_summonable\": true,
      \"is_experimental\": false
    },
    \"component_groups\": {
      \"myaddon:aggressive\": {
        \"minecraft:attack\": {
          \"damage\": 6
        },
        \"minecraft:movement\": {
          \"value\": 0.45
        }
      }
    },
    \"components\": {
      \"minecraft:health\": {
        \"value\": 30
      },
      \"minecraft:collision\": {
        \"width\": 0.6,
        \"height\": 1.95
      },
      \"minecraft:loot\": {
        \"table\": \"loot_tables/entities/zombie.json\"
      }
    },
    \"events\": {
      \"minecraft:entity_spawned\": {
        \"add\": {
          \"component_groups\": [\"myaddon:aggressive\"]
        }
      }
    }
  }
}
- Register spawn rules: Create a
spawn_rulesfolder and adddecayed_zombie.json:
{
  \"format_version\": \"1.16.0\",
  \"minecraft:spawn_rules\": {
    \"description\": {
      \"identifier\": \"myaddon:decayed_zombie\",
      \"population_control\": \"monster\"
    },
    \"conditions\": [
      {
        \"minecraft:brightness_filter\": {
          \"min\": 0,
          \"max\": 7
        },
        \"minecraft:difficulty_filter\": {
          \"difficulties\": [\"normal\", \"hard\"]
        },
        \"minecraft:spawns_on_surface\": {},
        \"minecraft:biosphere\": {
          \"value\": [\"plains\", \"forest\", \"taiga\"]
        }
      }
    ]
  }
}
- Test in-game: Launch Minecraft, create a new world, and enable your behavior pack under “World Options > Behavior Packs.” Use
/summon myaddon:decayed_zombieto verify functionality.
“Add-ons empower creators to shape gameplay without altering core files. The key is mastering JSON structure and testing iteratively.” — Jordan Lee, Minecraft Education Developer Advocate
Best Practices and Common Pitfalls
Even small errors can prevent add-ons from loading. Follow these guidelines to avoid frustration.
| Do | Don’t |
|---|---|
Use consistent naming (e.g., myaddon:entity_name) |
Use spaces or special characters in identifiers |
| Validate JSON with tools like JSONLint | Assume commas are optional in JSON arrays |
| Test one change at a time | Edit live worlds without backups |
| Reference official documentation for component names | Copy-paste unverified code from forums |
Tips Box
fastZombie or
charged_creeper improves readability and reduces errors.
Real Example: Building a 'Pet Wolf' Add-On
Sophie, a high school student and aspiring game designer, wanted to create a loyal pet wolf that follows the player and glows in the dark. She started with the vanilla wolf entity as a base, then added:
- A custom component group with
minecraft:follow_rangeandminecraft:glow_color - A spawn rule allowing summoning only in peaceful biomes
- A function to trigger taming via right-click with bones
After three days of testing and debugging misplaced brackets, her add-on worked flawlessly. She shared it with friends, who used it in survival adventures. Sophie later published it on a community forum, receiving over 500 downloads in two weeks.
Checklist: Publishing Your Add-On
Ready to share your work? Follow this checklist:
- ✅ Test the add-on on multiple devices (mobile, console, PC)
- ✅ Compress the folder into a .mcaddon file (zip and rename)
- ✅ Include clear instructions in a README.txt file
- ✅ Share via trusted platforms like Minecraft Forum or PlanetMinecraft
- ✅ Credit any reference materials or base code used
Frequently Asked Questions
Can I use add-ons on servers or Realms?
Yes, but all players must have the same add-on enabled. On Realms, upload the .mcaddon file through the in-game settings. Servers require manual installation on each client.
Why isn’t my entity appearing?
Common causes include incorrect JSON syntax, missing UUIDs, or typos in the identifier. Double-check commas, brackets, and spelling. Use the Minecraft log (available on some platforms) to identify load errors.
Can I monetize my add-ons?
No. Mojang’s EULA prohibits selling user-generated content for Minecraft. However, you can accept donations or share your work freely to build a portfolio.
Conclusion
Creating custom add-ons for Minecraft Bedrock Edition is an accessible gateway into game design, logic structuring, and digital creativity. With no coding required beyond JSON, and immediate visual feedback, it’s ideal for beginners and educators alike. From simple tweaks to complex systems, each project builds deeper understanding of how games function behind the scenes.


 浙公网安备
33010002000092号
浙公网安备
33010002000092号 浙B2-20120091-4
Comments
No comments yet. Why don't you start the discussion?