
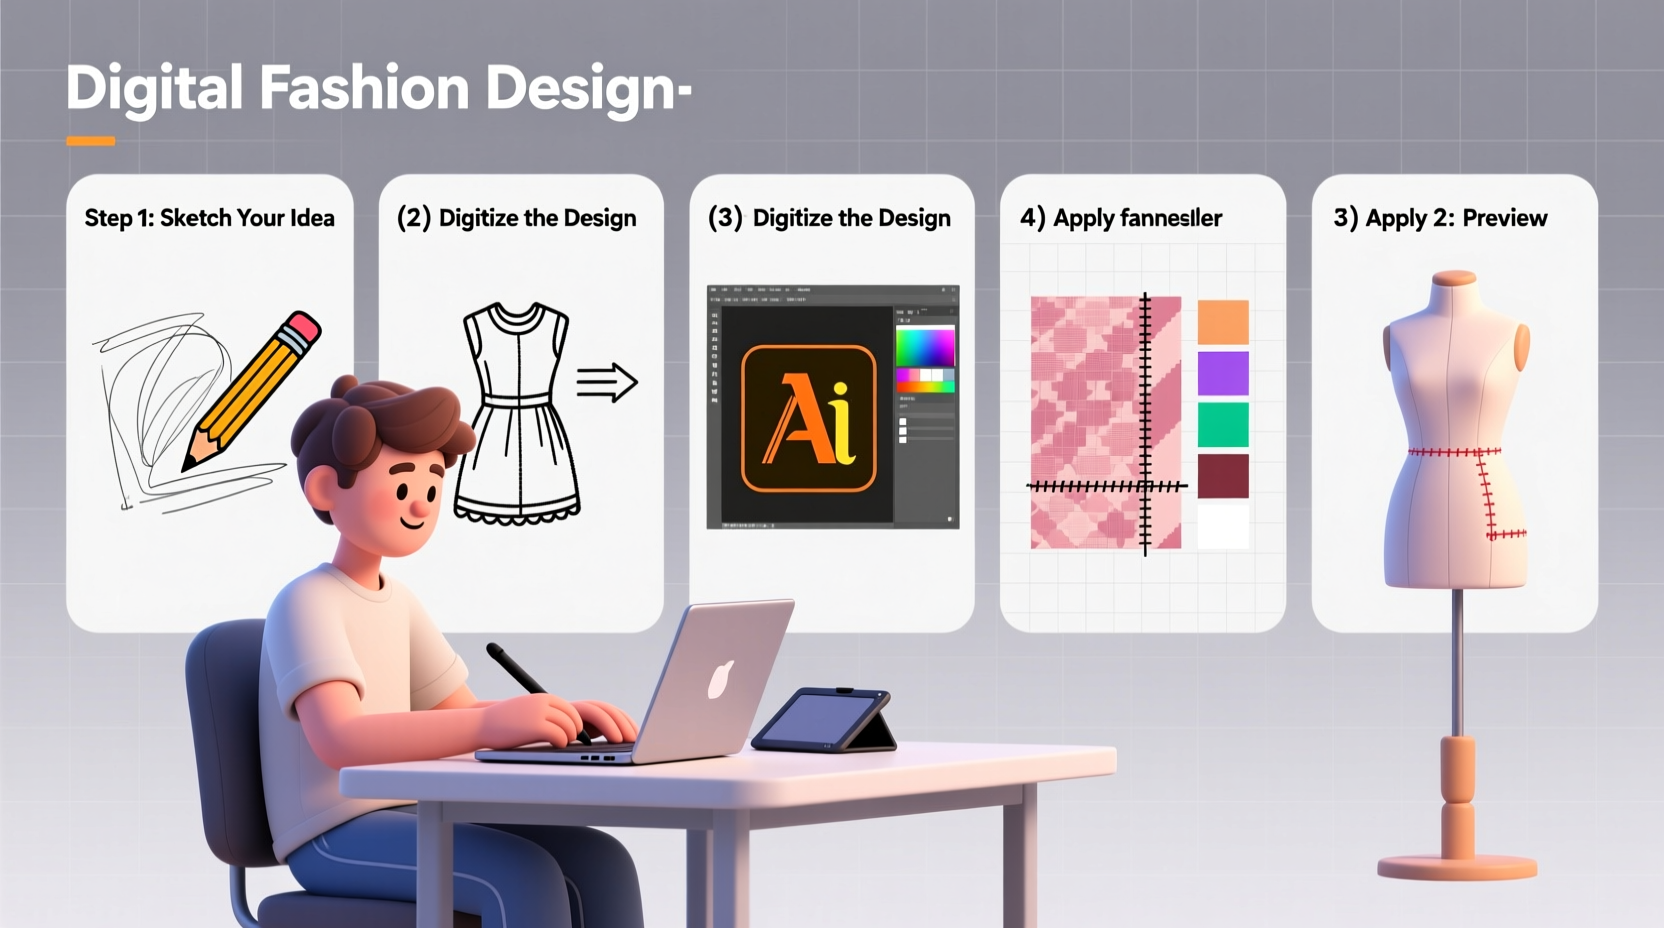
Designing your own clothing used to require years of fashion school training, expensive materials, and access to sewing studios. Today, anyone with a computer and the right tools can create professional-looking apparel designs from home. Whether you're launching a small brand, making personalized gifts, or exploring fashion as a hobby, digital design opens up endless creative possibilities. This guide walks through the entire process—from initial concept to final file—using accessible tools and techniques tailored for beginners.
1. Gather Your Tools and Software
The first step in digital clothing design is setting up your workspace. You don’t need high-end equipment to get started, but choosing the right software makes a big difference in quality and efficiency.
Beginners should look for programs that balance functionality with ease of use. Vector-based software like Adobe Illustrator is the industry standard for fashion design because it allows clean lines, scalable graphics, and precise color control. However, free alternatives such as Inkscape or Gravit Designer offer similar capabilities without the subscription cost.
If you prefer hand-drawing your ideas first, scan them into your computer and trace over them digitally using layers. This hybrid method combines tactile creativity with digital precision.
Recommended Software Overview
| Software | Type | Cost | Best For |
|---|---|---|---|
| Adobe Illustrator | Vector | Paid (Subscription) | Professional-grade patterns and prints |
| Inkscape | Vector | Free | Beginners learning vector design |
| Procreate (iPad) | Raster/Illustration | $12 one-time | Detailed hand-drawn textures and motifs |
| CLO 3D (Basic) | 3D Garment Simulation | Free trial / Paid | Visualizing how garments drape on bodies |
2. Develop Your Design Concept
Before opening any software, spend time defining your vision. Ask yourself: Who is this garment for? What’s the occasion? Is it casual wear, streetwear, or formal attire? These questions shape silhouette choices, fabric types, and embellishments.
Start by collecting visual inspiration. Create a mood board using Pinterest or Google Images with photos of styles, colors, textures, and silhouettes you like. Look at runway shows, vintage catalogs, or even architecture for unexpected influences.
Sketch rough thumbnails on paper to explore different ideas quickly. Focus on proportions, neckline shapes, sleeve lengths, and key details like pockets or zippers. At this stage, quantity matters more than perfection—generate at least ten variations before narrowing down to one or two favorites.
“Great fashion starts not with technique, but with intention. Know why your design exists before worrying about how it looks.” — Lena Torres, Independent Fashion Designer
3. Transfer Your Sketch to Digital Format
Once you’ve chosen a concept, digitize it. If you drew by hand, scan or photograph the sketch under even lighting and import it into your design software as a background layer. Lower its opacity so you can draw clean lines over it.
In vector programs like Illustrator or Inkscape:
- Create a new layer above your sketch.
- Use the Pen Tool or Freehand Brush to trace outlines of the garment.
- Break complex shapes into manageable sections (e.g., collar, sleeves, body).
- Apply stroke colors to differentiate seams, hems, and darts.
For print or pattern designs (like florals or geometric repeats), work on a separate artboard. Use symmetry tools and swatch libraries to build seamless patterns that tile perfectly across fabric widths.
Checklist: Preparing Your Digital Draft
- Import and align your hand sketch
- Trace major garment lines with smooth vectors
- Add technical details: stitching lines, button placements, pleats
- Label each part clearly (e.g., “Front Panel,” “Sleeve Cap”)
- Use consistent scale (typically 1:5 or 1:10 ratio)
- Save versioned files (e.g., “Tshirt_Design_v1.ai”)
4. Add Color, Texture, and Fabric Simulation
A flat sketch becomes compelling when color and materiality are introduced. Use your software’s fill tools to apply base colors to different garment sections. Stick to a cohesive palette—limit yourself to three primary colors plus neutrals unless designing for bold statement pieces.
To simulate texture:
- Overlay subtle gradients for satin or leather finishes.
- Add noise or grain effects for denim or wool.
- Use transparent mesh layers to mimic lace or sheer fabrics.
For advanced visualization, consider CLO 3D or Browzwear’s free tools. These allow you to upload your 2D pattern and see how it drapes on a 3D model. While there’s a learning curve, seeing movement and fit dramatically improves decision-making.
5. Prepare Files for Production or Sharing
Your design isn’t complete until it’s ready for the next step—whether that’s sending it to a manufacturer, uploading to a print-on-demand site, or sharing with a collaborator.
Finalize your file by:
- Merging all visible layers (keep original layered version as backup).
- Setting document size to standard format (A4 or US Letter if printing).
- Using CMYK color mode for physical production; RGB is fine for online display only.
- Exporting in multiple formats: PDF for universal viewing, SVG or AI for editing, PNG at 300 DPI for presentations.
If working with a factory or tailor, include a tech pack—a single-page summary listing measurements, fabric type, stitching style, labels, and care instructions. Even simple versions help prevent misunderstandings.
Mini Case Study: From Bedroom Sketch to Etsy Bestseller
Jamie Rivera, a college student in Portland, began designing retro-inspired T-shirts using Inkscape after watching YouTube tutorials. Starting with hand-drawn sketches of abstract sunsets, Jamie converted them into vector art and uploaded designs to a print-on-demand platform. Within six months, one design went viral on social media, generating over $3,000 in sales. The key? Consistent file naming, accurate color codes, and testing prints on sample garments before launch. “I didn’t know anything about fashion,” Jamie says, “but I learned fast by treating each mistake as feedback.”
Frequently Asked Questions
Can I design clothes without knowing how to sew?
Absolutely. Many successful designers collaborate with skilled pattern makers and manufacturers. Understanding basic construction helps, but it’s not required to start creating visually appealing designs.
What resolution should my design files be?
For digital viewing, 72 DPI is sufficient. For printing on fabric or physical products, aim for 300 DPI at full size to avoid pixelation.
How do I protect my designs from being copied?
While full copyright requires formal registration, you can establish ownership by saving dated drafts, posting watermarked previews publicly, and adding digital signatures to exported files.
Conclusion
Creating custom clothing designs on your computer is no longer limited to professionals with decades of experience. With free or affordable tools, structured workflows, and a clear creative process, beginners can produce polished, production-ready artwork from day one. The most important step is starting—refining your skills comes through iteration, not perfection.


 浙公网安备
33010002000092号
浙公网安备
33010002000092号 浙B2-20120091-4
Comments
No comments yet. Why don't you start the discussion?