
Clear, balanced audio can make or break a video. Whether you're producing a YouTube tutorial, a corporate presentation, or a short film, poor sound quality distracts viewers more than imperfect visuals. The good news: with the right workflow and tools, you can dramatically improve your video’s audio—even if you’re not an audio engineer. This guide walks through every stage of audio enhancement, from initial cleanup to final export, so your videos sound as professional as they look.
Why Audio Quality Matters More Than You Think
Visuals grab attention, but audio sustains engagement. A study by the University of Salford found that poor sound quality reduces perceived video credibility by up to 40%. Viewers may forgive slightly shaky footage, but muffled dialogue, background noise, or inconsistent volume levels often lead to early drop-offs.
Audio issues are also among the most common reasons for negative feedback on platforms like YouTube and Vimeo. Fortunately, modern editing software makes it easier than ever to fix these problems—without expensive gear or years of training.
“Great video without great audio is just moving silence.” — Walter Murch, Academy Award-winning sound editor (Apocalypse Now, The English Patient)
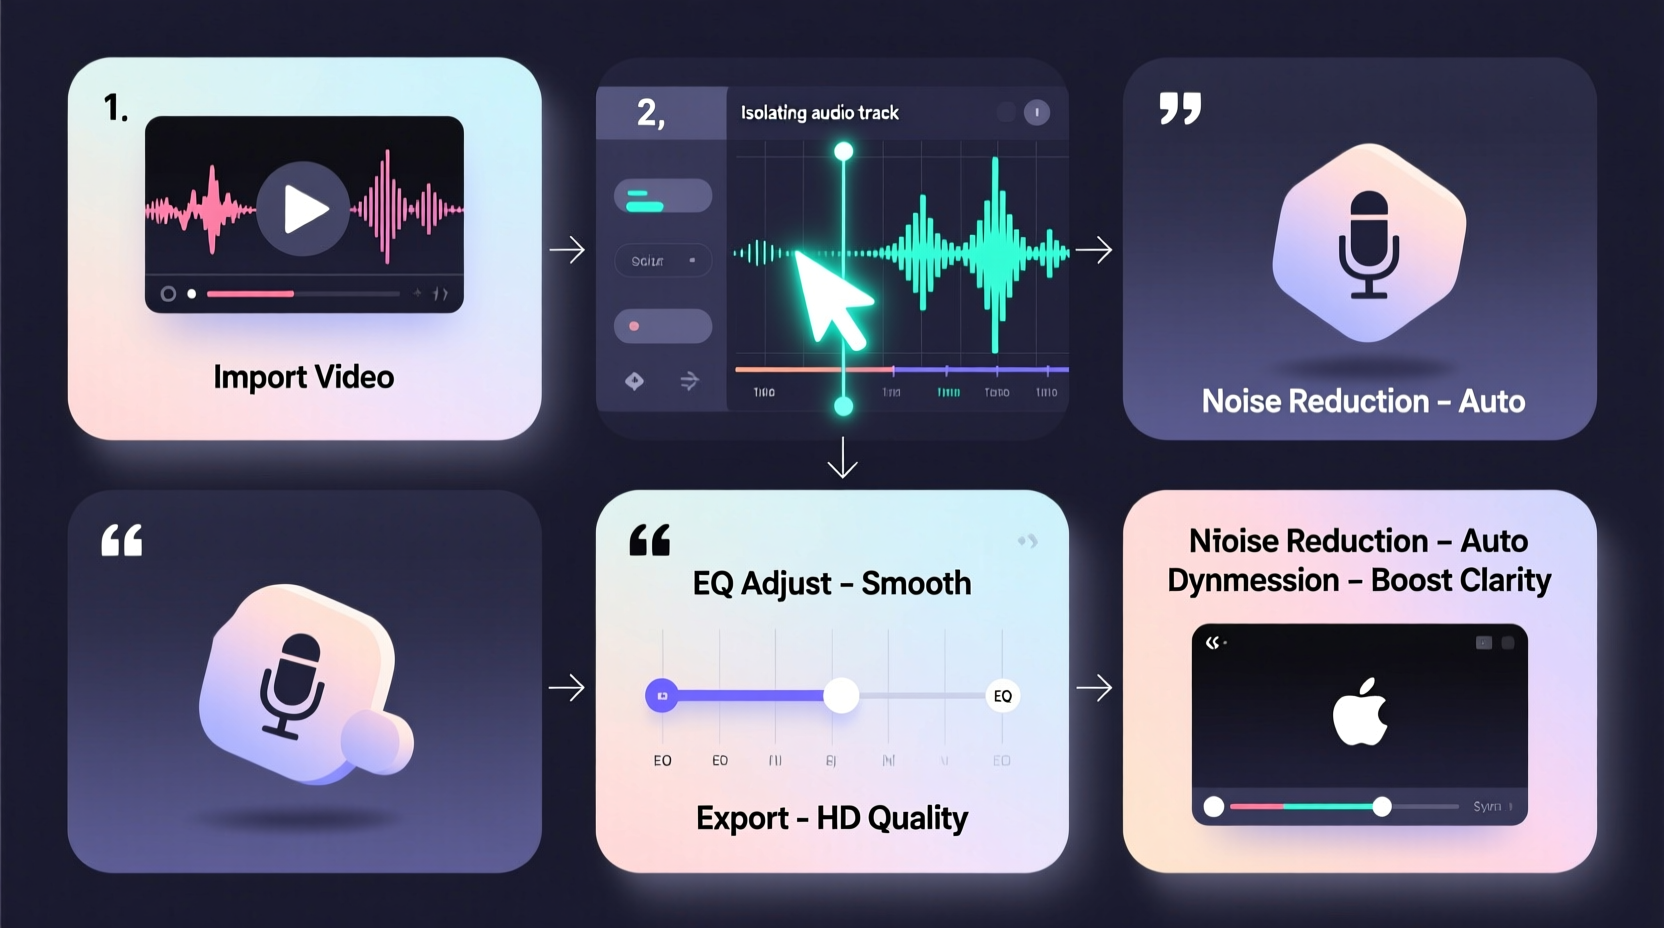
Step-by-Step Guide to Editing and Enhancing Video Audio
Follow this structured process to clean, balance, and enhance audio in any video project. These steps work across most editing platforms, including Adobe Premiere Pro, DaVinci Resolve, Final Cut Pro, and free tools like Audacity or Shotcut.
- Import and Isolate Audio Tracks
Begin by importing your video into your editing software. Right-click the clip and choose “Unlink Audio” or “Detach Audio” to separate the sound from the video. This gives you full control over adjustments without affecting timing. - Conduct a Noise Audit
Play the audio at normal volume and listen for consistent background sounds: HVAC hums, computer fans, traffic, or electrical interference. Note where these occur. Most digital noise appears between 50–60 Hz (low hum) or above 15 kHz (high hiss). - Apply Noise Reduction
Select a silent portion of the track (where only background noise is present). Use the “Capture Noise Print” feature (in Audacity or Premiere) to sample the noise profile. Then apply noise reduction across the entire track—start with a reduction level of 12–18 dB to avoid artifacts. - Equalize for Clarity
Use a parametric equalizer to boost vocal frequencies (between 1.5 kHz and 4 kHz) and reduce mud (around 200–500 Hz). Apply a high-pass filter at 80 Hz to eliminate rumble. For voiceovers, a slight boost at 3 kHz enhances intelligibility without sounding harsh. - Normalize and Compress
Normalize the audio to -1.0 dB to prevent clipping. Then apply compression with a ratio of 3:1 and threshold around -18 dB to even out volume fluctuations. This ensures quiet parts are audible and loud sections don’t distort. - Add Reverb or Space (When Needed)
If dialogue sounds too dry or isolated, add a subtle room reverb (20–30% mix level). Avoid heavy effects unless stylistically appropriate. Always use reverb sparingly in narrative or educational content. - Mix Background Music and Sound Effects
Lay music tracks beneath dialogue. Reduce music volume during speech using keyframes or ducking automation. Keep music 15–20 dB below spoken content to maintain clarity. - Export with Correct Settings
Render audio at 48 kHz, 16-bit or 24-bit depth. Use AAC (for MP4) or WAV (for master files). Ensure stereo mix unless mono is required. Always review the final export on multiple devices before publishing.
Essential Tools and Software Comparison
Choosing the right tool depends on your budget, skill level, and project needs. Below is a comparison of popular options for audio editing within video workflows.
| Software | Best For | Key Audio Features | Price |
|---|---|---|---|
| Adobe Premiere Pro | Professional video editors | Denoise, EQ, Dynamics, Essential Sound Panel | $20.99/mo (Creative Cloud) |
| DaVinci Resolve | Color grading + audio post | Fairlight audio workspace, advanced mixing, VST support | Free / Studio: $295 |
| Audacity | Free standalone audio cleanup | Noise removal, EQ, compression, batch processing | Free |
| Final Cut Pro | Mac-based creators | Enhanced audio roles, EQ, multiband compression | $299 (one-time) |
| Descript | Podcasters & script-based edits | AI-powered noise removal, voice leveling, text-to-audio | From $12/mo |
Common Mistakes to Avoid
- Over-processing audio: Too much compression or EQ creates unnatural, fatiguing sound. Less is often more.
- Ignoring phase issues: When using multiple mics, ensure waveforms align properly to avoid cancellation.
- Boosting instead of cutting: Reducing unwanted frequencies (e.g., low-mid mud) improves clarity better than boosting highs.
- Skipping headphones: Always monitor audio using closed-back headphones in a quiet environment.
- Forgetting loudness standards: Platforms like YouTube normalize to -14 LUFS. Export close to this target to avoid automatic volume adjustments.
Real-World Example: Fixing a Home Interview Recording
Sarah filmed a client interview in her home office using a smartphone. The video was clear, but the audio had a persistent AC hum and uneven speaker volume. She imported the clip into DaVinci Resolve, detached the audio, and used the Fairlight page to analyze the frequency spectrum. A spike at 60 Hz confirmed electrical hum.
She applied a notch filter at 60 Hz and used noise reduction with a sampled profile from a pause in speech. After applying a high-pass filter at 90 Hz and light compression (3:1 ratio), she normalized the track to -1.0 dB. Finally, she added a soft ambient reverb at 25% mix to blend the voices naturally.
The result? A polished, broadcast-quality audio track that matched the visual professionalism. Sarah uploaded the video to LinkedIn, where it gained over 10,000 views and praise for its clarity.
Checklist: Audio Enhancement Workflow
Use this checklist before finalizing any video project:
- ✅ Detach audio from video for independent editing
- ✅ Identify and sample background noise
- ✅ Apply noise reduction with moderate settings
- ✅ Use EQ to enhance vocals and cut muddy frequencies
- ✅ Apply compression to balance dynamic range
- ✅ Normalize peak levels to -1.0 dB
- ✅ Mix music and effects at appropriate volumes
- ✅ Check loudness (target: -16 to -14 LUFS for online)
- ✅ Preview on mobile, desktop, and speakers
- ✅ Export with correct codec and bit depth
Frequently Asked Questions
Can I improve audio quality without re-recording?
Yes—most modern editing tools can significantly clean up existing audio. While nothing replaces a well-recorded source, noise reduction, EQ, and compression can rescue many flawed recordings. However, severe distortion or clipping cannot be fully reversed.
What’s the difference between normalization and compression?
Normalization adjusts the overall volume so the loudest peak hits a target level (e.g., -1.0 dB). Compression reduces the dynamic range by lowering loud parts and raising quiet ones, creating a more consistent listening experience. Both are typically used together.
Do I need external microphones for good audio?
While built-in mics are convenient, dedicated microphones (like lavaliers or shotgun mics) capture clearer, more directional sound. Even budget USB mics like the Blue Yeti or Rode NT-USB offer dramatic improvements over phone or camera mics, especially in noisy environments.
Master Your Sound, Elevate Your Content
Editing and enhancing audio doesn’t require a studio or years of training. With a methodical approach and the right tools, you can transform rough recordings into crisp, engaging soundtracks that hold your audience’s attention. The techniques outlined here form the foundation of professional audio post-production—accessible to anyone willing to learn and practice.


 浙公网安备
33010002000092号
浙公网安备
33010002000092号 浙B2-20120091-4
Comments
No comments yet. Why don't you start the discussion?