
Editing downloaded YouTube videos can open up a world of creative possibilities—from repurposing educational content to creating highlight reels or remixing clips for commentary. Whether you're a content creator, educator, or hobbyist, knowing how to edit these videos efficiently is a valuable skill. The process involves downloading the video legally, choosing the right software, making precise edits, and exporting the final product without quality loss. This guide walks you through each stage with clarity and precision, ensuring your results are polished and professional.
Understanding Legal and Ethical Considerations
Before diving into editing, it’s essential to understand the legal boundaries. Downloading and editing YouTube videos is only permissible under specific conditions, primarily when you have explicit permission from the copyright holder or when the content is licensed under Creative Commons. Using someone else's content without authorization—even for non-commercial purposes—can lead to copyright strikes or legal action.
Fair use may apply in cases of commentary, criticism, teaching, or parody, but this is determined on a case-by-case basis and varies by jurisdiction. When in doubt, reach out to the content owner for consent or use royalty-free platforms like Pexels, Pixabay, or the YouTube Audio Library for safe-to-use material.
Step-by-Step Guide to Editing Downloaded YouTube Videos
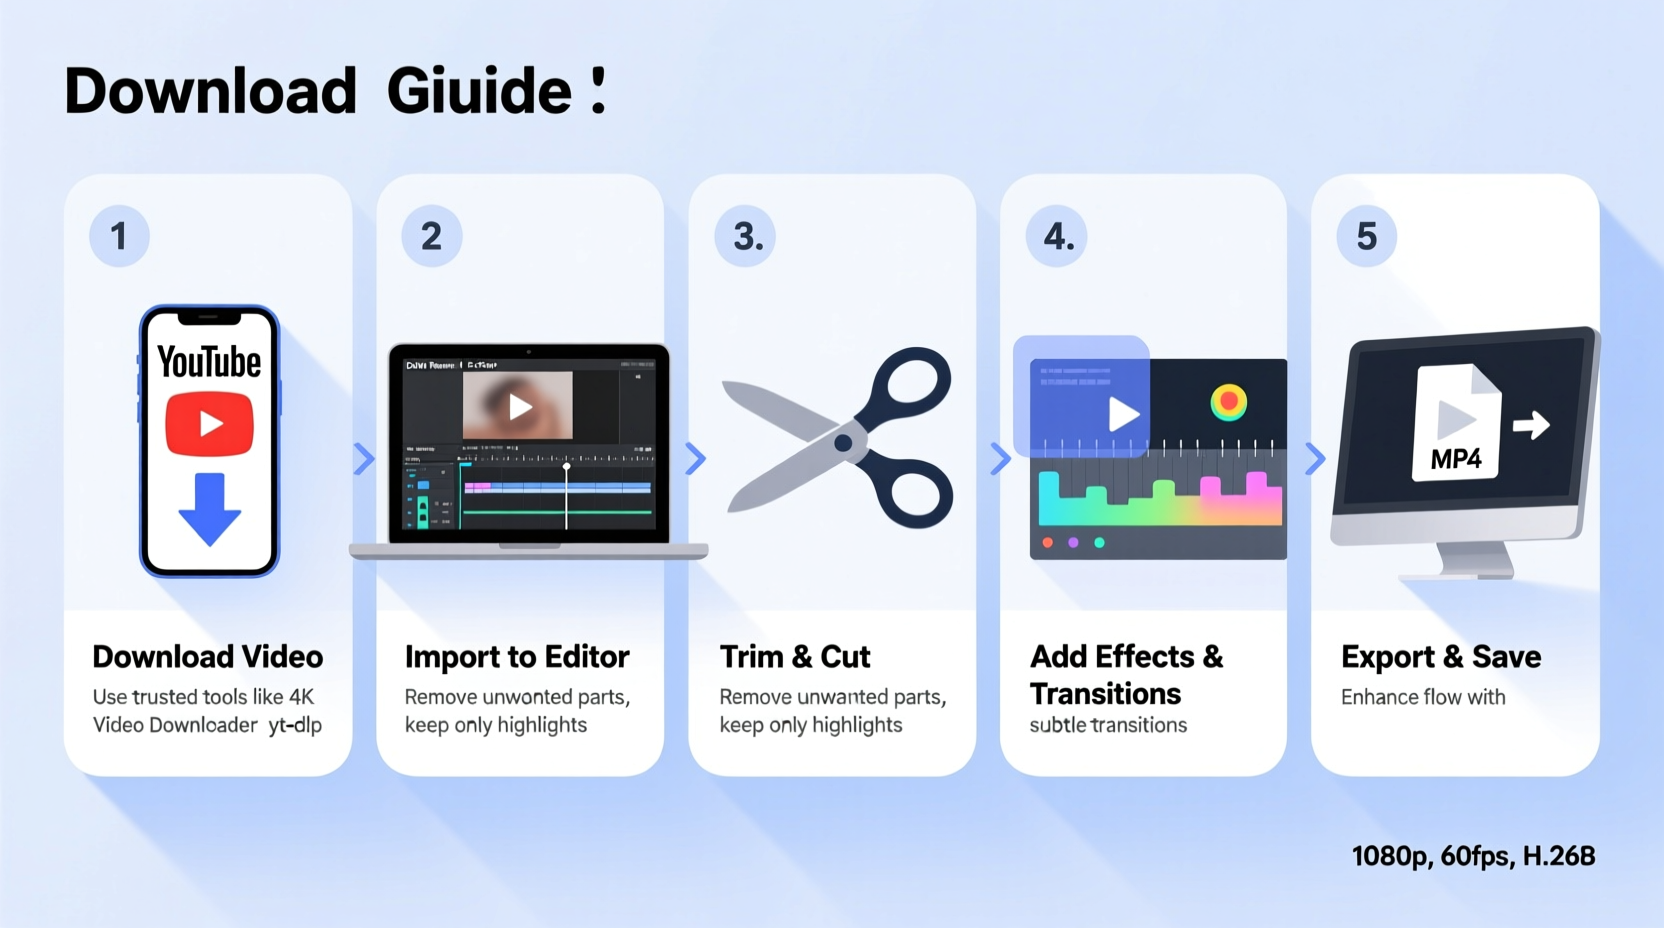
Once you’ve legally obtained a YouTube video, the next phase is editing. Follow this structured workflow to ensure efficiency and maintain video integrity.
- Download the Video: Use reputable online tools like 4K Video Downloader, Y2Mate, or yt-dlp (for advanced users) to download the video in MP4 format. Choose the highest resolution available (preferably 1080p or higher).
- Select an Editing Tool: Pick software based on your skill level and needs. Beginners should consider free options like DaVinci Resolve, Shotcut, or CapCut. Professionals might opt for Adobe Premiere Pro or Final Cut Pro.
- Import the Video: Open your editor and import the downloaded file. Organize your project timeline by labeling tracks (e.g., video, audio, effects).
- Trim and Cut: Use the razor or split tool to remove unwanted sections. Drag the playhead to the start and end points of the clip you want to keep, then delete the rest.
- Add Transitions and Effects: Apply subtle transitions (fade, cross-dissolve) between clips. Enhance visuals with color correction, brightness adjustments, or text overlays.
- Edit Audio: Lower background music if narration is present. Add voiceovers or sound effects where needed. Ensure audio levels are balanced to avoid distortion.
- Export the Final Video: Choose export settings that match your intended platform. For YouTube, use MP4 with H.264 codec, 1920x1080 resolution, and 30fps or 60fps.
Best Practices During Editing
- Work with a duplicate of the original file to preserve source quality.
- Use keyboard shortcuts to speed up trimming and navigation.
- Regularly save your project to prevent data loss.
- Avoid overloading the timeline with too many effects, which can reduce performance and distract viewers.
Choosing the Right Editing Software: A Comparison
Not all video editors are created equal. Your choice should align with your technical comfort, system specs, and output goals. Below is a comparison of popular tools:
| Software | Platform | Cost | Best For | Learning Curve |
|---|---|---|---|---|
| DaVinci Resolve | Windows, Mac, Linux | Free (Studio version paid) | Color grading, professional editing | Moderate |
| Shotcut | Windows, Mac, Linux | Free | Beginners, open-source users | Low to Moderate |
| CapCut | Windows, Mobile | Free (with watermark option) | Quick social media edits | Low |
| Adobe Premiere Pro | Windows, Mac | Paid (subscription) | Professional creators, YouTubers | High |
| Clipchamp | Web-based, Windows | Free tier + paid plans | Beginners, template-based editing | Low |
Real Example: Creating a Study Highlight Reel
Sophia, a university student, wanted to create a 5-minute study motivation reel using clips from educational YouTube videos on productivity and focus. She used 4K Video Downloader to obtain three public-domain lectures (under Creative Commons licenses), imported them into DaVinci Resolve, and trimmed key insights about time management. She added soft background music from the YouTube Audio Library, overlaid animated text for emphasis, and applied a consistent color filter for visual cohesion. After rendering in 1080p, she uploaded the video to her personal blog as a resource for peers. Her approach respected copyright, enhanced message clarity, and delivered value—all within two hours of editing.
“Editing isn’t just about cutting clips—it’s about reshaping content to serve a new purpose with integrity.” — Mark Tran, Digital Media Educator
Essential Editing Checklist
Use this checklist before finalizing your edited video to ensure quality and completeness:
- ✅ Verified legal rights to use the downloaded content
- ✅ Backed up original video files
- ✅ Trimmed unnecessary segments precisely
- ✅ Balanced audio levels across voice, music, and effects
- ✅ Added subtitles or captions for accessibility
- ✅ Applied consistent color grading across clips
- ✅ Previewed the full timeline for continuity
- ✅ Exported in optimal format (MP4, H.264, 1080p)
- ✅ Reviewed final output on multiple devices
Frequently Asked Questions
Can I edit YouTube videos without losing quality?
Yes, if you export using the same or similar settings as the original—especially resolution, frame rate, and codec. Avoid upsampling low-resolution clips into HD, as this won’t improve clarity and may introduce artifacts.
Is it safe to use online video editors for downloaded content?
Exercise caution. Web-based editors may upload your files to their servers, risking privacy or unauthorized access. For sensitive or copyrighted material, use offline software like Shotcut or DaVinci Resolve to maintain control over your data.
How do I give proper credit when reusing YouTube content?
Include the creator’s name, video title, and a direct link in your description or as an on-screen caption. Example: “Clip from ‘Mastering Time Management’ by Alex Rivera, used under Creative Commons license [CC BY 4.0].”
Final Thoughts and Next Steps
Editing downloaded YouTube videos doesn’t have to be complex or risky. With the right tools, legal awareness, and a clear workflow, you can transform existing content into something uniquely valuable. Whether you're compiling tutorials, crafting commentary, or building educational resources, the key lies in respecting intellectual property while applying creative precision.
Start small—download one short video, practice trimming and exporting, then gradually incorporate effects and audio enhancements. Mastery comes with consistent practice and attention to detail. As your skills grow, so will your ability to communicate ideas powerfully through edited video.


 浙公网安备
33010002000092号
浙公网安备
33010002000092号 浙B2-20120091-4
Comments
No comments yet. Why don't you start the discussion?