
Creating personalized dog tags is a meaningful way to honor a pet, gift a loved one, or even start a small craft business. With the Cricut Explore Air 2, what once required industrial tools can now be done at home with surprising precision and ease. This guide walks you through the entire process—from choosing materials to finishing your first engraved tag—using only the Cricut machine and basic supplies.
Selecting the Right Materials and Tools
The success of your engraving project begins with selecting appropriate materials. Unlike cutting paper or vinyl, engraving metal requires specific considerations. The Cricut Explore Air 2 supports engraving on soft metals like aluminum, brass, and copper, making them ideal for dog tags.
Here’s what you’ll need:
- Cricut Explore Air 2 machine
- Engraving tip (sold separately in the Cricut Maker & Explore tool set)
- Aluminum or brass blank dog tags (0.03–0.05 inches thick)
- Cricut StandardGrip mat
- Weeder tool
- Isopropyl alcohol and lint-free cloth
- Cricut Design Space (free web-based software)
- Optional: Protective gloves, polishing cloth
Designing Your Dog Tag in Cricut Design Space
Open Cricut Design Space in your browser and create a new project. Start by setting up a canvas that matches the size of your dog tag. Most standard tags are between 1” and 1.5” in diameter or length, so adjust your canvas accordingly.
To personalize the tag, use the Text tool to add the pet’s name, owner’s phone number, or a short message. Choose bold, sans-serif fonts like Arial Black or Bebas Neue for maximum legibility after engraving. Avoid overly thin or decorative fonts—they may not engrave clearly on small surfaces.
Position the text centrally and ensure it fits within the boundaries of the tag. You can also import custom shapes or icons, such as paw prints or hearts, to enhance the design. Make sure all elements are welded together if they’re meant to appear as a single engraved unit.
“Clear, simple designs perform best when engraving on small metal surfaces. Less is more when readability matters.” — Dana Reeves, Craft Educator and Cricut Certified Instructor
Preparing and Loading the Material
Before inserting the machine’s mat, secure the metal blank firmly to the center of the StandardGrip mat. Use low-tack tape or repositionable adhesive if the blank doesn’t stick well. Ensure the surface is flat and free of dust or fingerprints.
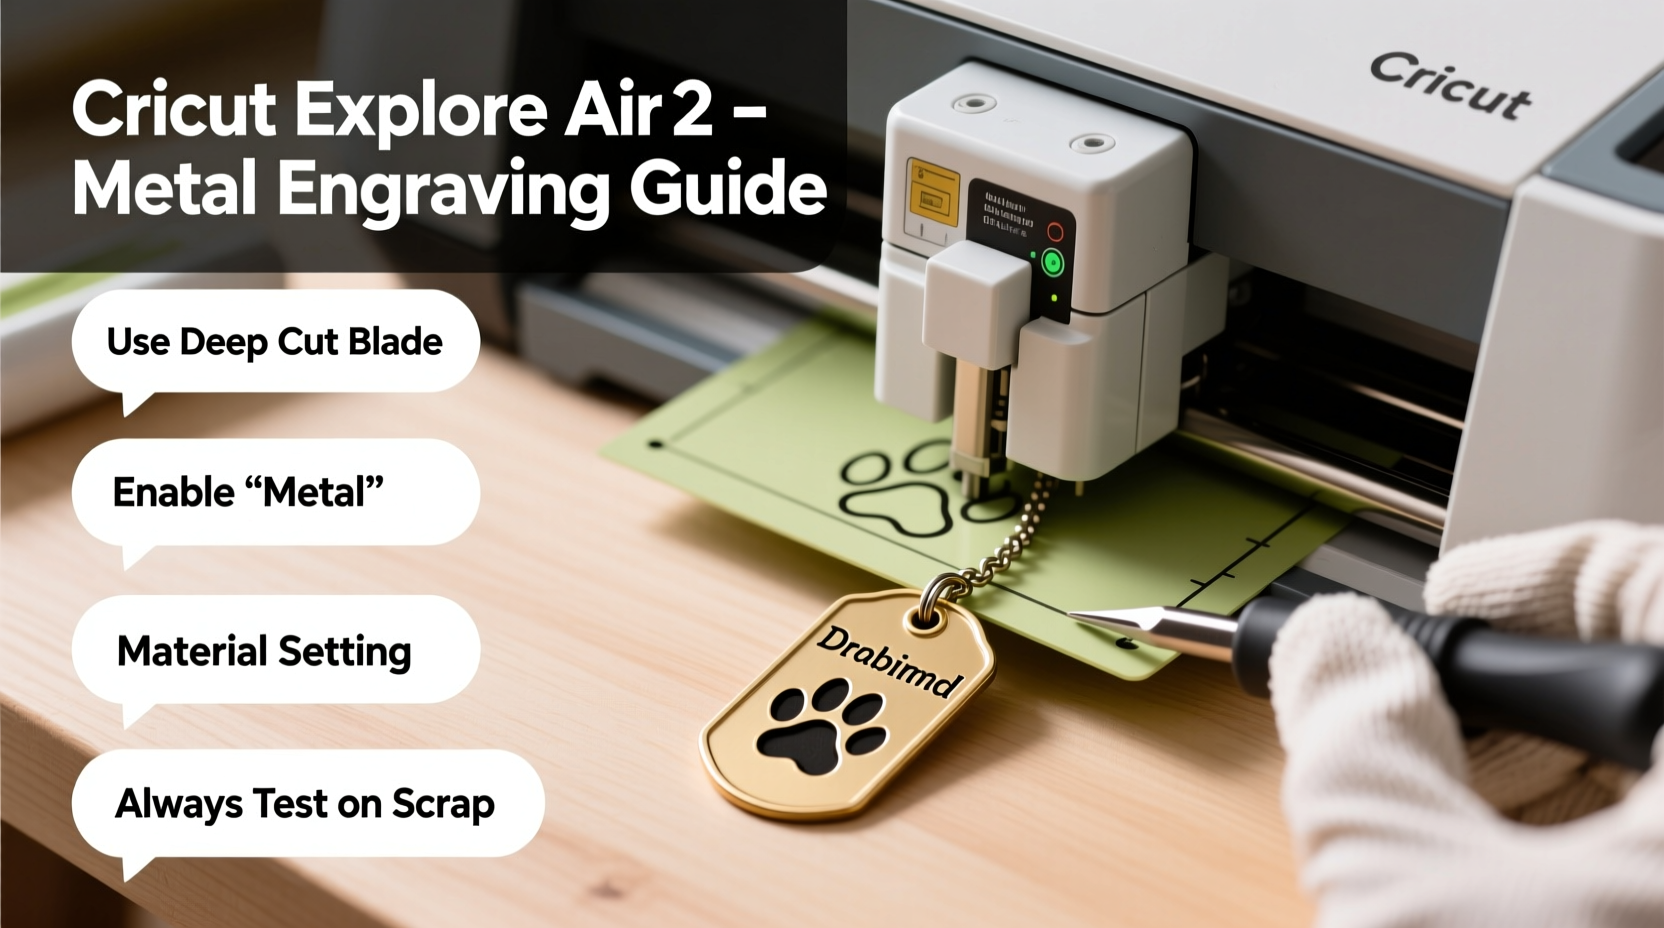
Load the mat into the machine and press the blinking button on the Cricut. The machine will prompt you to select the material type. Choose “Metal – Aluminum” from the list. If aluminum isn’t listed, select “Custom” and manually set the following settings:
| Setting | Recommended Value |
|---|---|
| Cut Pressure | 300–350 |
| Speed | 8 |
| Passes | 2–3 |
| Tool | Engraving Tip |
These settings work well for 0.04” thick aluminum. Brass may require slightly higher pressure due to its density.
Executing the Engraving Process
Once settings are confirmed, press “Go” in Design Space. The Cricut Explore Air 2 will begin moving the engraving tip across the metal surface, carving your design into the tag. The process is relatively quiet but takes longer than typical cuts—expect 2–4 minutes per tag depending on complexity.
After completion, carefully remove the mat and peel off the metal blank. Use a weeder tool to gently remove any protective film or debris from engraved areas. You may notice slight burrs or raised edges along the engraved lines; these can be smoothed with a fine polishing cloth or emery board.
If the engraving appears too shallow, run the tag through a second time using the same settings. Avoid excessive passes, as they can overheat the tool or distort the design.
Mini Case Study: Sarah’s First Batch of Custom Tags
Sarah, a pet lover from Austin, wanted to make matching dog tags for her two rescue dogs. She used 1” aluminum blanks and engraved each with the dog’s name and her phone number. Her first attempt failed because she skipped cleaning the metal, causing the blank to shift mid-engrave. After reapplying the blank with alcohol prep and increasing pressure to 330, her second try produced crisp, deep engravings. She now gifts these tags to fellow shelter volunteers.
Finishing and Maintenance Tips
Once engraved, your dog tag is nearly ready for use. To enhance durability and appearance:
- Polish the surface with a microfiber cloth to restore shine.
- Apply a clear coat of nail polish or jewelry sealant to protect against tarnish (especially for brass).
- Attach a stainless steel split ring and durable nylon or leather collar loop.
Store unused engraved tags in a dry, padded container to prevent scratches. If the tag will be exposed to water or dirt regularly, consider sealing both sides to prevent corrosion.
Do’s and Don’ts of Engraving Metal with Cricut
| Do’s | Don’ts |
|---|---|
| Use fresh engraving tips for clean lines | Use dull or damaged tips that cause skipping |
| Clean metal before placing on the mat | Work with greasy or dusty blanks |
| Secure loose blanks with tape | Allow movement during engraving |
| Test settings on scrap metal | Assume default settings work for all metals |
Frequently Asked Questions
Can I reuse an engraving tip for multiple dog tags?
Yes, but monitor performance. A high-quality engraving tip can last through 10–15 aluminum tags before showing signs of wear. Replace it if lines become faint or inconsistent.
Is the Cricut Explore Air 2 capable of engraving stainless steel?
No. The Explore Air 2 is not designed for hard metals like stainless steel. Stick to softer metals such as aluminum, brass, or copper to avoid damaging the machine or tool.
Can I engrave curved or domed dog tags?
Flat surfaces work best. Domed or curved tags may not make full contact with the mat, leading to uneven engraving. For consistent results, use flat metal blanks.
Checklist: Engraving Your First Personalized Dog Tag
- ✔ Gather Cricut Explore Air 2, engraving tip, and metal blanks
- ✔ Clean the metal surface with isopropyl alcohol
- ✔ Secure the blank to the StandardGrip mat
- ✔ Design your text and layout in Cricut Design Space
- ✔ Select “Metal – Aluminum” or customize settings
- ✔ Run a test engrave on scrap metal
- ✔ Engrave the final tag with 2–3 passes
- ✔ Remove and clean the tag with a weeder tool
- ✔ Polish and seal the surface if desired
- ✔ Attach to a collar with a split ring
Conclusion
Engraving personalized dog tags with the Cricut Explore Air 2 opens up creative possibilities for pet owners, crafters, and small entrepreneurs alike. With attention to detail and the right setup, you can produce professional-quality tags from your home workspace. The process combines thoughtful design, precise machine control, and a touch of personal sentiment—resulting in keepsakes that are both functional and heartfelt.


 浙公网安备
33010002000092号
浙公网安备
33010002000092号 浙B2-20120091-4
Comments
No comments yet. Why don't you start the discussion?