
Hanging a large decorative mural—especially one made of soft fabric like those from American Home’s rose niche art collection—can transform a room’s ambiance. However, many people hesitate due to concerns about wall damage, improper alignment, or ruining the delicate material. Whether you're in a rental, preserving resale value, or simply avoiding unnecessary holes, it's entirely possible to install these murals securely and beautifully without causing harm. This guide walks through a meticulous, damage-free process that ensures professional results while protecting both your walls and artwork.
Understanding the Mural and Its Challenges
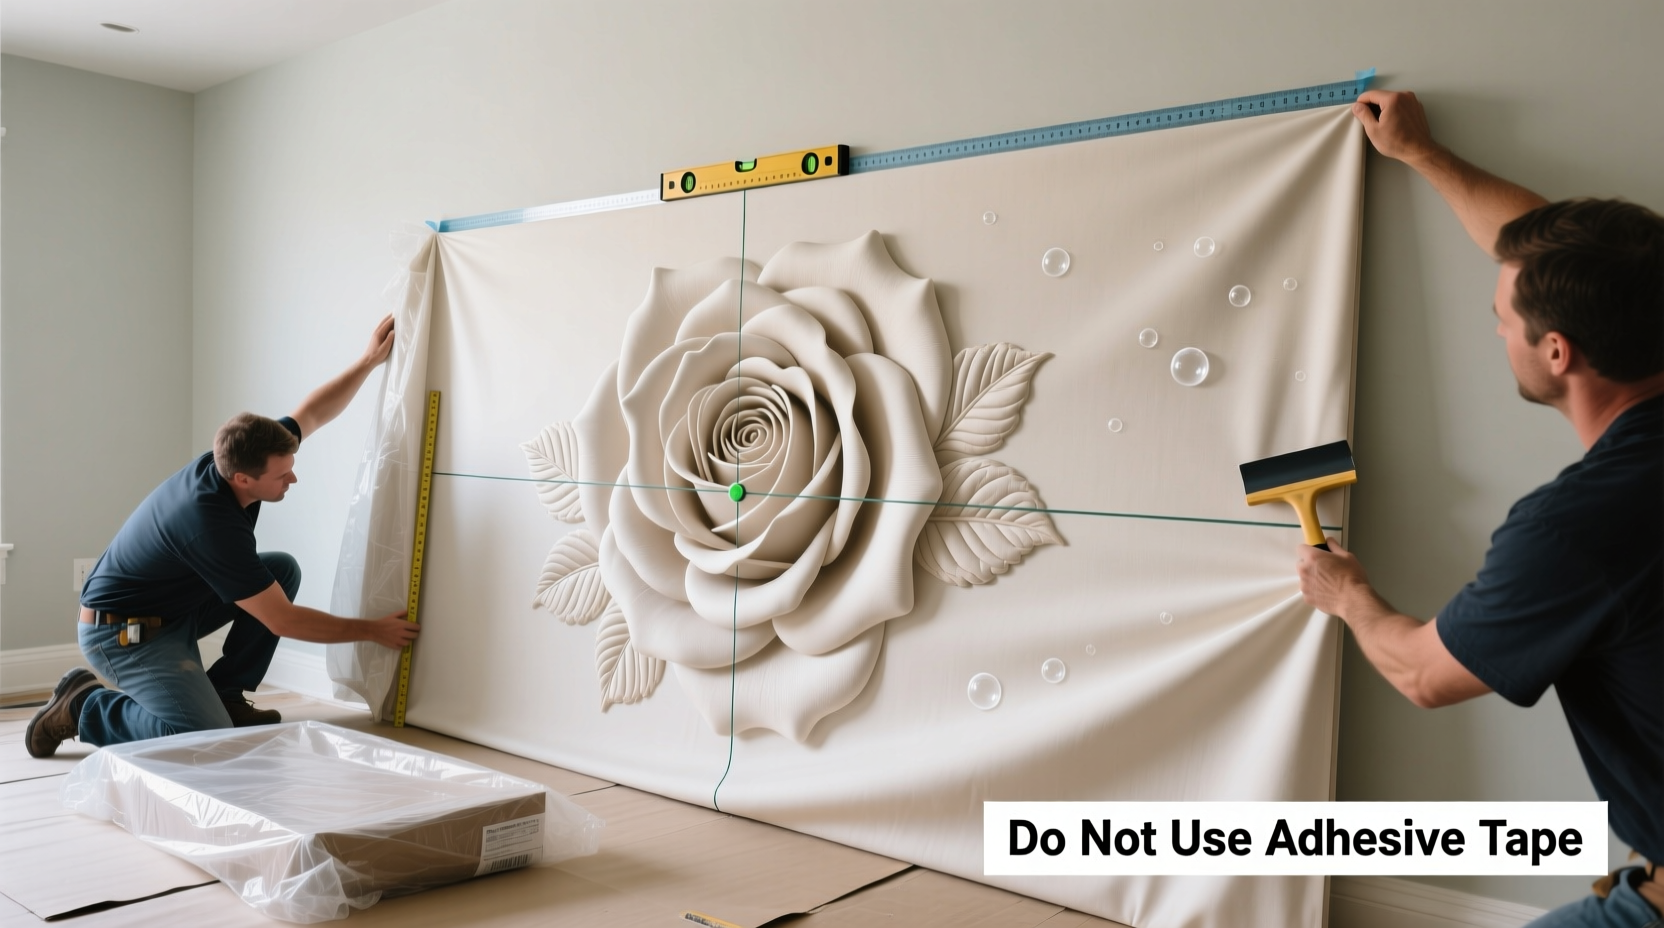
American Home soft furnishing murals are typically composed of lightweight polyester or cotton-blend fabric with printed botanical designs—often featuring roses, vintage niches, or romantic garden scenes. These are not framed canvases; they’re flexible textile panels designed to drape or adhere gently to surfaces. Their size (commonly 4x6 feet or larger) presents unique challenges: sagging, air bubbles, and difficulty achieving perfect alignment on smooth walls.
The primary goal is to support the weight evenly across the surface without puncturing the material or leaving permanent marks on the wall. Traditional nails or screws are off-limits. Instead, success lies in selecting the right adhesives, preparing the surface correctly, and using techniques that distribute stress rather than concentrate it.
Essential Tools and Materials Checklist
Gathering the correct supplies beforehand prevents mid-installation setbacks. Here’s what you’ll need:
- Ruler or measuring tape (8 ft preferred)
- Laser level or long spirit level
- Clean microfiber cloth
- Mild dish soap and water solution
- Pencil (for light marking)
- Scissors or utility knife
- Lint-free cloth
- Dual-lock adhesive strips (heavy-duty, removable)
- Fabric-safe mounting tape (e.g., 3M Command™ Large Picture Hanging Strips)
- Wall-safe adhesive putty (optional for corners)
- Soft bristle brush or squeegee
“Textile murals require distributed support points—not just top-edge hanging. Skipping lower anchors risks drooping within weeks.” — Lena Patel, Interior Installation Specialist
Step-by-Step Installation Process
Follow this sequence carefully to ensure a flawless, lasting result.
- Measure and Mark the Wall Area
Use a tape measure to determine the exact height and width of the mural. Transfer these dimensions to the wall lightly in pencil. Use a laser level to draw horizontal reference lines at the top, middle, and bottom of the intended placement area. This ensures straight alignment even if the mural shifts slightly during application. - Clean the Wall Surface Thoroughly
Wipe the entire area with a damp microfiber cloth and mild soapy water. Remove dust, grease, or residue that could weaken adhesive bond. Allow the wall to dry completely—any moisture will compromise adhesion. Avoid abrasive cleaners or textured surfaces unless treated with a primer-compatible sealer first. - Prepare the Mural Backing
Lay the mural face-down on a clean floor or table. If it came folded, place heavy books along the edges overnight to flatten. Do not iron or steam—this can distort the print. Gently brush the back with a dry, soft-bristle brush to remove any loose fibers. - Apply Mounting Strips Strategically
Use heavy-duty Command™ strips rated for at least 3 lbs per pair. Place one set at each top corner, one at center-top, and repeat the pattern along the bottom edge. For extra-large murals (over 5 ft wide), add two more strips midway on each side. Press each strip firmly for 30 seconds to activate the adhesive. - Attach Strips to the Wall
Peel the backing from each strip and press them onto the corresponding wall marks. Hold each in place for 30 seconds. Wait at least one hour before proceeding—this allows the adhesive to reach full bonding strength under indoor conditions. - Align and Mount the Mural
Lift the mural carefully with help (large pieces are unwieldy). Align the top edge with the upper wall strips. Gently press the top row of attached strips into their counterparts on the wall. Work downward, smoothing the fabric with your hands as you go. Use a soft squeegee or credit card wrapped in cloth to eliminate air pockets from center outward. - Final Adjustments and Inspection
Step back and view the mural from multiple angles. Check for wrinkles, uneven tension, or misalignment. If needed, gently peel one corner and reposition—Command™ strips allow limited reattachment. Trim excess fabric only if it overlaps baseboards or molding, using sharp scissors.
Do’s and Don’ts: Comparison Table
| Do’s | Don’ts |
|---|---|
| Use wall-safe, removable adhesives rated for fabric and paint | Use thumbtacks, nails, or staples—even on fabric borders |
| Enlist a helper for murals over 4 feet wide | Hang alone and risk misalignment or stretching |
| Test adhesive on a small hidden wall area first | Assume all painted walls react the same to tape |
| Smooth from center outward to avoid bubbles | Press aggressively at edges, which may lift over time |
| Reinforce bottom edge to prevent sagging | Rely solely on top-mounted hooks or wire |
Real-World Example: A Renter’s Success Story
Sophia M., a graphic designer in Austin, TX, wanted to enhance her bedroom with a 5x7-foot American Home rose mural but feared damaging the landlord-owned walls. She followed this method using eight Command™ XL strips—four on top, four on bottom. After cleaning the wall with vinegar-water solution and waiting 90 minutes post-application, she mounted the mural with her partner’s help. Two years later, the mural remains perfectly taut. When she moved out, she removed the strips slowly with dental floss, leaving no residue or scarring. Her landlord commended the care taken during installation and removal.
Frequently Asked Questions
Can I hang this mural on textured or popcorn walls?
Standard removable tapes struggle on heavily textured surfaces because contact area is reduced. For such walls, consider using gel-based mounting putty (like Poster Putty Plus) at multiple points along the perimeter. Test adhesion first, and expect to refresh putty every 6–12 months depending on climate.
What if my mural arrives wrinkled?
Unroll it face-down on a flat surface and place heavy, flat objects (like books or boards) on all four corners and center. Leave for 12–24 hours. Do not use heat, as it may shrink or blur the printed design. Light wrinkles often relax once installed and smoothed during mounting.
Will sunlight fade the mural over time?
Yes—prolonged direct UV exposure will gradually fade the print. Install away from south-facing windows or use UV-filtering window film. Rotate the mural seasonally if possible, or plan to replace every 3–5 years in high-sun areas.
Final Recommendations and Next Steps
Hanging a large soft furnishing mural without damage is not only achievable—it can be done with precision and elegance. The key is preparation, patience, and using modern adhesive solutions designed for temporary yet secure mounting. By following this guide, you preserve both your investment in the artwork and the integrity of your living space. Whether you're enhancing a bedroom, living room accent wall, or hallway, the visual impact of a well-installed mural is profound.


 浙公网安备
33010002000092号
浙公网安备
33010002000092号 浙B2-20120091-4
Comments
No comments yet. Why don't you start the discussion?