
The iPhone 14 is designed with precision, featuring tightly fitted components and a sleek, glass-backed body that’s both beautiful and vulnerable. While a high-quality case provides essential protection against drops, scratches, and daily wear, improperly installing one can lead to unintended consequences—like cracked glass, misaligned buttons, or trapped dust. Many users assume snapping on a case is as simple as pressing it into place, but subtle errors during installation can compromise both the device’s integrity and the case’s effectiveness. This guide walks through a careful, methodical process to ensure your iPhone 14 receives its protective shell without any risk of harm.
Why Proper Case Installation Matters
A phone case isn’t just an accessory—it's a critical layer of defense. However, forcing a case onto your iPhone 14 can exert pressure on the screen edges or camera housing, potentially causing micro-fractures in the glass over time. Apple’s Ceramic Shield front cover and textured matte back glass are durable but not immune to stress from improper handling. Additionally, dirt or debris caught between the case and phone can create pressure points, leading to scratches or even warping of internal seals that maintain water resistance.
Experts emphasize that the first few minutes after unboxing a new case are crucial. “The way you install a case sets the foundation for long-term protection,” says Marcus Lin, a mobile device technician with over a decade of repair experience.
“I’ve seen more than a few iPhones come in with edge cracks traced directly back to aggressive case installation. A slow, clean approach prevents those avoidable issues.”
Pre-Installation Checklist: Prepare Before You Begin
Before touching the case or your iPhone, take time to prepare your environment and materials. Rushing this phase increases the risk of mistakes.
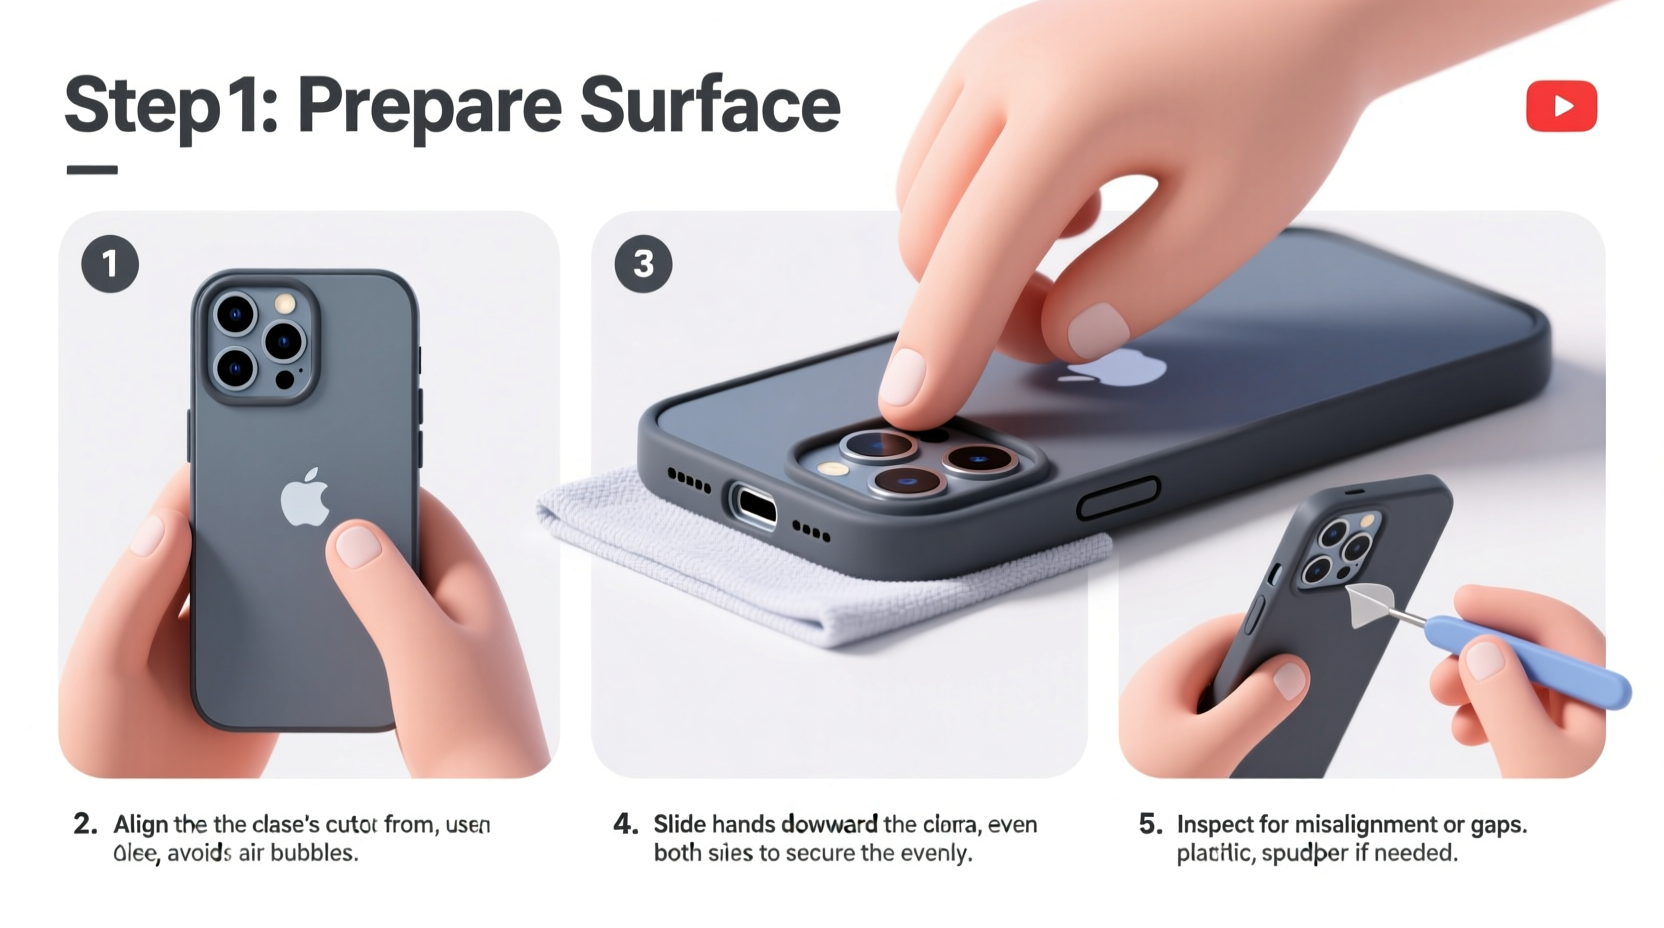
- Clean your iPhone thoroughly: Use a slightly damp microfiber cloth to wipe the entire surface. Pay special attention to the edges, camera bump, and ports. Dry completely.
- Inspect the case interior: Check for loose fibers, manufacturing residue, or sharp edges inside the case. Run a dry cotton swab along the inner frame if needed.
- Verify case compatibility: Ensure the model number matches your iPhone 14 (not 14 Pro, 14 Plus, etc.). Confirm button cutouts and camera alignment match your device exactly.
- Power off your iPhone (optional but recommended): Eliminates risk of accidental input during installation and allows full focus on alignment.
- Gather tools: Soft cloth, compressed air (for port cleaning), and possibly a plastic pry tool (non-metallic) for gentle assistance if needed.
Step-by-Step Guide to Installing Your iPhone 14 Case
Follow this sequence carefully to minimize physical strain on your device and ensure perfect fitment.
- Align the bottom edge first: Hold the case so the Lightning port opening lines up with your iPhone’s port. Gently press the bottom edge of the phone into the case, ensuring the speaker grille and microphone openings align perfectly. Do not force it—if there’s resistance, recheck orientation.
- Secure the top near the camera: Once the bottom is seated, gently press the top edge around the camera module. The iPhone 14 has a prominent dual-camera bump; make sure the case’s cutout fully accommodates it without pressing down on the lenses.
- Press along the sides gradually: Starting from the bottom corners, use your thumbs to apply even pressure along each side. Move upward in small increments rather than trying to snap the entire side at once. This prevents sudden flexing of the frame.
- Check button functionality: After the case is fully on, test the volume rocker and side button. They should move freely but feel slightly cushioned by the case’s built-in button covers. If they’re stiff or blocked, remove the case and inspect for misalignment.
- Final inspection: Rotate the phone slowly under light to check for gaps, uneven edges, or visible debris. Ensure no part of the glass is exposed where the case should cover it.
Common Mistakes and How to Avoid Them
Even experienced users make errors when installing cases. Below is a comparison of best practices versus frequent pitfalls.
| Do’s | Don’ts |
|---|---|
| Align ports and camera before applying pressure | Start pressing from the middle of the side edges |
| Use even, gradual pressure around the perimeter | Twist or bend the phone while inserting |
| Clean both phone and case before installation | Install the case with dusty or wet surfaces |
| Test button movement post-installation | Leave plastic film on the phone or case |
| Verify full coverage of all edges | Force a case that doesn’t fit snugly |
One common issue arises when users attempt to install third-party magnetic cases not certified by Apple’s MagSafe program. These may have weaker alignment magnets or thicker builds, increasing the chance of lateral pressure on the glass. Stick to reputable brands that specify iPhone 14 compatibility.
Real Example: A Close Call with a Budget Case
Jamie, a graphic designer in Portland, recently bought a low-cost silicone case online for her iPhone 14. Excited to protect her new device, she quickly snapped the case on without cleaning either surface. Later that evening, she noticed a faint scratch near the volume button. Upon removing the case, she found a tiny grain of sand had been trapped beneath the rim. The constant pressure created a fine line in the finish. After cleaning both items and reinstalling carefully, the scratch didn’t worsen—but the experience taught her to never skip prep steps again. “It seemed trivial at the time,” she said. “Now I treat case installation like a ritual.”
Frequently Asked Questions
Can I install a case on my iPhone 14 right out of the box?
Yes, but only after wiping down the phone. Factory devices often have fingerprint oils or dust from packaging. Cleaning ensures no contaminants get sealed between the case and glass.
Should I leave the screen protector on when putting on a case?
Absolutely. In fact, having a screen protector adds another layer of safety during installation. Just make sure the case does not press against the edges of the protector, which could cause bubbling or lifting over time.
What if my case won’t snap on completely?
Stop forcing it. Double-check that the case is designed for the standard iPhone 14 (not 14 Pro or Max models). Measure the dimensions if unsure. If alignment is correct but still tight, some flexible TPU cases require gentle breaking in over 24 hours. Try warming the case slightly with your hands before reapplying.
Conclusion: Protect Your Investment the Right Way
Your iPhone 14 represents both financial investment and daily utility. Installing a case correctly isn’t just about convenience—it’s about preserving performance, aesthetics, and longevity. By following these detailed steps, avoiding common errors, and treating the process with care, you ensure your device stays protected without introducing new risks. A well-installed case should feel seamless: invisible in function, yet vital in defense.


 浙公网安备
33010002000092号
浙公网安备
33010002000092号 浙B2-20120091-4
Comments
No comments yet. Why don't you start the discussion?