
A meter box is a critical component of your home’s electrical infrastructure, often exposed to weather, pests, and accidental tampering. Over time, wear and exposure can compromise its integrity. A punch free meter box cover offers an elegant, non-invasive solution to protect your meter without altering the original enclosure. Unlike traditional covers that require drilling or screwing into the box, punch free designs use secure clamping or adhesive systems to create a durable, weather-resistant barrier.
This guide walks you through the entire process of selecting, preparing for, and installing a punch free meter box cover with precision and safety. Whether you're a homeowner looking to enhance curb appeal or improve weather resistance, this method delivers reliable results without violating utility regulations or risking electrical hazards.
Why Choose a Punch Free Meter Box Cover?
Punch free covers are gaining popularity due to their simplicity, compliance, and reversibility. They are engineered to snap, clip, or adhere over existing meter boxes without modifying the structure. This is especially important because:
- No drilling or permanent alterations: Avoids voiding warranties or violating utility codes.
- Quick installation: Most models take under 30 minutes to install.
- Weather and UV resistance: High-grade polymers protect against rain, dust, and sun degradation.
- Improved aesthetics: Modern covers come in neutral colors that blend with exterior walls.
- Pest deterrent: Seals gaps where insects or rodents might enter.
Pre-Installation Checklist
Before touching any tools or hardware, ensure you’re fully prepared. Safety is paramount when working near electrical components—even if you're not making direct contact.
- Confirm compatibility: Match the model number of your meter box with the manufacturer’s sizing chart.
- Clean the surface: Use a damp cloth and mild detergent to remove dirt, grease, or debris from the meter box frame.
- Inspect for damage: Check for cracks, rust, or loose parts on the existing box. Repair issues before installing the cover.
- Gather tools: You’ll typically need gloves, a soft cloth, measuring tape, and possibly a utility knife for trimming adhesive strips.
- Check weather conditions: Install on a dry day with moderate temperatures—extreme cold or heat can affect adhesive bonding.
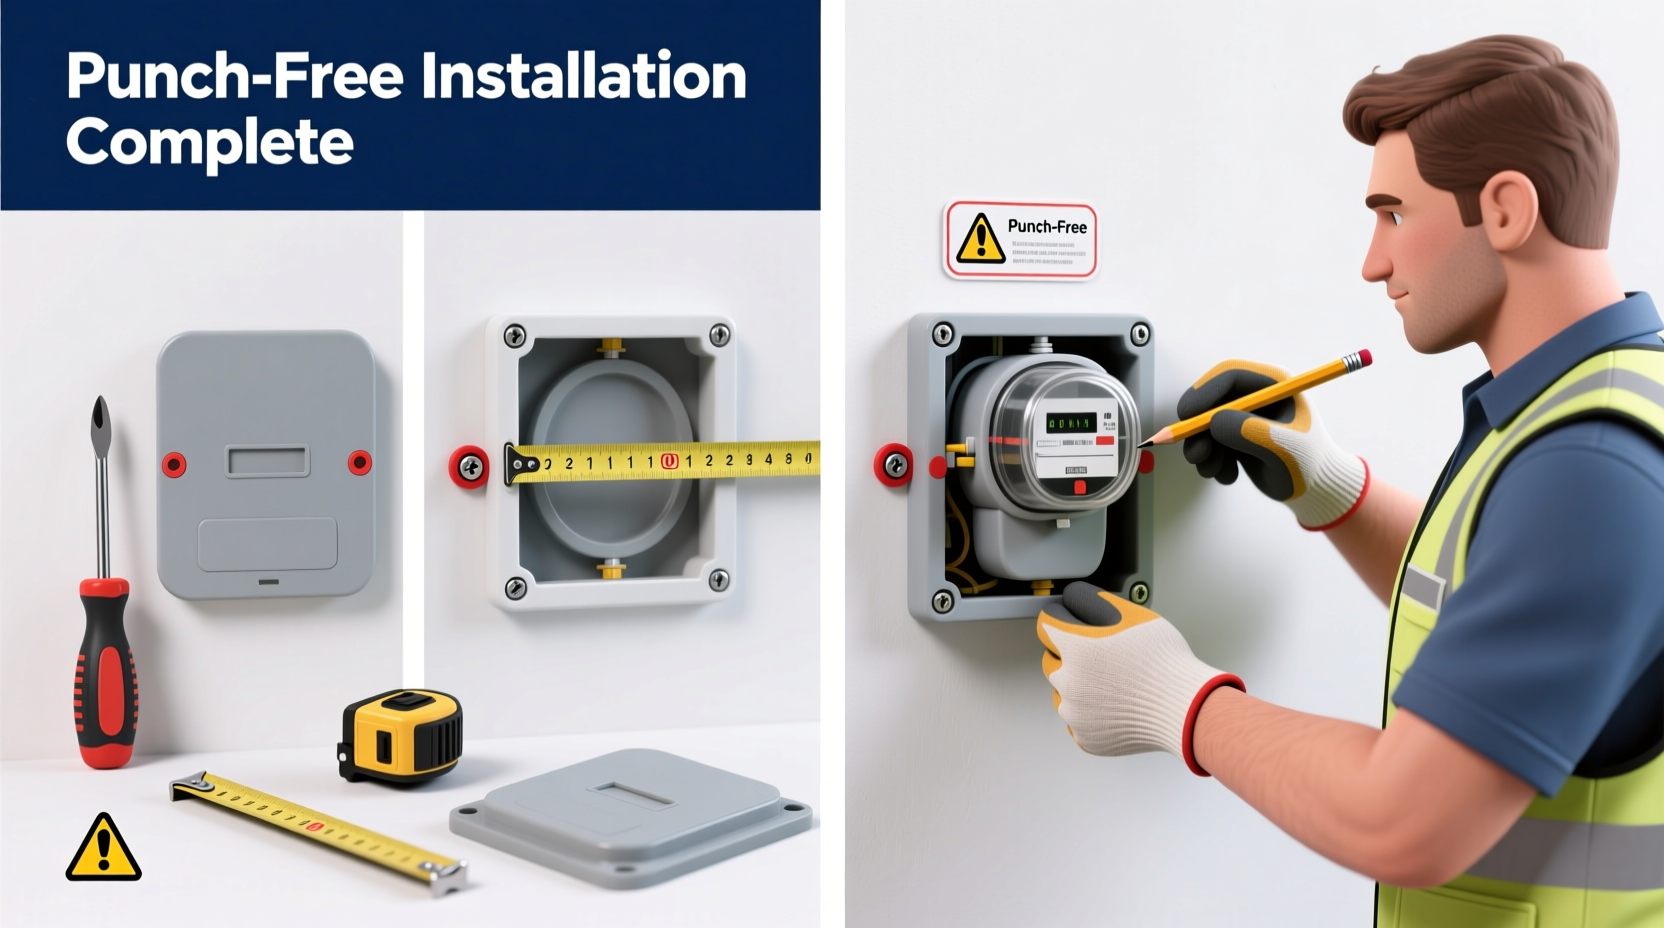
Step-by-Step Installation Guide
Follow these steps carefully to ensure a secure, long-lasting fit. The exact process may vary slightly depending on brand, but the principles remain consistent across punch free models.
- Turn off outdoor power (if applicable): While the meter itself cannot be de-energized by homeowners, switch off the main breaker if you’re working near conduit entries. This reduces risk during preparation.
- Measure and align: Hold the cover in front of the meter box and verify it aligns evenly on all sides. Most units have alignment markers or guides.
- Prepare adhesive strips (if included): Peel off the backing slowly, starting from one corner. Avoid touching the sticky surface with bare fingers to preserve adhesion.
- Attach mounting brackets or clips: Some models use flexible plastic arms that hook around the edges of the meter box. Position them first to ensure stability before applying pressure-sensitive tape.
- Apply the cover gradually: Starting at the top, press the cover firmly into place. Work downward using even pressure across the surface. For larger units, use a soft rubber roller or squeegee to eliminate air bubbles.
- Engage side locks or latches: If your model includes locking tabs, snap them securely into place. These prevent wind uplift and unauthorized removal.
- Seal edges (optional): Apply a thin bead of exterior-grade silicone caulk along seams if extra weatherproofing is needed—especially in coastal or high-rainfall areas.
- Test accessibility: Ensure the utility reader can still access data through the transparent window or designated scan area. Never obstruct meter readings.
“Punch free covers represent a smart evolution in residential meter protection. When installed correctly, they offer durability and compliance without compromising service access.” — James Liao, Electrical Infrastructure Consultant, National Grid Solutions
Do’s and Don’ts: Installation Best Practices
| Do’s | Don’ts |
|---|---|
| ✔ Clean the surface thoroughly before applying adhesive | ✘ Drill holes or modify the original meter box |
| ✔ Follow manufacturer torque specifications for clips | ✘ Install in wet or freezing conditions |
| ✔ Leave reading windows completely unobstructed | ✘ Paint over or alter the cover after installation |
| ✔ Inspect annually for seal degradation | ✘ Stack objects against the cover (e.g., planters, tools) |
| ✔ Keep installation instructions for future reference | ✘ Use abrasive cleaners during maintenance |
Real-World Example: Coastal Home Protection Upgrade
In Bournemouth, UK, homeowner Sarah Mitchell noticed her meter box was deteriorating due to salt spray and frequent storms. The original plastic housing had cracked, allowing moisture inside and triggering occasional tripping. She researched solutions and opted for a punch free cover made from marine-grade polycarbonate.
After verifying compatibility with her EON-branded meter, she cleaned the unit with soapy water, dried it completely, and applied the cover using integrated adhesive strips and side clips. The entire process took 22 minutes. Two years later, the cover remains intact, with no signs of warping or seal failure. Her electrician confirmed that the internal components stayed dry during subsequent inspections.
Sarah noted, “It’s reassuring to know my family is safer and the system is protected—without having to call an electrician or drill into anything.”
Frequently Asked Questions
Can I install a punch free cover myself, or do I need an electrician?
You do not need an electrician to install a punch free cover, as it involves no electrical work. However, always avoid opening the meter box or touching internal components. If you’re unsure about safety procedures, consult a qualified technician before beginning.
Will the cover interfere with smart meter signals?
No—reputable punch free covers are designed with signal-transparent materials. RF signals used by smart meters pass through the cover without interference. Look for models labeled “smart-meter compatible” for assurance.
How long do these covers typically last?
Most quality punch free covers last between 10 and 15 years. UV-stabilized plastics resist fading and brittleness. Regular cleaning and annual inspection can extend lifespan further.
Final Thoughts and Next Steps
Installing a punch free meter box cover is one of the simplest yet most effective upgrades for protecting your home’s electrical entry point. It combines safety, compliance, and aesthetic improvement without invasive modifications. By following this guide, you’ve taken a proactive step toward safeguarding your property from environmental damage and potential hazards.
Now that you understand the correct procedure and best practices, consider checking your meter box today. If it shows signs of aging or exposure, a punch free cover could be the low-cost, high-impact solution you need.


 浙公网安备
33010002000092号
浙公网安备
33010002000092号 浙B2-20120091-4
Comments
No comments yet. Why don't you start the discussion?